9
Adding, Editing, & Deleting User Accounts from the
Device Panel
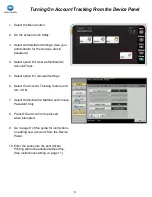
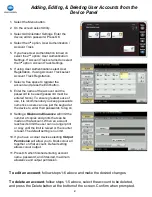
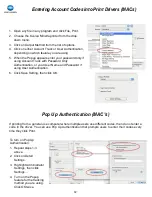
1. Select the Menu button.
2. On the screen select Utility.
3. Select Administrator Settings. Enter the
device admin password. Press OK.
4. Select the 4
th
option, User Authentication /
Account Track.
5. If you have User Authentication turned on
select the 2
nd
option: User Authentication
Settings. If Account Track is turned on select
the 3
rd
option: Account Track Settings.
6. If using User Authentication select User
Registration. If using Account Track select
Account Track Registration.
7. Select a free space to register the
account and press the Edit button.
8. Enter the name of the account and the
password to be used (password must be
entered twice). To ensure greatest ease of
use, it is recommended you keep passwords
numeric so users can use just the keypad at
the device to enter their passwords to log on.
9. Setting a
Maximum Allowance
will limit the
number of copies and prints that can be
made on that account. When an account
reaches its limit the user can no longer print
or copy until the limit is raised or the counter
is reset. The default setting is no limit.
10. If you have a colour device selecting
Output
Permission
will allow you to block colour all
together on that account. Default setting
allows colour output.
11. Press OK when finished entering account
name, password, and if desired, maximum
allowance and output permission.
To edit an account
: follow steps 1
-
6 above and make the desired changes.
To delete an account
: follow steps 1
-
5 above, select the account to be deleted,
and press the Delete button at the bottom of the screen. Confirm when prompted.

