1 0
Adding, Editing, or Deleting User Accounts Using the
Web Connection
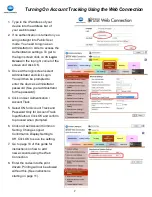
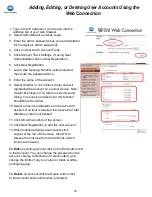
1. Type in the IP address of your device into the
address bar of your web browser.
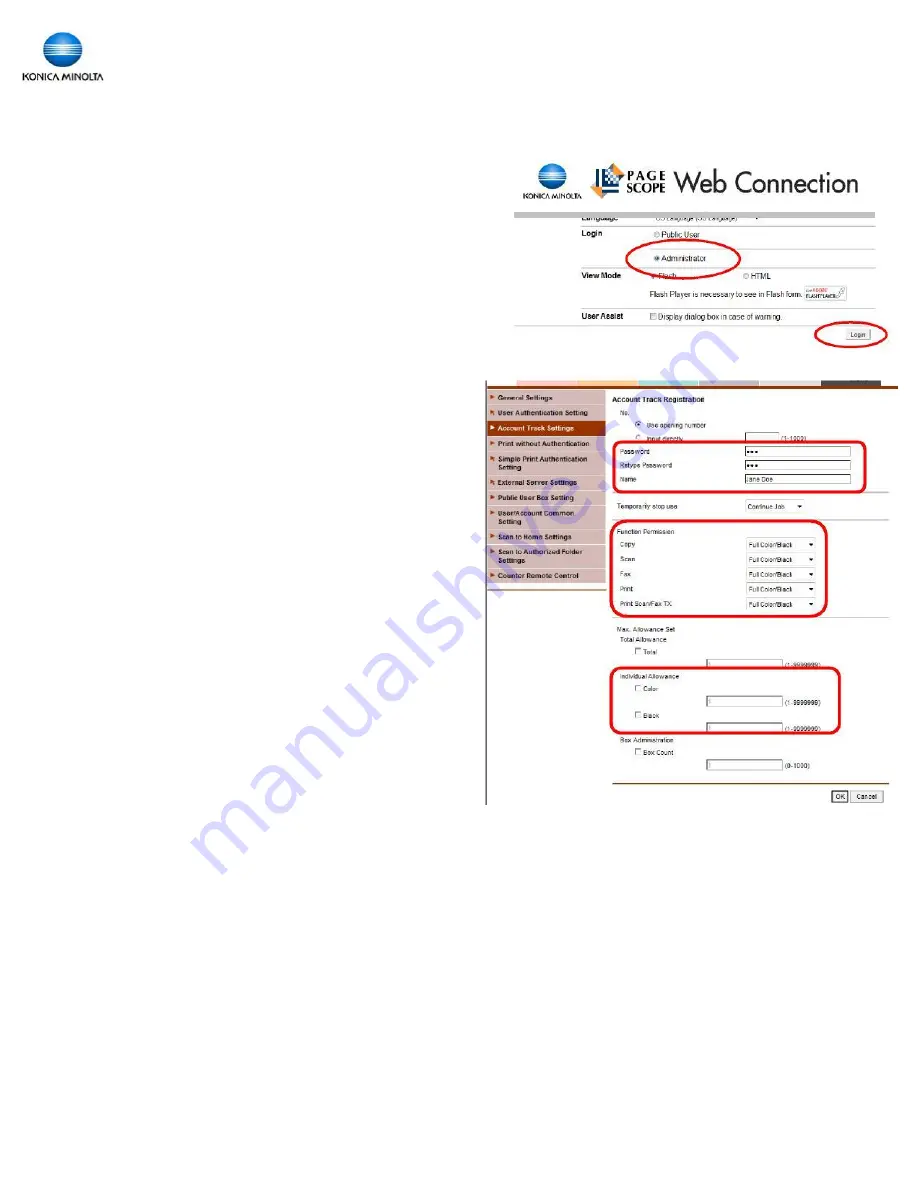
2. Select Administrator and click Login.
3. Enter the admin password (see your administrator
for the device’s admin password).
4. Click on User Auth / Account Track.
5. Click Account Track Settings. (If using User
Authentication click on User Registration.
6. Click New Registration.
7. Leave Use Opening Number option selected,
then enter the password twice.
8. Enter the name of the account.
9. Select whether or not to block colour output if
registering the account on a colour device. Note:
Output Permission (TX) refers to scanning and
faxing. The colour permission for this function
should be left on Allow.
10. Select a maximum allowance on the account if
desired. If no limit is required then leave the Total
Allowance option unchecked.
11. Click OK at the bottom of the screen.
12. Click New Registration to add the next account.
13. When finished adding new accounts click
Logout at the top of the screen, then OK, to
release the machine from Admin Mode (which
locks out all users.).
To Edit
an existing account click on the Edit button next
to that account. You can change the password on the
account, change restrictions on colour output, and
change the limits (if any) on colour or black & white
printing/copying.
To Delete
an account click the Delete button next
to that account and confirm when prompted.

