


Checking Feature Selections and Proof Copying (continued)
3-57
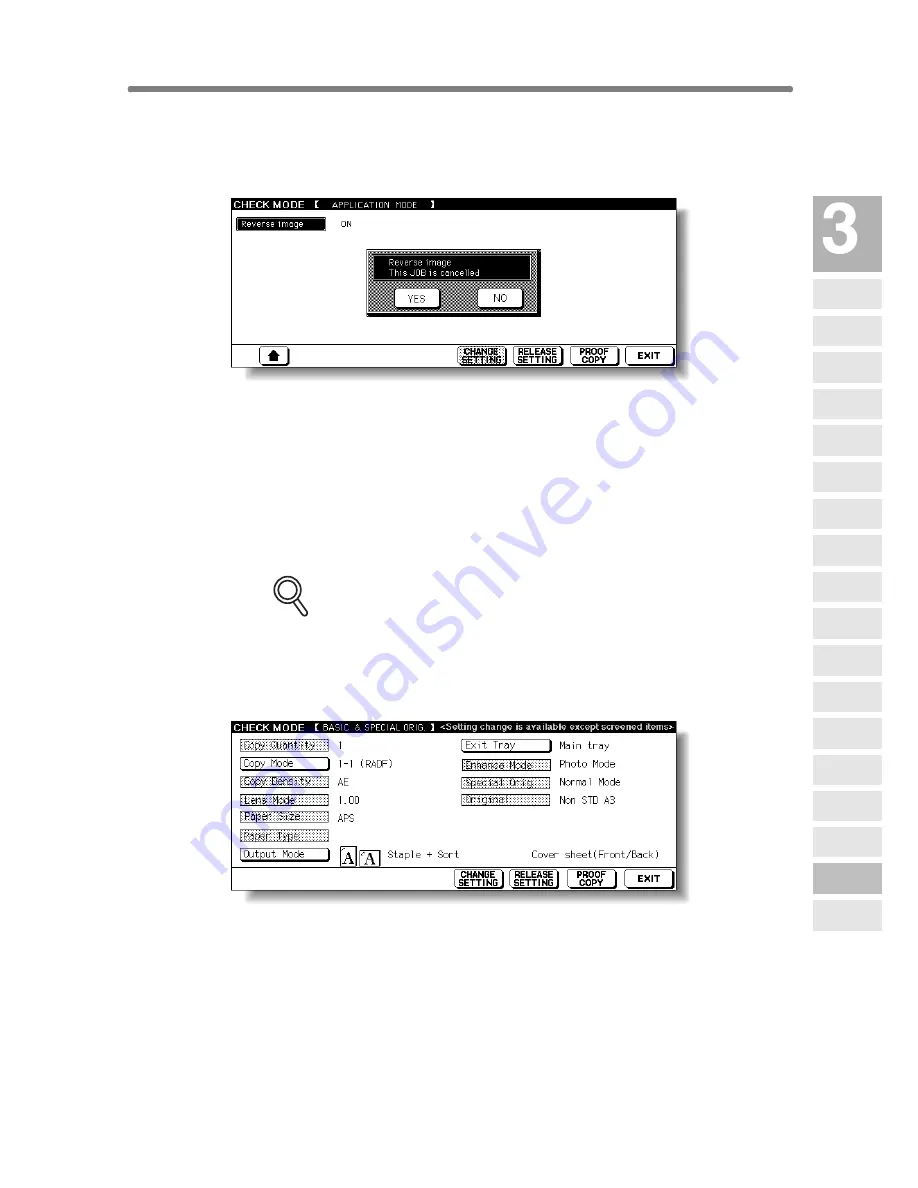
5.
To release the settings:
Touch the desired copying condition key on the Check Screen to highlight it,
then touch
RELEASE SETTING
.
The confirmation screen will appear on the Check Screen.
Touch
YES
to cancel the function, or
NO
to restore.
• When making a set of sample copy, proceed to the next step.
• To start printing without proofcopying, proceed to step
8
.
6.
Press [
PROOF COPY
] on the control panel or touch
PROOF COPY
on the Check Screen.
A set of sample copy will be output.
FOR DETAILS
• Press [
STOP
] to suspend the proof copying. In this case, the scanned
image data will not be deleted from memory.
• As to the copying conditions indicated on the keys that appear
dimmed after proof copying, you cannot change or release the
selection.
• When the copy result is satisfactory, proceed to the next step.
• When any setting change is required, return to step
4
, then repeat proof
copying, as required.
If the desired selection cannot be changed, press [
STOP
] to delete all the
data in memory, then press [
AUTO RESET
] to restart the job setting.
Copying
Operations
Positioning
Originals
Setting Print
Quantity
Set Job During
Warmup
Stop
Scan/Print
Paper Size
Lens Mode
Density
1-1, 2-2
2-1
Multi-Sheet
Bypass Tray
Using
Memory
Output without
Finisher
Finisher
Output Mode
Binding
Mode
Shift Tray
Output Mode
Recalling
Previous Job
Check Mode
& Proof Copy
Interrupt
Mode
Содержание 7255
Страница 1: ...Basic Advanced 7255 7272 INSTRUCTION MANUAL INSTRUCTION MANUAL...
Страница 16: ...Features of the Konica 7255 7272 continued xiv...
Страница 17: ......
Страница 18: ...Features of the Konica 7255 7272 continued xvi...
Страница 20: ......
Страница 36: ......
Страница 132: ......
Страница 164: ......
Страница 166: ......
Страница 212: ......
Страница 429: ...Index...
Страница 430: ......
Страница 435: ...56QN97350 00...


