IK-12 NEXT
- 30 -
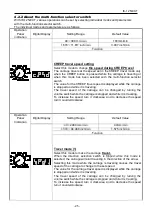
Operation
Panel
Indication
Digital Display
Setting Range
Default Value
0
~
10.0 s
0s
Function
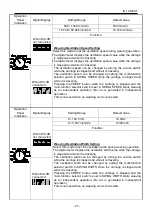
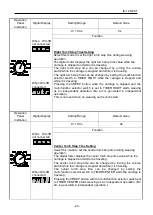
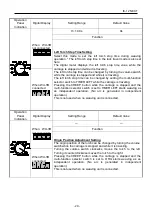
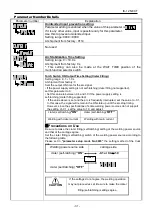
Arc Stabilization Time Setting
Select this mode to set the arc stabilization time during traveling
mode.
This is the time between flipping the direction selection switch and the
carriage starting to travel. During arc stabilization time, the arc signal
is output while the carriage is stopped, and the time counts down on
the digital meter.
The value of the arc stabilization time is displayed on the digital meter
while the carriage is stopped.
The arc stabilization time can be changed by turning the volume
switch only while the carriage is stopped.
* The arc stabilization time does not work when the arc selection
switch is set to OFF.
* Do not change to a mode other than the traveling mode with the
multi-function selector switch while the direction selection switch is
flipped and the countdown for the arc stabilization time is in progress.
This may cause the carriage to operate unexpectedly.
In order to weld for the arc stabilization time with
the initial arc current, an initial arc setting has to be
made at the welding power source.
The arc stabilization time at the carriage side is
essentially the time between flipping the direction
selection switch (arc signal ON) and the carriage
starting to travel.
Check the instruction manual for the welding
power source for details on initial arc setting.
Operation
Panel
Indication
Digital Display
Setting Range
Default Value
0000
~
0011
―
Function
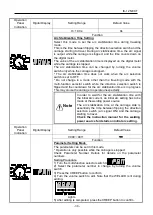
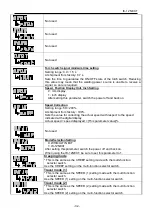
Parameter Setting Mode
The parameters can be set in this mode.
* Operation is only possible while the carriage is stopped.
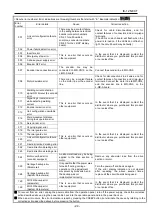
Check Parameter Number Details for details on the parameter
numbers.
Setting Procedure
1) Turn the multi-function selector switch to
2) Select the parameter number to change by turning the volume
switch.
3) Press the CREEP button to confirm.
4) Turn the volume switch to edit. Note that the WEL LED is lit during
editing.
5) After editing is completed, press the CREEP button to confirm.
Lights
Note
Содержание IK-12 NEXT
Страница 50: ...IK 12 NEXT 46 10 Wiring diagram...
Страница 51: ...IK 12 NEXT 47 11 Assembly drawing of IK 12 NEXT 215mm 8 465inch 220mm 8 661inch 432mm 17 008inch...
Страница 52: ...IK 12 NEXT 48 012 Parts list 12 1 Main body and inside parts...
Страница 54: ...IK 12 NEXT 50 12 2 Outside parts...
Страница 56: ...IK 12 NEXT 52 12 3 Electrical parts 103...

