73
2. Click the
Add …
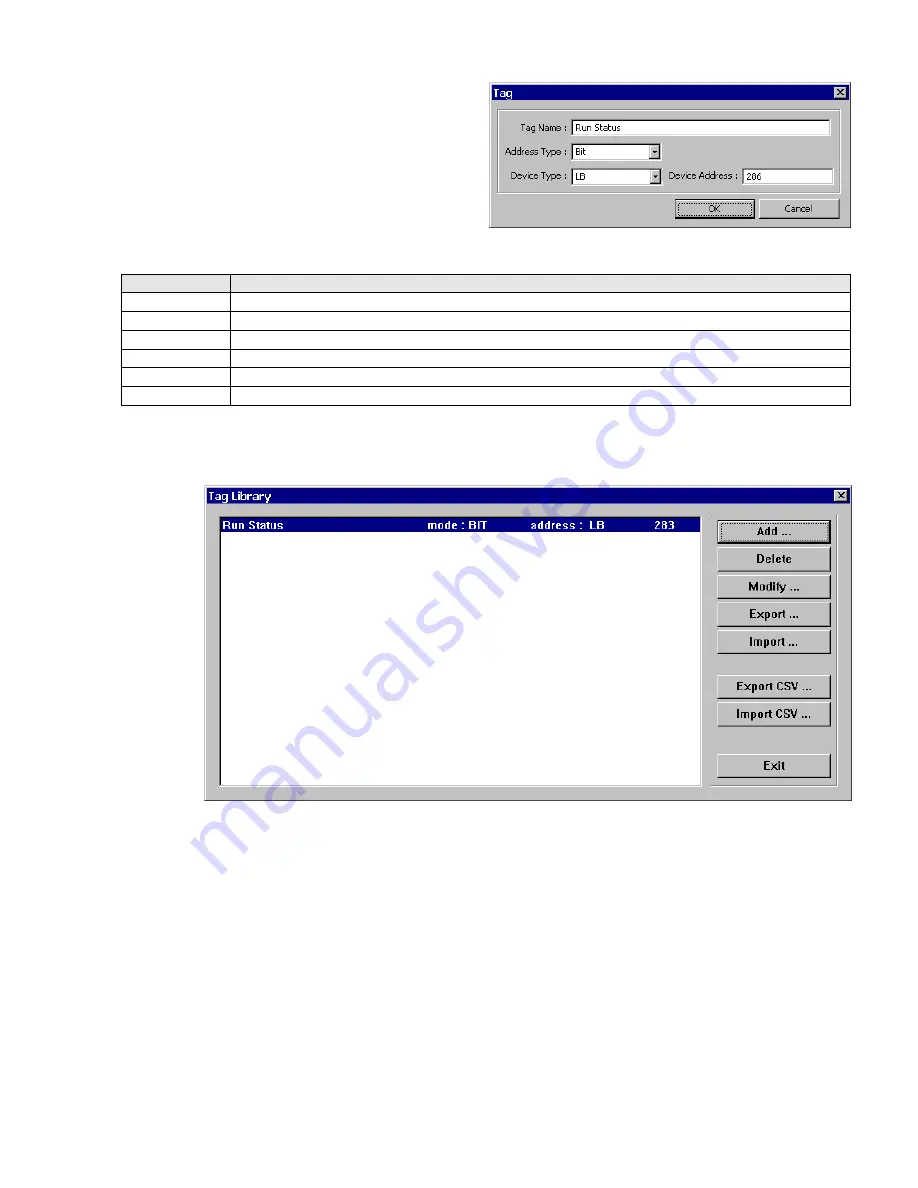
button. The Tag Dialog pops up. Fill in
the Tag Name, Address Type, Device Type and Device
address.
(Example shown to the right.)
Item
Description
Tag Name
A brief name for the tag.
Note:
Only the first 18 characters are displayed in dialogs.
Address Type
Select Bit or Word. This determines the type of Parts that have access to this tag.
Device Type
Prefix for the data type. This is dependent on PLC type.
Address
Data bit/word numerical address.
Note:
Extended Addressing is allowed when applicable.
OK
Saves tag to Tag Library and closes dialog.
Cancel
Close dialog without saving the entered information.
3. Click
OK
to add the Tag to the Tag Library.
Note:
Any changes that you make to tags are not saved until you save your project.
7.7.2 Editing Tags
Call up the Tag Library, select the tag to edit and click on the
Modify …
button. Change the fields as desired. If the Address
is changed, all places where the tag is used in the project are changed.
Note:
If the
Tag Name
or
Address Type
fields are changed, all places where that Tag is used are changed to the first
Tag in the Tag Library. Once OK is clicked, this happens. This action cannot be recovered using the Undo command.
7.7.3 Deleting Tags
Call up the Tag Library, select the tag to delete and click on the
Delete
button.
Note:
All places where that Tag is used are changed to the first Tag in the Tag Library. Once
Delete
is clicked this
happens. This action cannot be recovered using the Undo command.
Tag Library with example tag
Содержание MMI-1500
Страница 2: ...ii...


