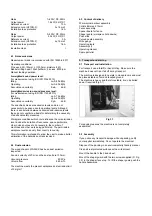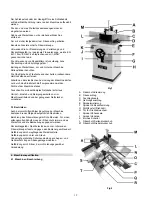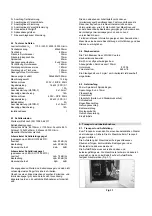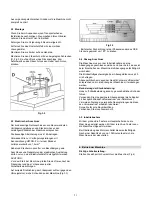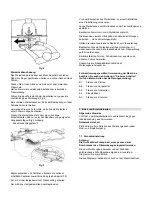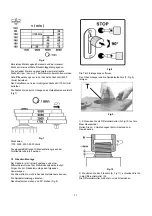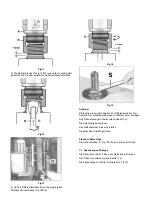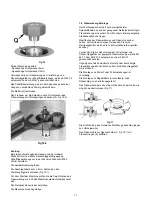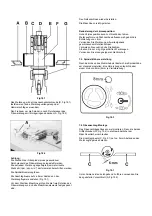
Start the machine cautiously.
Reduction of noise exposure:
Exposure to high levels of noise can damage your hearing.
The shape of the tool and the speed significantly influence the
generation of noise.
Use tools with a largely closed body of revolution.
Avoid unnecessarily high speeds.
Only work with well-sharpened tools.
Use suitable hearing protection.
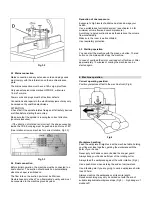
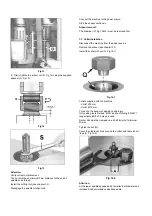
7.5 Spindle vertical travel
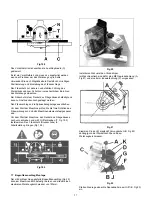
After you loosen the clamping lever the spindle height can be
adjusted with the hand wheel. One revolution corresponds to
a travel of 8mm (2mm for each ¼ turn)
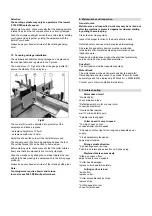
Fig 18.3
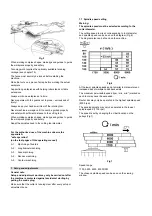
7.6 Shaper fence installation
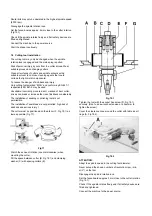
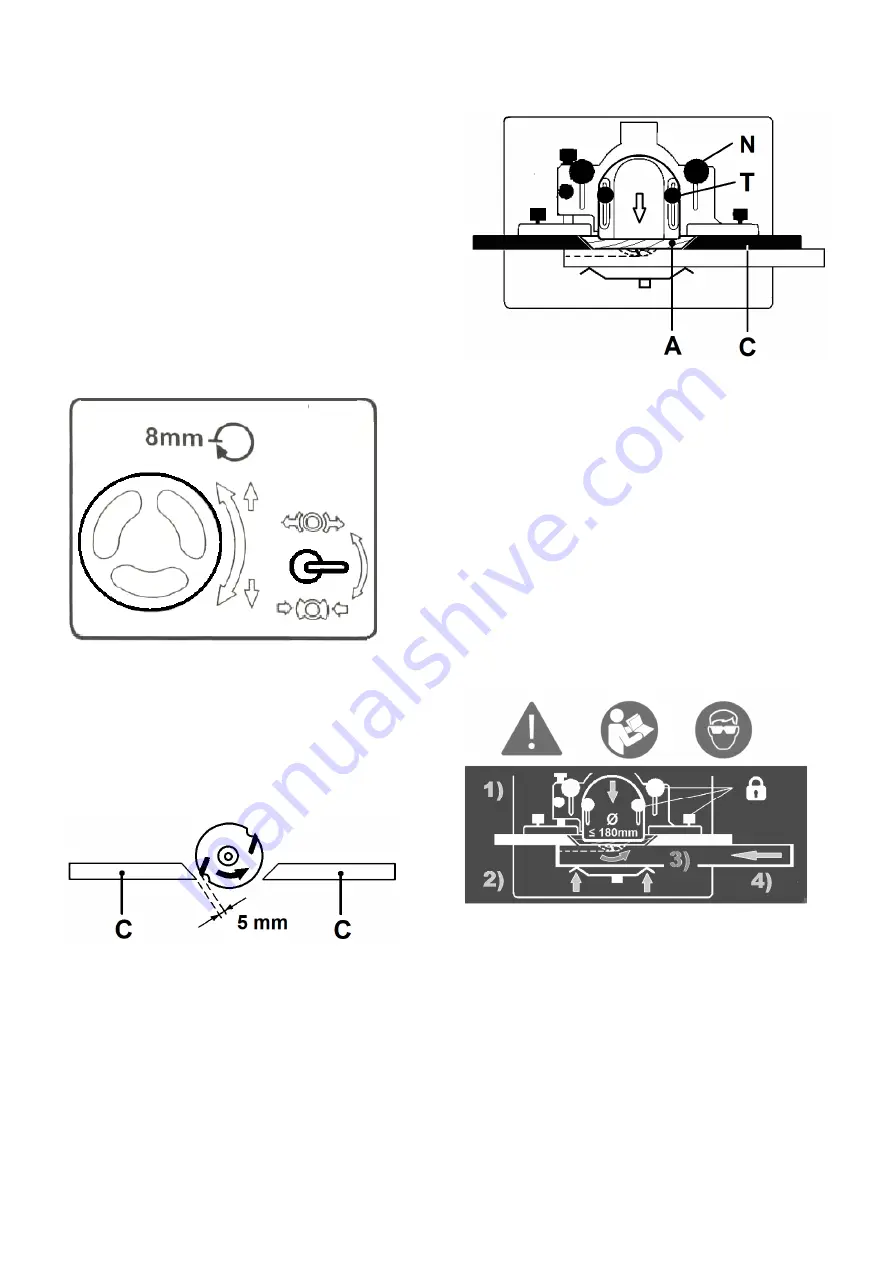
Install the shaper fence body first. To do so, screw the two
bolts (N, Fig 19.2) into the tapped holes in the machine table.
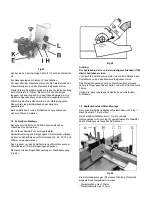
Set the fence boards (C, Fig 19.1) approx. 5mm close to the
cutter rotation.
Fig 19.1
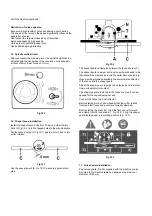
Use the spacer board (A, Fig 19.2) to securely guide small
gibs.
Fig 19.2
The spacer board is clampled between the fence boards (C).
The spacer board is a wear part and a new board needs to be
fabricated if the clearance around the cutter becomes too big.
Have a scrap workpiece available to allow proper positioning
of the fence and the shaper guard.
Adjust the shaper guard to guide the workpiece and to protect
from accidental cutter contact.
The shaper guard is fastened to the fence cover and can be
opened for tooling and setup access.
Connect the fence to a dust collector.
Before starting work, check manually that the cutter rotates
freely and that fence and guard are correctly clamped.
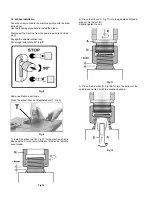
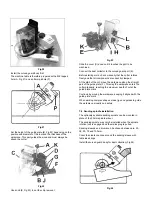
Before starting the machine; slide the fence cover forward
and clamp it with 2 lock knobs (T, Fig. 19.2), bring the shaper
guard (hold downs) into working position (Fig. 19.3).
Fig 19.3
7.7 Curved guard installation
The curved guard (Fig 20) supplied with the machine can be
mounted to the machine table and allows a maximum tool
diameter of 150mm.
Содержание JWS-34KX
Страница 44: ...A 1 A 2 A 3 A 4 A 5 ...

