NOTE:
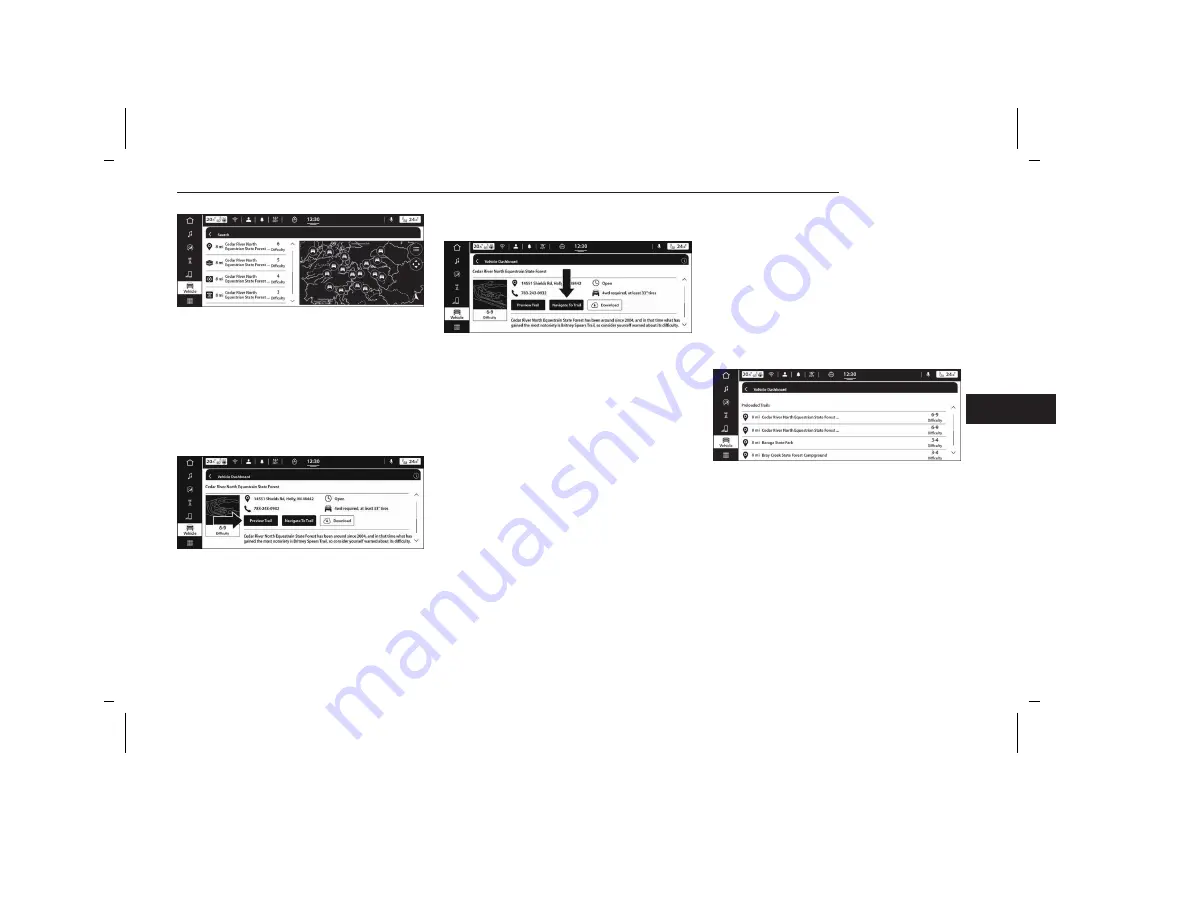
Each trail detail screen will provide you information
such as an address, phone number, typical open/
close times, and vehicle requirements.
3. Press the Preview Trail button to view the trail info.
Press the Start Recording button which will bring
you to the Trail Recording app landing page where
you will be able to save the recording, view saved
recordings, and see the distance to your destination.
NOTE:
Pressing the Back arrow on the Trail Info page will
bring you back to the trail detail screen.
4. Press the Navigate To Trail button which will send
the directions to your TomTom Navigation system.
5. If the trail does not exist within your Uconnect sys-
tem’s local memory, press the Download button. If
the trail already exists, meaning it has already been
downloaded at some point, press the Check For
Updates button.
NOTE:
○
“Trail Updated Successfully” will display towards
the top of your touchscreen if the trail update
was completed properly. If “Trail could not
update. Not enough space” appears, you will
need to clear up space under your “Downloaded
Trails” by removing trails that are no longer
needed or desired. “No Updates available”
means the trail you have selected is up-to-date.
○
Pressing “X” on any of these screens will take
you back to the trail details screen.
Trails Near You
The Trails Near You feature will show the first 20 trails
based on 500 miles (805 km) within your current vehi-
cle’s location.
NOTE:
If there are no trails within a 500-mile (805-km) radius
within your current vehicle’s location, “No Results
Found” will appear on your touchscreen.
Preloaded Trails
Press “Preloaded Trails” to see a list of trails that are
preloaded onto your Uconnect system.
NOTE:
“Preloaded Trails” cannot be deleted from the list, as
they are the default trails that remain on your system
permanently.
Expanded Trail Difficulty View
Preview Trail
Navigate To Trail
Preloaded Trails
MULTIMEDIA
221
5
5538906_24_JL_OM_EN_USC_t_E1.pdf 221
5/22/2023 9:02:26 AM


