63
Chapter 4: Repair Procedures
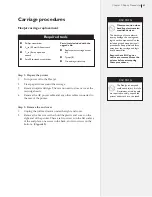
Step 1: Prepare the printer
1.
Turn power off to the FlexJet.
2.
Clear paper from around the carriage.
3.
Remove inkjet cartridges. There is no need to store or cover the
cartridge heads.
4.
Remove the AC power cable and any other cables connected to
the rear of the printer.
Step 2: Remove the end cover
1.
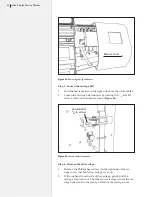
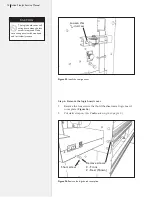
Unplug the roll feed motor under the right end cover.
2.
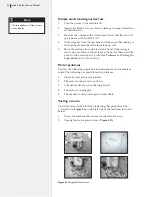
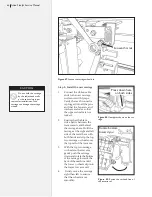
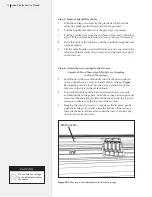
Remove the five screws that hold the plastic end cover on the
right end of the printer. There are two screws on the flat surface
of the end plate, one screw in the back, and two screws on the
bottom. (
Figure 42
.)
n
Phillips screwdriver
n
9
/
64
-in (3.5mm) Allen wrench
n
5
/
16
-in (8mm) open-end
wrench
n
Small, flat-tipped screwdriver
Parts/tools included with the
upgrade kit:
n
Replacement carriage assem-
bly
n
Tyraps (8)
n
Grounding wrist strap
Required tools
Carriage procedures
FlexJet carriage replacement
Tools Required
Observe caution when
handling electrostatic-
sensitive devices.
The discharge of static electric-
ity may damage the carriage and
logic board components. Use the
included ground strap during all
procedures. Keep plastic objects
away from the carriage and logic
board assemblies.
Ensure that all AC power
cables are removed from the
printer before attempting
these procedures.
Caution
The FlexJet is heavy and
could cause injury if it falls.
A minimum of two people
are required to safely unpack the
printer and attach it to the stand.
Caution
Содержание FlexJet
Страница 1: ...Service Manual Ioline FlexJet ...
Страница 3: ...Service Manual Ioline FlexJet ...
Страница 4: ......
Страница 8: ......
Страница 12: ......
Страница 60: ...60 Ioline FlexJet Service Manual This page intentionally left blank ...
Страница 90: ...90 Ioline FlexJet Service Manual This page intentionally left blank ...
Страница 96: ...96 Ioline FlexJet Service Manual This page intentionally left blank ...

