15
En
•
4.1.1.7. Quick Save List
You can use this option to specify into which favourite list your favourites will be automatically saved. You may select from the list of
existing favourite lists or choose “Select FAV from list” to allow you to choose the location later, while adding favourites.
4.1.1.8. OSD colour
You can change the colour of the GUI with this option. Select the preferred colour set with the “OK” key or directional “Left” and
“Right” keys.
4.1.1.9. Background EPG collection
If this option is activated, the receiver will use the free tuner to search in the background on all channels for new EPG data. Select
this option with the “OK” key (6) or “Left” and “Right” directional keys.
4.1.1.10. EPG font size
This option allows you to change to size of the text in the EPG, to allow you to see more or less data at once. Select this option with
the “OK” key (6) or “Left” and “Right” directional keys.
4.1.1.11. Power Up Mode
This option allows you to set the unit to automatically change to a specifi c mode during power-up. If you select “Stand-by mode”, the
receiver will go into stand-by immediately after power-up. If you select “Last mode”, the receiver will change to the same mode it was
in, prior to switching it off. Select this option with the “OK” key (6) or “Left” and “Right” directional keys.
Note:
Digital receiver is able to switch on some of the TV sets that use the “Slow Blanking” signal on a SCART connector. If “Last Mode” is
selected, the receiver and TV will power-up again, after a power failure. .
4.1.1.12. Auto Upgrades
By choosing “Notify”, you will see a
symbol in the upper part of the OSD when a new update is available. Select this option with
the “OK” key (6) or “Left” and “Right” directional keys.
4.1.1.13. Zapping Screen
With this option, you can defi ne if zapping will be on the main screen
or in PIP (Picture In Picture). This option is valid only if PIP mode is
activated. Select this option with the “OK” key (6) or “Left” and “Right”
directional keys.
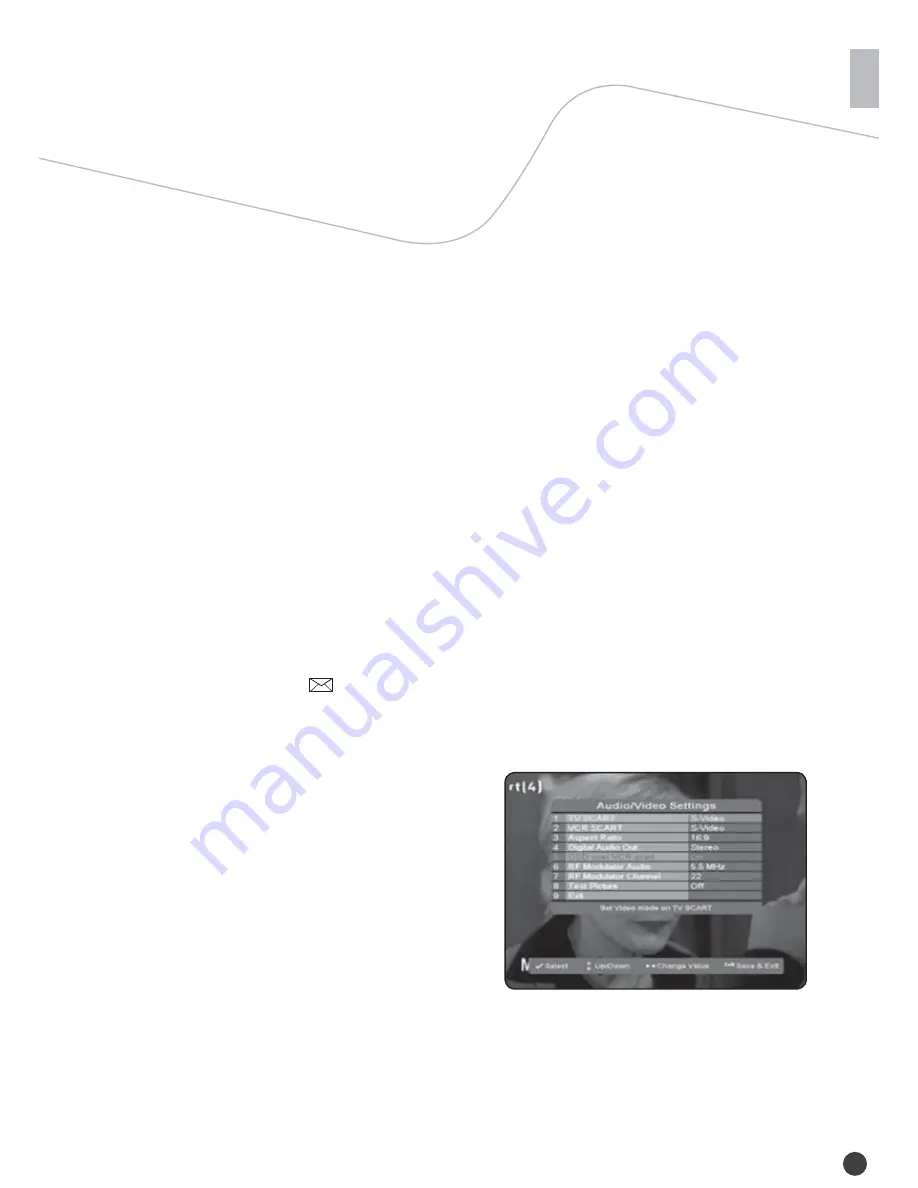
4.1.2. Audio/Video Settings
This is where you can set the basic audio and video parameters of your
digital receiver related to connections on rear panel (see picture 15).
4.1.2.1. TV SCART
Use this option to specify video output type on the TV SCART
connector. Select this option with the “OK” key (6) or “Left” and “Right”
directional keys.
CVBS (composite) – Signal is available on the SCART connector (13) as well as on the “Video
output” connector (10).
S-Video – Signal is available on the SCART connector (13) as well as on the “S-Video” connector (12).
RGB – Signal is available only on the SCART connector (13)
YUV – Signal is available only on the SCART connector (13)
4.1.2.2. VCR SCART
Use this option to specify the video output type on the VCR SCART connector. You may select CVBS (composite) or S-Video for the
Picture 15


