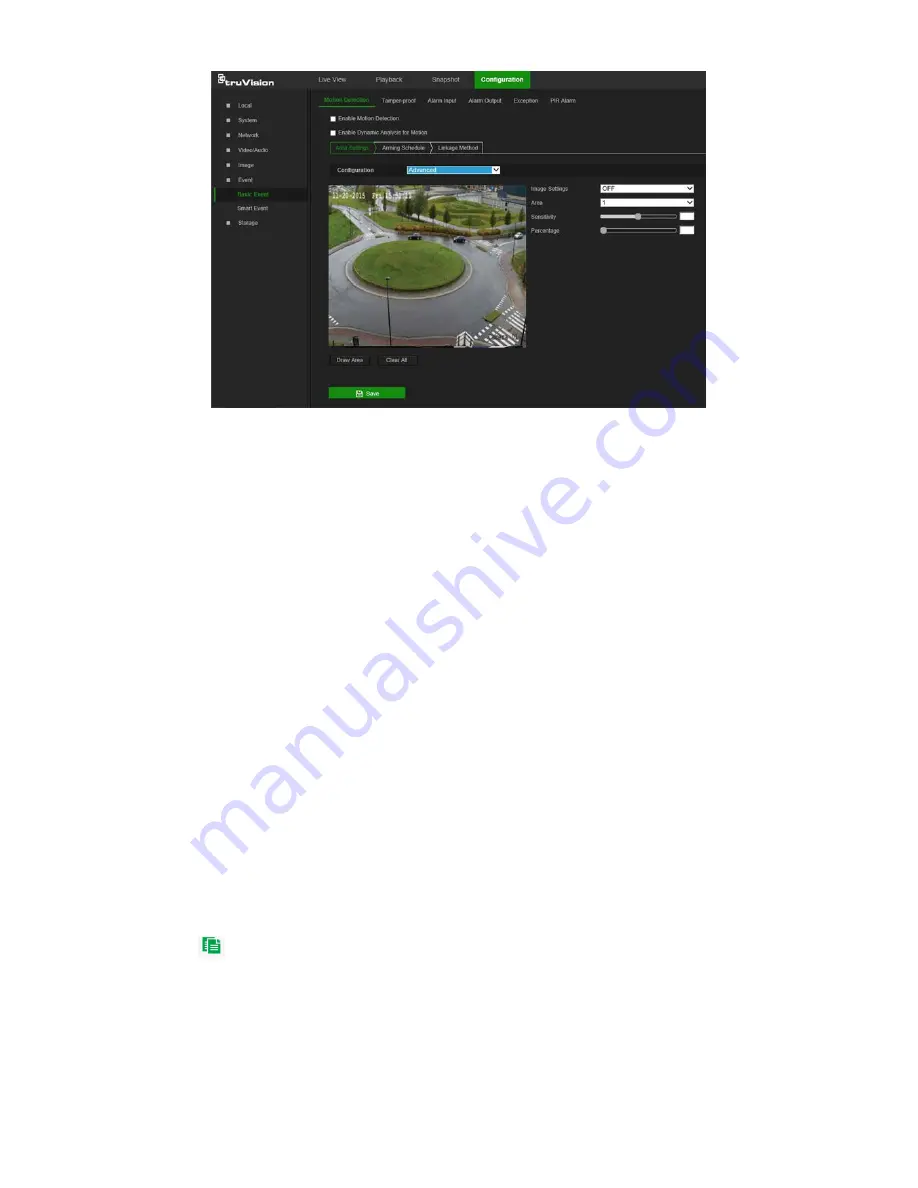
4. In the
Image Settings
drop-down list, select
OFF
,
Auto-switch
or
Scheduled-
switch
. Default is
OFF
.
Auto-switch and Scheduled-switch allow permit different settings for day and night
as well as different periods.
5. Select a number from the
Area
drop-down list and click
Draw Area
. Click and drag
the mouse on the live video image to draw an area sensitive to motion detection.
Note:
Up to eight motion detection areas can be drawn on the same image.
6. Click
Stop Drawing
to finish drawing. Click
Clear All
to delete all areas marked and
restart drawing.
7. Move the
Sensitivity
slider to set the sensitivity of the detection for the selected
areas.
8. Move the
Proportion of Object on Area
slider to set the proportion of the object
that must occupy the defined area to trigger an alarm.
9. Click
Save
to save the changes for that area.
10. Repeat steps 7 to 9 for each area to be defined.
11. Click the
Arming Schedule
tab to edit the arming schedule. Click and drag along
the time bars or click on a time bar to configure arming schedule times.
Note:
All scheduled times are based on the 24-hour clock. Ensure that the correct
time zone and daylight saving time settings have been configured in
Configuration
>
System
>
System Settings
.
12. Click
to copy the schedule to other days by selecting the corresponding check
box next to the day.
13. Click
Save
to save changes.
14. Click the
Linkage Method
tab to specify the linkage method for when an event
occurs. Select one or more response methods for the system when an alarm is
triggered. See “Linkage methods” on page 31 for details.
34
TruVision 81 Series IP Camera Configuration Manual


