Installing and Replacing Desktop Board Components
45
1. Observ e t he pr ecaut ions in " Befor e You Begin" ( see page 23) .
2. Turn off all peripheral devices connect ed t o t he com put er. Disconnect t he
com put er’s pow er cord from t he AC pow er source ( w all out let or pow er adapt er) .
3. Rem ove t he com put er cov er.
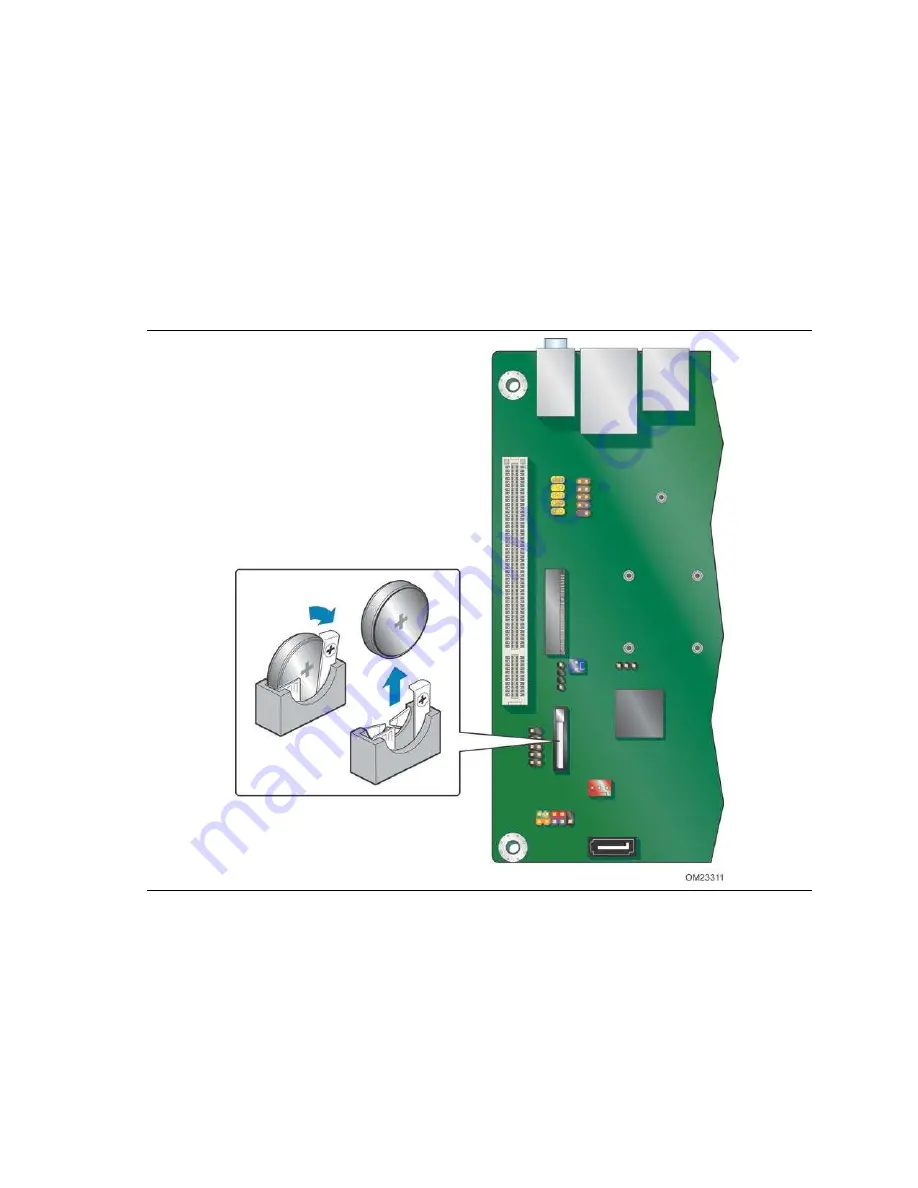
4. Locat e t he bat t ery on t he board ( see Figure 15) .
5. Push t he bat t ery r et ent ion clip aside and rem ov e t he bat t er y from t he connect or as
show n in Figure 15. Not e t he orient at ion of t he “ + ” and “ - ” on t he bat t er y.
6. I nst all t he new bat t er y in t he connect or, m aking sur e t o orient t he “ + ” and “ - ”
corr ect ly.
7. Replace t he com put er cov er.
Figure 15. Removing the Battery
Содержание D2550DC2
Страница 1: ...2 Order Number G74459 001...
Страница 8: ...Intel Desktop Board D2550DC2 Product Guide viii...
Страница 31: ...Installing and Replacing Desktop Board Components 31 Figure 9 Installing a PCI Express Mini Card...
Страница 44: ...Intel Desktop Board D2550DC2 Product Guide 44 O...
Страница 46: ...Intel Desktop Board D2550DC2 Product Guide 46...
Страница 50: ...Intel Desktop Board D2550DC2 Product Guide 50...


