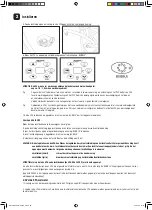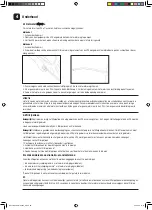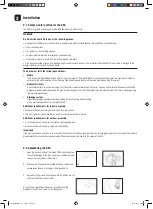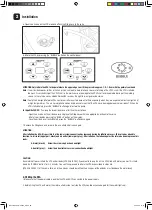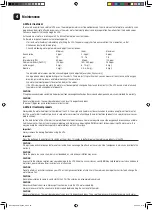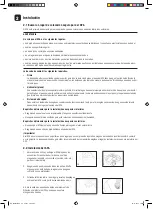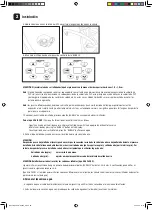
5. Open the air valve on the SPA wall and attach the filling hose to the valve.
6. Inflate the SPA by pressing the “BUBBLE” button on the control panel.
ATTENTION Only inflate the SPA to the point where the upper edge can still be pressed in approx. 1.0 - 1.5 cm with the palm of your hand.
Note:
The air inside expands further in the sun, which can lead to deformation and over-stretching of the UPVC shell if the SPA is inflated
too much. Over-stretching of the UPVC shell is the main cause of damage to the UPVC shell and irreparable tearing of the welding
seams. In these three cases, Ubbink Garden BV reserves the right to reject guarantee claims.
Note:
Due to their design, inflatable SPAs can lose air after a certain amount of time, especially when they are exposed to direct sunlight and/
or high temperatures. This is a normal phenomenon and does not mean that the SPA has a damaged area where air leaks.7. When the
SPA is fully inflated, press the “BUBBLE” button again to stop the pump.
For Spa Elite FACE 2:
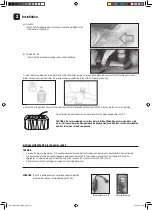
Pump up the two air beds one after the other as follows:
- Open the air valve on the air bed cover and place the filling hose with the appropriate nozzle onto the valve.
- Inflate the air bed by pressing the “BUBBLE” button on the display.
- Once the air bed is correctly inflated, press the “BUBBLE” button once again.
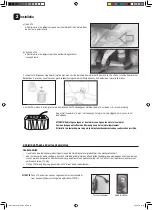
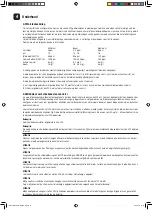
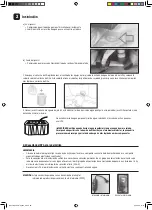
7. Remove the filling hose and screw in the air outlet and air valve again.
ATTENTION:
After inflating the SPA, it is possible that the lower screw connection has loosened during the inflation process. This valve has a double
function, i.e. air inlet (upper part, black) and air outlet (lower part, grey). After inflation, the following must therefore be done to prevent air
leaks:
Air inlet (black): Screw the screw cap back on hand-tight
Air outlet (grey): Screw the air outlet valve screw connection hand-tight
CAUTION:
Be careful not to over-inflate the SPA and air beds (SPA Elite FACE 2).If you want to top up the air in a SPA filled with water, you must first hold
down the “BUBBLE” button for 2–3 minutes. You can then proceed to inflate the SPA as described in steps 4-6.
(SPA Elite FACE 2: If, at the same time, air in the air beds should be refilled, the air valves of the air beds must be above the water level)
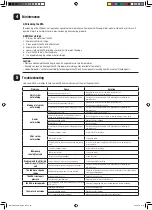
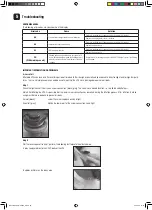
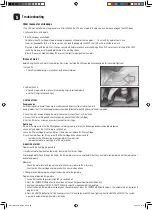
2.3 Filling the SPA
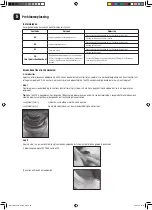
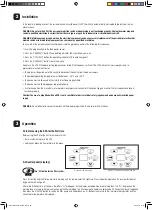
1. Make sure that the power cable is outside the SPA and NOT connected to the power supply.
2. Before filling the SPA with water, the water outlets inside / outside the SPA should be checked again for their watertight seal.
2
Installation
3. Öffnen Sie den oben am Filter-Heizungselement des Whirlpools befindlichen Luftauslass und schrauben
Sie den Füllschlauch auf.
4. Öffnen Sie das Luftventil an der Whirlpool-Hülle und stecken Sie den Füllschlauch auf das Ventil.
5. Pumpen Sie nun den Whirlpool auf, indem Sie auf der Bedienungskonsole die Taste "BUBBLE" drücken.
Wenn der Whirlpool richtig aufgepumpt ist, drücken Sie erneut die "BUBBLE" -Taste, um das Aufpumpen zu
beenden.
6. Entfernen Sie den Füllschlauch und schrauben Sie Luftauslass und Luftventil wieder zu.
ACHTUNG. Achten Sie darauf, den Whirlpool nicht übermäßig stark aufzublasen.
2.2 Den Whirlpool aufbauen
1.Öffnen Sie den Karton und ziehen Sie den zusammengefalteten Whirlpool und das Zubehör heraus. Verwenden
Sie für das Öffnen der Verpackung keine Werkzeuge mit Klingen (Messer, Cutter, etc. ) um eine Beschädigung der
Folie zu vermeiden.
2. Breiten Sie die Unterlegfolie an dem vorgesehen Platz aus und entfalten Sie darauf den Whirlpool, mit dem
Bodenteil unten.
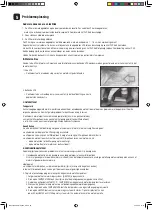
3. Öffnen Sie den oben am Filter-Heizungselement des Whirlpools befindlichen Luftauslass und schrauben Sie den
Füllschlauch auf.
4. Öffnen Sie das Luftventil an der Whirlpool-Hülle und stecken Sie den Füllschlauch auf das Ventil.
5. Pumpen Sie nun den Whirlpool auf, indem Sie auf der Bedienungskonsole die Taste „BUBBLE“ drücken.
Wenn der Spa richtig aufgepumpt ist, drücken Sie erneut die "BUBBLE" -Taste, um das Aufpumpen zu beenden.
Manual SPA 2/4/6 2020_2.indd 50
Manual SPA 2/4/6 2020_2.indd 50
30.09.20 17:21
30.09.20 17:21

