


61
Define
The Product Template properties:
Name
The name of the Product Template
Device Type
The type of the Device
Description
A free field to enter extra information such as a description of the object or it's location.
Tab Included Products
Choose the products that are needed in this template by either drag-and-dropping them from the product
pool or select them and press the Add Device button. Use the Remove Product button to remove a
product, the Add All button to add all products and finally the Remove All button to remove all the
products
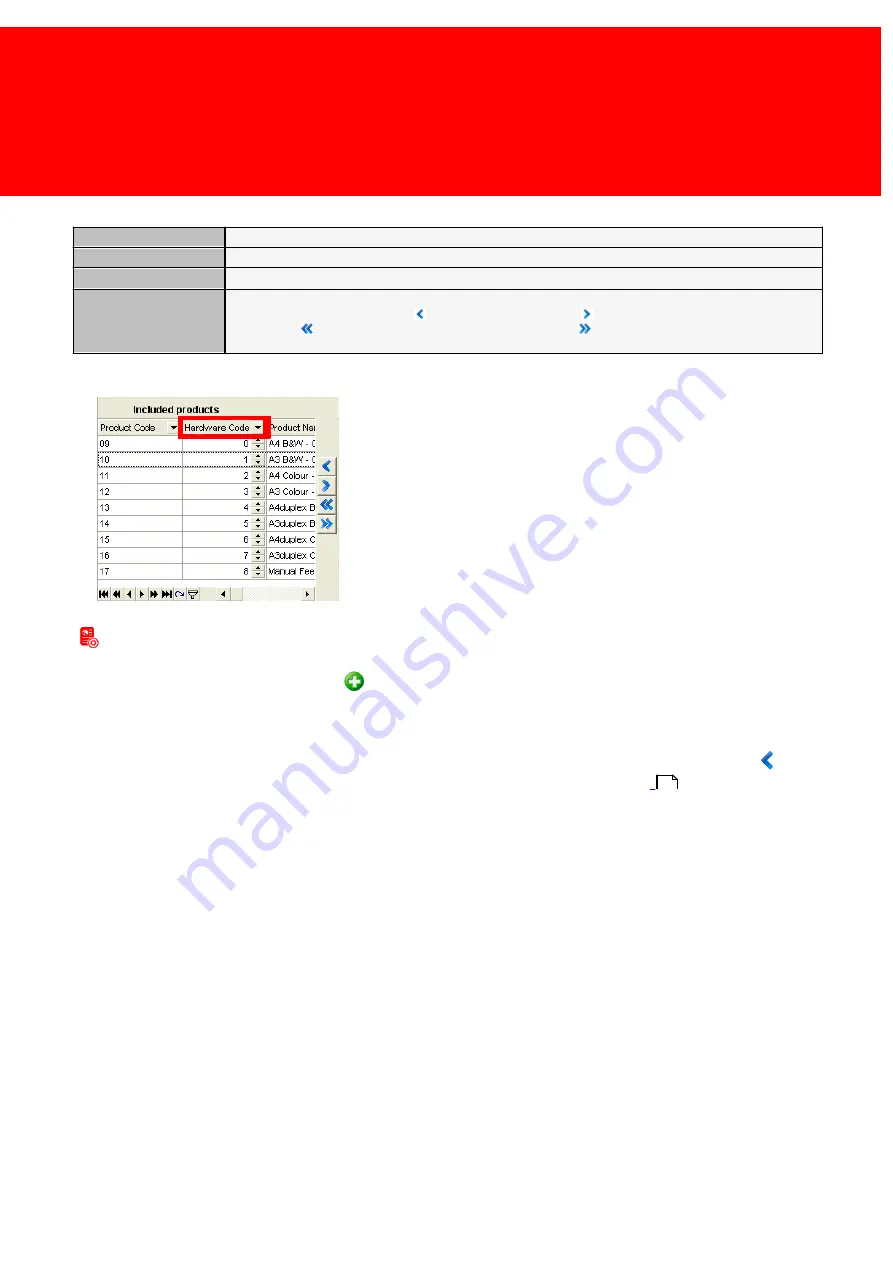
Hardware codes
When Products are added to the Product Template,
assign the right hardware code to each product.
The hardware code is the product code in the PayCon
that is used to identify the product.
In a copier, product code '0' can be 'A4 Black and White'
paper and in a vending machine this can be a 'Spiral A1'
containing a 'Mars Ice' candy bar.
Adding a Product Template
1) Make sure all the products, that must be added to the group, are available.
2) Go to 'Product Template' and click the
'Add' button.
3) Give the Product template a name.
4) Pick the correct device type for the product group; 'Copier' for a copier, 'Vending' for a vending machine and '
Multifunctional' for a device that can print and copy.
5) Pick product from the product list on the right side and either drag them to the left side or press the
button. (If the
product is not in the list of the right, it must be added first, see 'Add product' on page:
).
6) The terminal must communicate the identity of the product to the device it is linked to, this is done via the 'Hardware ID',
the hardware codes for DocuPRO devices are static and must always be the same. Inquire for the other devices what th
range of hardware codes should be and to which buttons they link to.
PosPRO Templates
The PosPRO template has a lot of extra options that differ from the standard product template.
56
Содержание Back Office Suite
Страница 2: ......
Страница 9: ...Introduction PartI ...
Страница 11: ...3 Overview IBOS Overview IBOS ...
Страница 12: ......
Страница 13: ...Hardware Installation PartII ...
Страница 20: ......
Страница 21: ...Software installation PartIII ...
Страница 28: ...20 Inepro Back Office Suite Software installation 9 Select Start Menu Folder Select the Start Menu folder ...
Страница 38: ......
Страница 39: ...Steps PartIV ...
Страница 120: ...112 Inepro Back Office Suite Steps Image 1 Image 2 Image 3 ...
Страница 149: ...Advanced Tasks PartV ...
Страница 152: ...144 Inepro Back Office Suite Advanced Tasks Changing the IP addresses host name of the Database server DocuPRO IBOS ...
Страница 153: ...145 Replacing a server PayCon Server ...
Страница 157: ...Terms Concepts PartVI ...
Страница 159: ...Configuration PartVII ...
Страница 177: ...169 Import Data If the installation was successful the final screen of the installer is shown ...
Страница 179: ...171 Import Data The following screen will appear ...
Страница 206: ......
Страница 207: ...Change Interface Settings PartVIII ...
Страница 209: ...USB Stick Procedure PartIX ...
Страница 211: ...Balance Scheduler PartX ...
Страница 214: ......
Страница 215: ...Scheduled Tasks PartXI ...
Страница 218: ......
Страница 219: ...Troubleshooting PartXII ...
Страница 234: ......
Страница 235: ...Glossery PartXIII ...
Страница 238: ......
Страница 239: ...Appendices PartXIV ...
Страница 244: ...236 Inepro Back Office Suite Appendices ...
Страница 246: ......
Страница 248: ......


