OPERATIONS MANUAL – 5750440 – REVISION D
Unsatisfactory Print, Questions and Solutions
H2
Q6
The system is not printing even though all of the LEDs are working normally.
S6
Disconnect power and remove the four Phillips screws from the controller housing, and check the
cable connection between the printhead cable and the controller board. Reassemble and
reconnect power.
Q7
All indications are normal but the system prints on every other box. Why?
S7
The Box Length distance is longer than the length of the product. Decrease the Photocell Off
distance by following the directions Instruction F6.
Q8
The system is printing normally but it’s the wrong message. Why?
S8
The wrong message has been selected to print. Follow the directions in Instruction A1 and select
another message to print.
Q9
The system is printing the correct message but the message is too far to one side. Why?
S9
The message indent distance is incorrect. Adjust the distance by following the directions in
Instructions C1 and C2.
Q10
The system is printing normally but the message is too wide. Why?
S10
The character width is too big or too narrow. Perform one of the following procedures:
[1]
Shorten or widen the character width by following the directions in Instruction C3.
[2]
Increase or decrease the fixed speed by following the directions in Instruction F7.
Q11
The system is printing the correct message but ink dots are missing from some of the
characters. Why?
S11
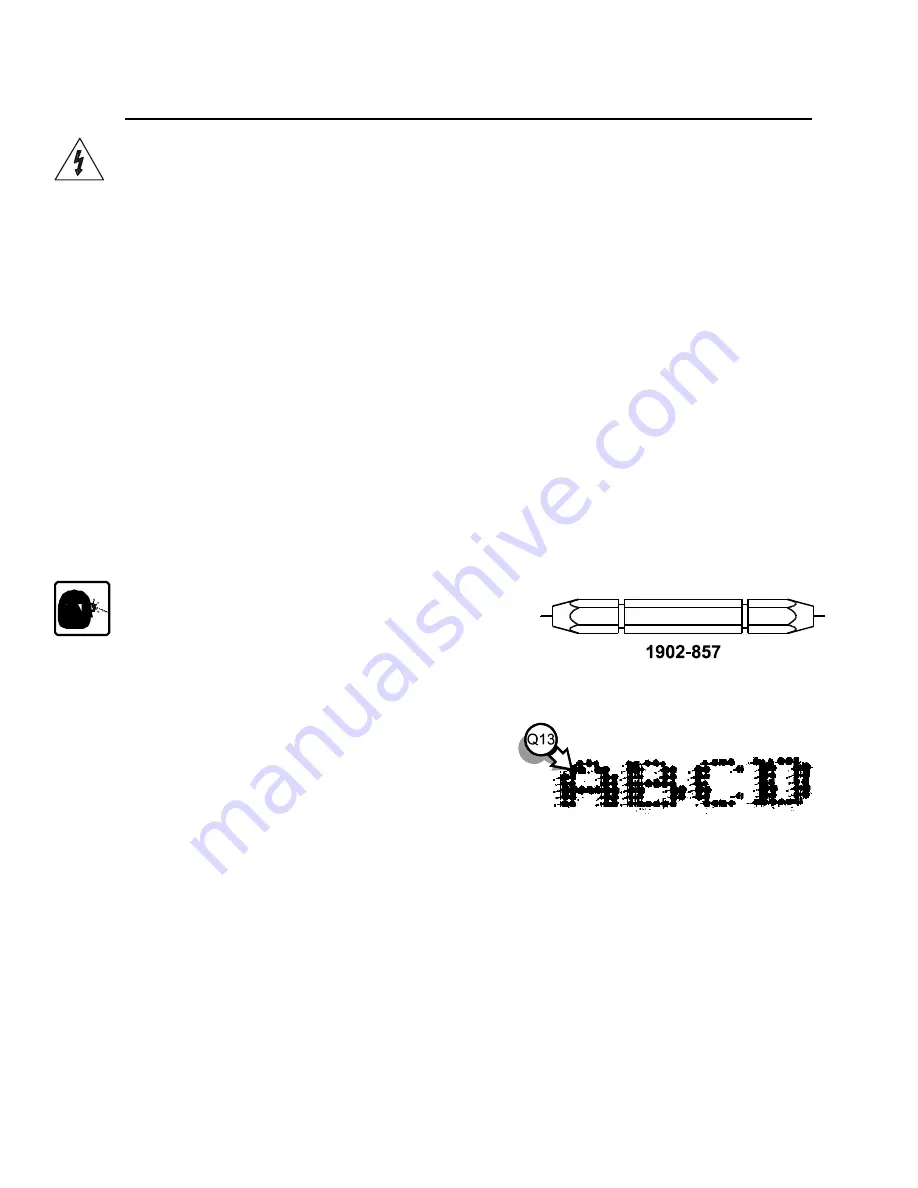
The faceplate of the printhead is dirty and some of ink
jet orifices are blocked. Clean the faceplate with
Maintenance Spray and purge the printhead. If any of
the ink jet orifices remain blocked, then remove the
obstruction using a Broach Kit (1902-857).
Q12
The system is printing the correct message but the ink dots are too small. Why?
S12
The dot size is too small. Increase the dot size by following the directions in Instruction C5.
Q13
The system is printing the correct message but
the characters are out of position and there are
a lot of extra dots. Why?
S13
The printhead is too far from the product. Adjust
the printhead until it is closer to the box. The faster
the box travels the closer the printhead must be to
the box.
Q14
After sitting idle for a few minutes, the dots in the in the first message are too small when
the system starts printing again. Why?
S14
Undersized dots on startup can result from two adjustments: dot size and print delay. These
variables need to be tested and set at the same time to achieve a satisfactory solution. Adjust the
size of the first printed dots and the print delay by following the directions in Instruction C10.
Q15
I selected fixed speed and now my system prints random dots. Why?
S15
The print direction is wrong. Change the print direction by following the directions in Instruction
F8.
Содержание 5750-440
Страница 4: ...OPERATIONS MANUAL 5750440 REVISION C...
Страница 14: ...OPERATIONS MANUAL 5750440 REVISION D...
Страница 32: ...OPERATIONS MANUAL 5750440 REVISION D...
Страница 38: ...OPERATIONS MANUAL 5750440 REVISION D...
Страница 64: ...OPERATIONS MANUAL 5750440 REVISION D...
Страница 72: ...OPERATIONS MANUAL 5750440 REVISION D...
Страница 74: ...OPERATIONS MANUAL 5750440 REVISION D...
Страница 77: ...OPERATIONS MANUAL 5750440 REVISION D Assembly Drawings B3...
Страница 78: ...OPERATIONS MANUAL 5750440 REVISION D...
Страница 79: ...OPERATIONS MANUAL 5750440 REVISION D...
Страница 80: ...OPERATIONS MANUAL 5750440 REVISION D...


