NAS-4100 NETWORK ATTACHED STORAGE SERVICE MANUAL
3.
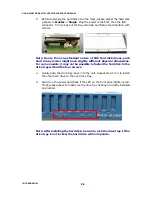
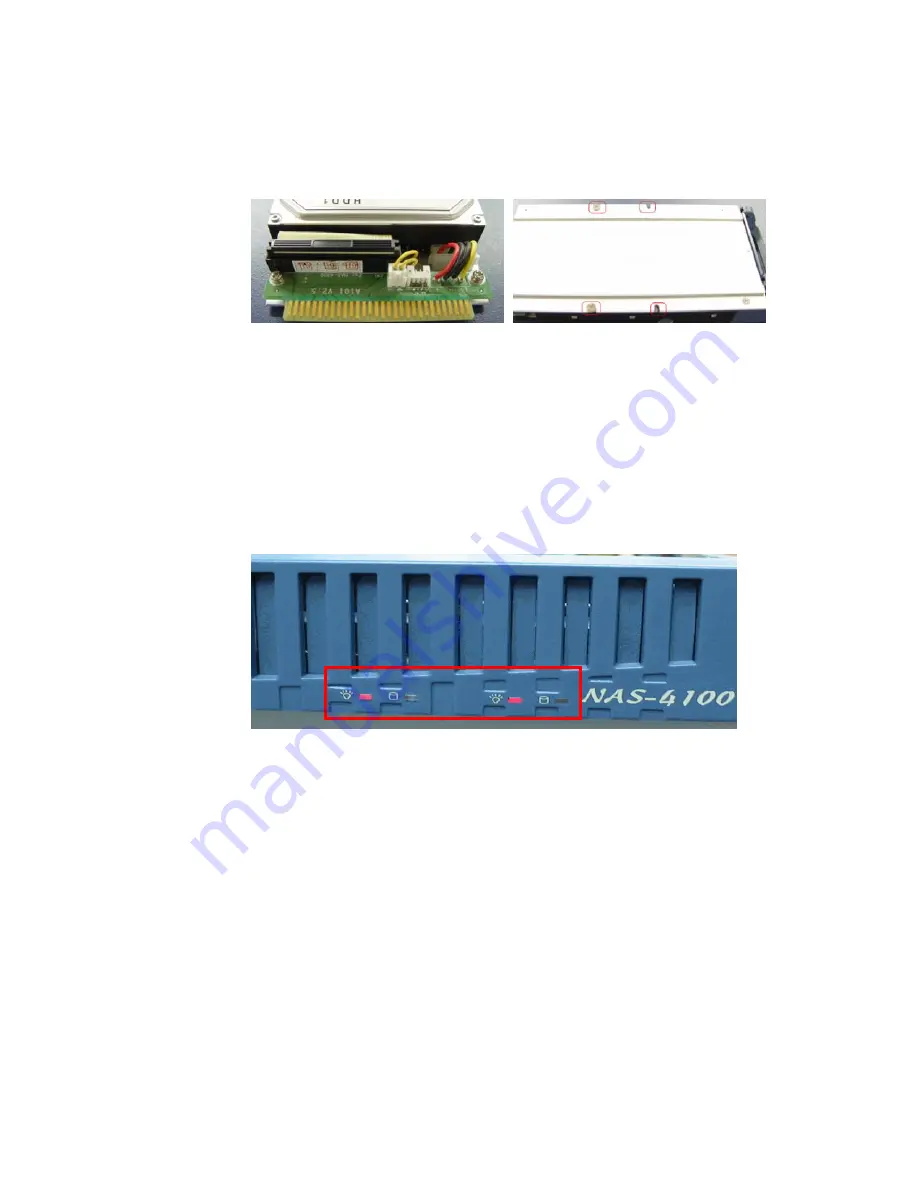
Before fastening the hard disks into the trays, please adjust the hard disk
jumpers to Master or Single. Plug the power cords first, then the IDE
connector. Turn to back of the tray carefully and fasten the disk drive with
screws.
Note: Due to the none-standard nature of IDE hard disk drives, each
hard drives model might have slightly different physical dimensions.
For some models, it may not be possible to fasten the hard disk to the
drive tray with all the four screws.
4.
Gently push the drive tray back in to the unit. Repeat step 1 to 3 to install
the other hard drive to the next drive tray.
5.
Switch on the power and check if the LED on the front panel lights up red.
If not, please check to make sure the drive tray has been correctly installed
and locked.
Note: After installing the hard disk, be sure to lock the drive tray. If the
drive tray is not locked, the hard drive will not operate.
IEI CONFIDENTIAL
26

