- 6 -
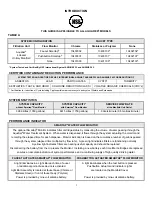
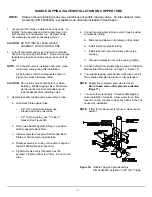
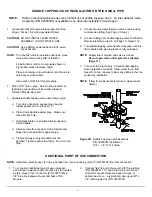
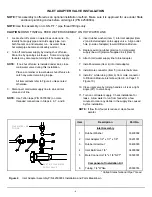
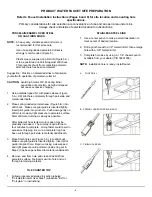
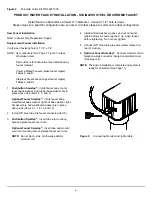
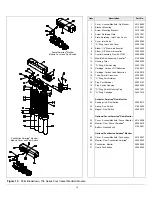
Figure 5
Porcelain Cutter Kit P/N 36201003
PRODUCT WATER FAUCET INSTALLATION - STAINLESS STEEL OR CHROME FAUCET
Install faucet on flat surface at least 2" in diameter. Unused 1 1/4" hole is ideal.
Steps unique to a specific configuration are so noted. All other steps are common to either configuration.
New Faucet Installation
Refer to Faucet Site Preparation, Page 5.
Replacement Faucet Installation
Verify size of existing hole is 1 1/4" ± 1/4".
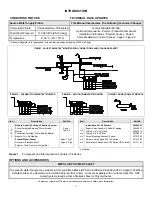
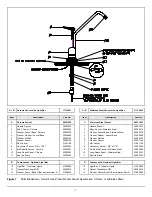
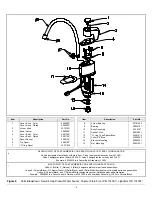
NOTE: Item callouts refer to Page 7, Figure 7 unless
otherwise noted.
Part numbers for each callout are determined by
faucet material:
Chrome-Plated Faucets (brass faucet nipple):
Tables A and B.
Stainless Steel Faucet (copper faucet nipple)
Tables C and D).
1.
Pushbutton Smartap
®
:
Verify faucet body, metal
faucet base washer, and rubber base washer are in
place above sink (Items 2, 3, and 4).
Optional Faucet Smartap
®
:
Verify faucet body,
metal faucet base washer, light bar base washer, light
bar assembly, and washboard gasket are in place
above sink (Items 2, 3, 14, 12, and 13).
2. Install 3/8" blue tube into faucet connector (Item 8).
3.
Pushbutton Smartap
®
:
Insert tube into mounting
hole and place faucet over hole.
Optional Faucet Smartap
®
:
Insert tube and monitor
cord into mounting hole and place faucet over hole.
NOTE:
Do not pinch, kink, or otherwise deform
monitor cord.
4. Install slotted washer, washer, and nut on faucet
nipple below sink and snug them up. Align faucet
before tightening. Do not over tighten.
5. Connect 3/8" blue tubing to swivel elbow located on
rear of module.
6.
Optional Faucet Smartap
®
:
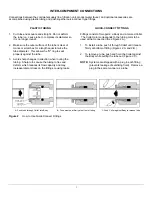
Connect monitor cord to
telephone-style connector located on manifold cover
(See Figure 6).
NOTE:
The basic installation is complete and system is
ready for activation (See Page 11).
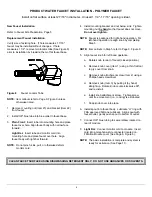
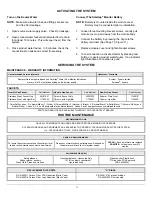
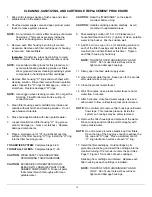
Figure 6
Connecting Monitor cord to Manifold.


