Performing inspection / maintenance
environmentally safe manner).
3. Pull off the filter element from the
mounting pin and dispose of it.
4. Clean the filter bowl.
5. Examine the filter bowl and head for
mechanical damage, taking a good look
at the sealing surfaces and screw
threads in particular.
6. Check the O-rings / supporting ring for
damage or signs of brittleness, if
necessary replace the seal.
7. Wet the thread and sealing surfaces on
the filter bowl and head, including the
O-ring on the filter bowl and filter
element, with the liquid in use.
8. Carefully slide the new filter element
onto the mounting pin applying slight
pressure and slightly turning it upwards.
Do not use excessive force or a
hammer, etc.
9. Screw in the filter bowl clockwise using
a 27 mm fork wrench, turning until it will
go no further.
Now loosen the filter bowl by undoing it
¼ of a revolution (90°).
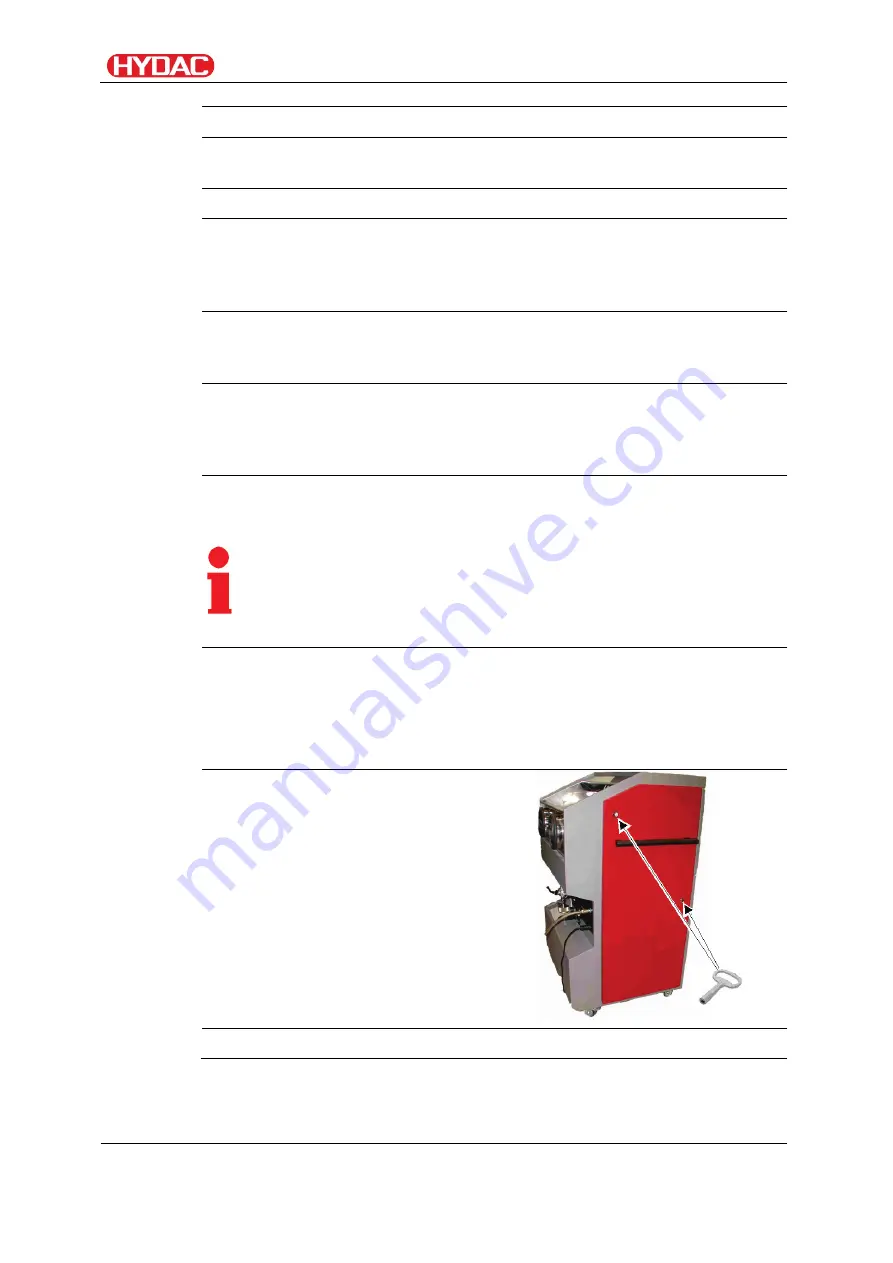
10. Refit the right paneling.
Reconnect the ground bond wire.
Insert the side paneling into the lower
guide using the two pins, followed by
pressing it against the CTU. Secure the
two locks by turning them 90° in a
clockwise direction using the four-sided
hollow socket key.
11. The CTU is ready for operation.
CTU 1000 Series
en(us)
Page 63 / 92
BeWa CTU1000 3229578p en-us 2017-04-25.doc
2017-04-25
Содержание CTU 1000 Series
Страница 17: ...Transporting the CTU CTU 1000 Series en us Page 17 92 BeWa CTU1000 3229578p en us 2017 04 25 doc 2017 04 25 ...
Страница 89: ......
Страница 90: ......
Страница 91: ......


