


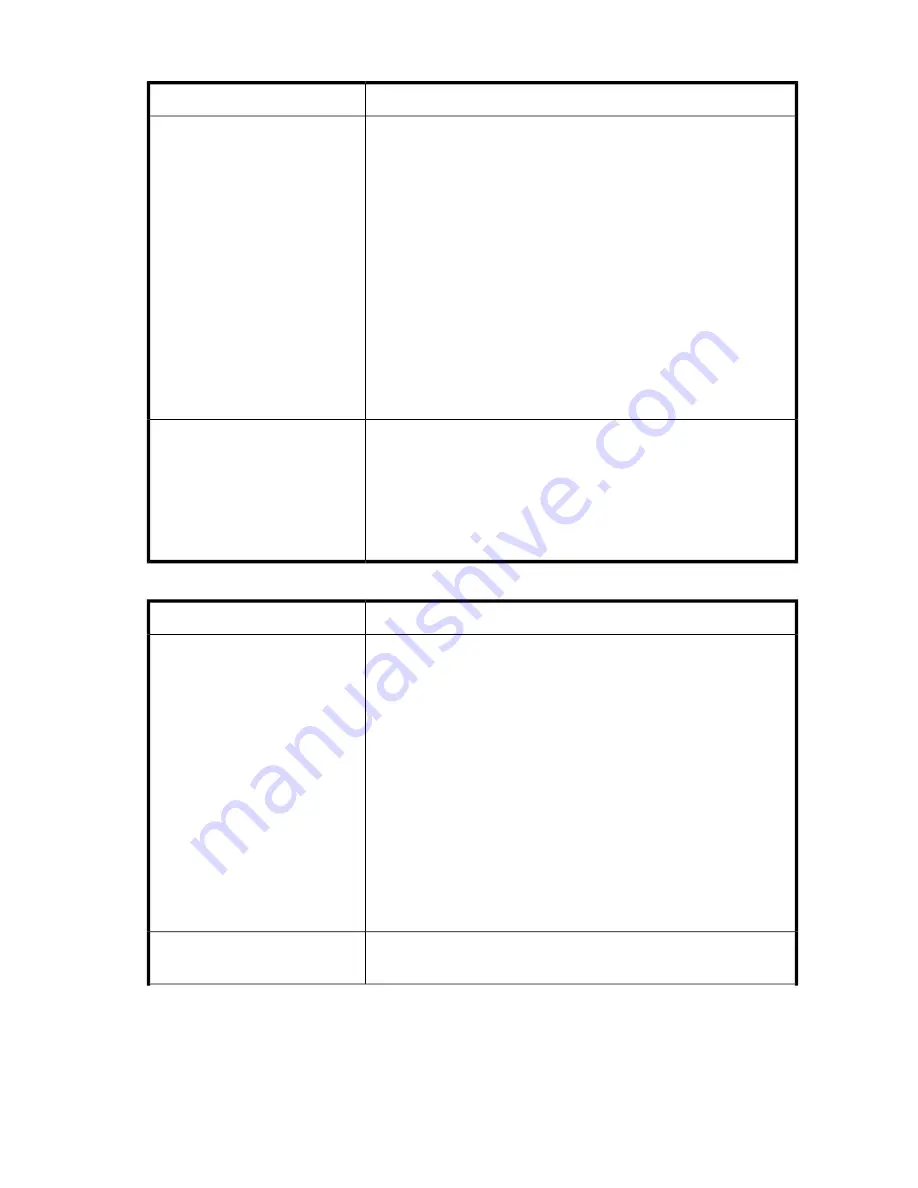
Table 22 Parallel SCSI device not detected
Solution
Problem
•
Check that the HBA supports multiple LUNs and this feature is en-
abled. If not, only the tape drive will be detected.
•
Check for conflicting SCSI IDs.
•
Power on the device before powering on the host computer.
•
Make sure the Autoloader does not have the drive off line and that
the Autoloader is not running a test.
•
Attach the device to an LVDS SCSI host adapter/bus.
•
The parallel SCSI cable length might be too long. Use a shorter cable
or remove other devices from the bus.
•
Parallel SCSI bus not properly terminated. See “
SCSI detection
problems
” on page 107.
•
Check that the device is fully powered up and is not in an error state.
•
Check the parallel SCSI connector and terminator for bent pins.
See “
SCSI detection problems
” on page 107 for more detailed
troubleshooting help.
Device not detected
•
Make sure that all parallel SCSI devices on the same bus have unique
SCSI ID numbers.
•
Only SCSI IDs 0 through 7 are available on a narrow (50 pin) bus.
If the device is on a narrow bus and has a SCSI ID of 8 or greater,
the host server will not detect the drive. If you must use SCSI IDs 8 or
greater, use a wider bus.
•
Reboot the host server.
Changed drive SCSI ID, but the host
server does not recognize the new
ID.
Table 23 Attention LED is lit
Solution
Problem
This is most likely caused by a dirty drive that cannot read a tape and
marks the tape invalid.
1.
View the inventory with the RMI. Note the slots that have tapes
marked with
!
.
2.
Remove any magazines that contain tapes marked with
!
.
3.
Remove the tapes that were marked with
!
.
4.
Inspect each removed tape for damage, check that the tape is
compatible with the drive, and ensure that it is not past its usage
life. See “
Tape cartridges
” on page 43. Discard any tapes that are
damaged or past their usage life. Do not use cartridges that are in-
compatible with the tape drive.
5.
Reload the magazines with tapes that have passed inspection and
new tapes to replace cartridges that did not pass inspection.
6.
Replace the magazines.
7.
Clean the tape drive.
Both the Attention and Cleaning
LEDs are lit.
Check the cartridge for contamination by loose debris.
A particular cartridge sets off the
cleaning light.
HP StorageWorks 1/8 G2 Tape Autoloader User and service guide
115
Содержание StorageWorks 1/8
Страница 14: ...14 ...
Страница 25: ...Figure 6 Tape drive LED 1 Tape drive LED HP StorageWorks 1 8 G2 Tape Autoloader User and service guide 25 ...
Страница 26: ...Features and overview 26 ...
Страница 106: ...Operating the Tape Autoloader 106 ...
Страница 156: ...Troubleshooting 156 ...
Страница 168: ...Upgrading and servicing the Tape Autoloader 168 ...
Страница 172: ...Support and other resources 172 ...
Страница 174: ...Technical specifications 174 ...
Страница 179: ...HP StorageWorks 1 8 G2 Tape Autoloader User and service guide 179 ...
Страница 182: ...Japanese laser notice Spanish laser notice Recycling notices English notice Regulatory compliance and safety 182 ...
Страница 184: ...Estonian notice Finnish notice French notice German notice Regulatory compliance and safety 184 ...
Страница 186: ...Lithuanian notice Polish notice Portuguese notice Romanian notice Regulatory compliance and safety 186 ...
Страница 188: ...Battery replacement notices Dutch battery notice Regulatory compliance and safety 188 ...
Страница 189: ...French battery notice German battery notice HP StorageWorks 1 8 G2 Tape Autoloader User and service guide 189 ...
Страница 190: ...Italian battery notice Japanese battery notice Regulatory compliance and safety 190 ...
Страница 192: ...Regulatory compliance and safety 192 ...
Страница 194: ...Electrostatic discharge 194 ...
Страница 204: ...204 ...