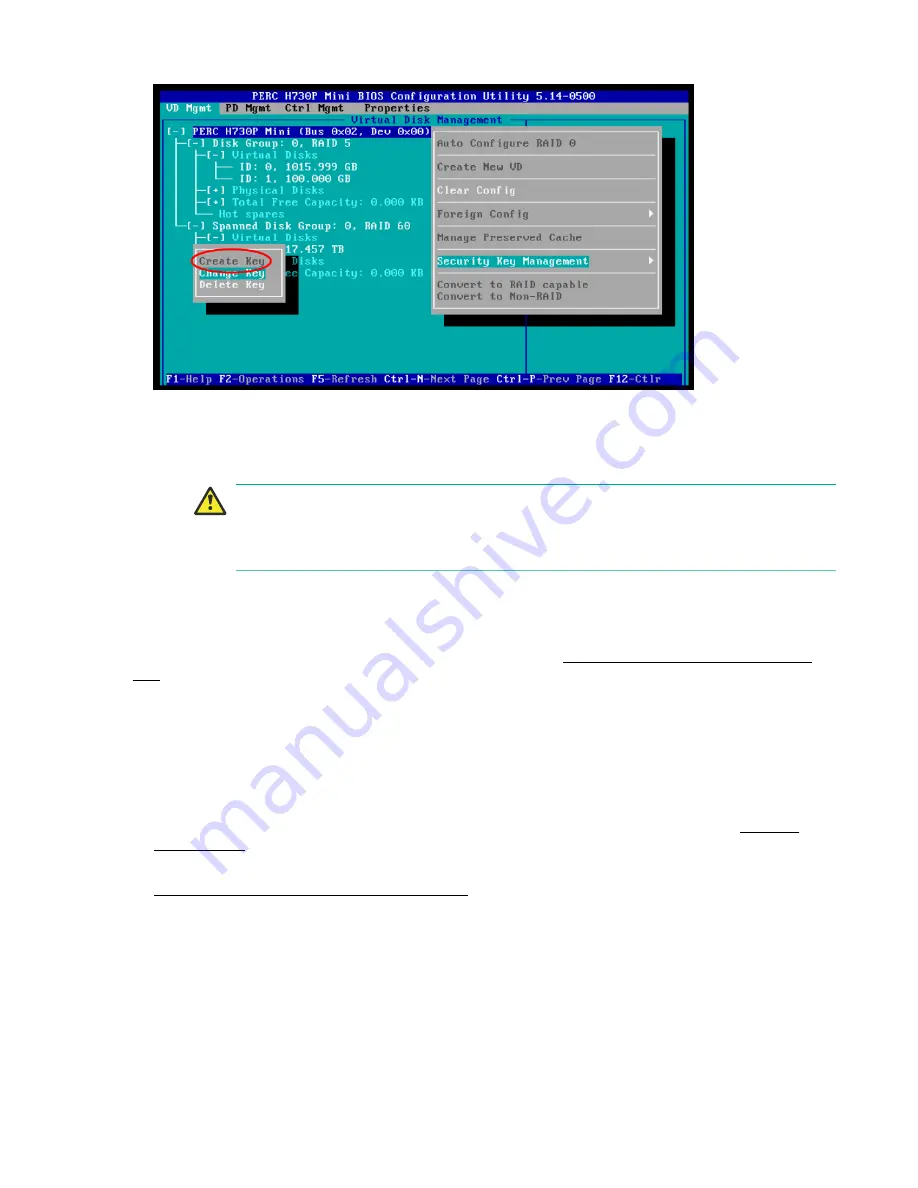
Secure disk groups with a Security Key
35
4.
Type a Security Key identifier in the
Identifier
field. The identifider is only a label for the Security Key.
5.
Type a passphrase in the
Passphrase
field.
6.
Record the passphrase in a secure location in case you need to recover it.
Caution:
You are required to specify the current passphrase when changing the passphrase or
when replacing the RAID controller. If you lose the passphrase, you must erase the disk
groups, which destroys all data on the underlying disks, and create a new Security Key.
7.
Select
OK
to create the key and then select
Yes
to confirm.
Next steps
You can now secure the disk groups on the RAID controller. See
Secure disk groups with a Security
Key
on page 35.
Secure disk groups with a Security Key
Before you begin
You have completed these tasks:
• Created a Security Key for the RAID controller that is connected to the disk groups. See
Create a
Security Key
on page 34.
• Displayed the PERC BIOS Configuration Utility on the computer connected to the OmniCube host. See
Access the PERC BIOS Configuration Utility
on page 32.
• Ensured that the virtual disks are configured on the PERC H730P Mini RAID controller.
Procedure overview
The PERC H730P Mini RAID controller in an OmniCube CN-2400-E or a CN-5400-E system contains two
disk groups: The RAID1 (CN-2400-E) or RAID5 (CN-5400-E) disk group is on the SSD drives, which are
reserved for SimpliVity, and the RAID6 (CN-2400-E) or RAID60 (CN-5400-E) disk group is on the HDD
drives, which store user data.


