Display assembly
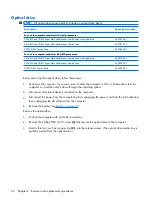
Description
Spare part number
14.1-inch, WXGA, BrightView, display assembly for use only with computer models equipped with a
camera module (includes camera module, microphones, and WLAN transceivers and antenna cables)
448604-001
14.1-inch, WXGA, BrightView, display assembly for use only with computer models not equipped
with a camera module (includes microphones and WLAN transceivers and antenna cables)
448603-001
14.1-inch, WXGA, BrightView, display assembly for use only with computer models sold at Best Buy
(includes camera module, microphones, and WLAN transceivers and antenna cables)
451906-001
Before removing the display assembly, follow these steps:
1
.
Shut down the computer. If you are unsure whether the computer is off or in Hibernation, turn the
computer on, and then shut it down through the operating system.
2
.
Disconnect all external devices connected to the computer.
3
.
Disconnect the power from the computer by first unplugging the power cord from the AC outlet and
then unplugging the AC adapter from the computer.
4
.
Remove the battery (see
5
.
Disconnect the wireless antenna cables from the WLAN module (see
6
.
Remove the following components:
a
.
Keyboard (see
b
.
Switch cover (see
Remove the display assembly:
1
.
Close the computer and turn it upside down, with the rear panel toward you.
2
.
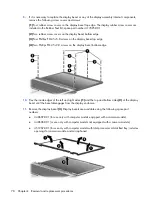
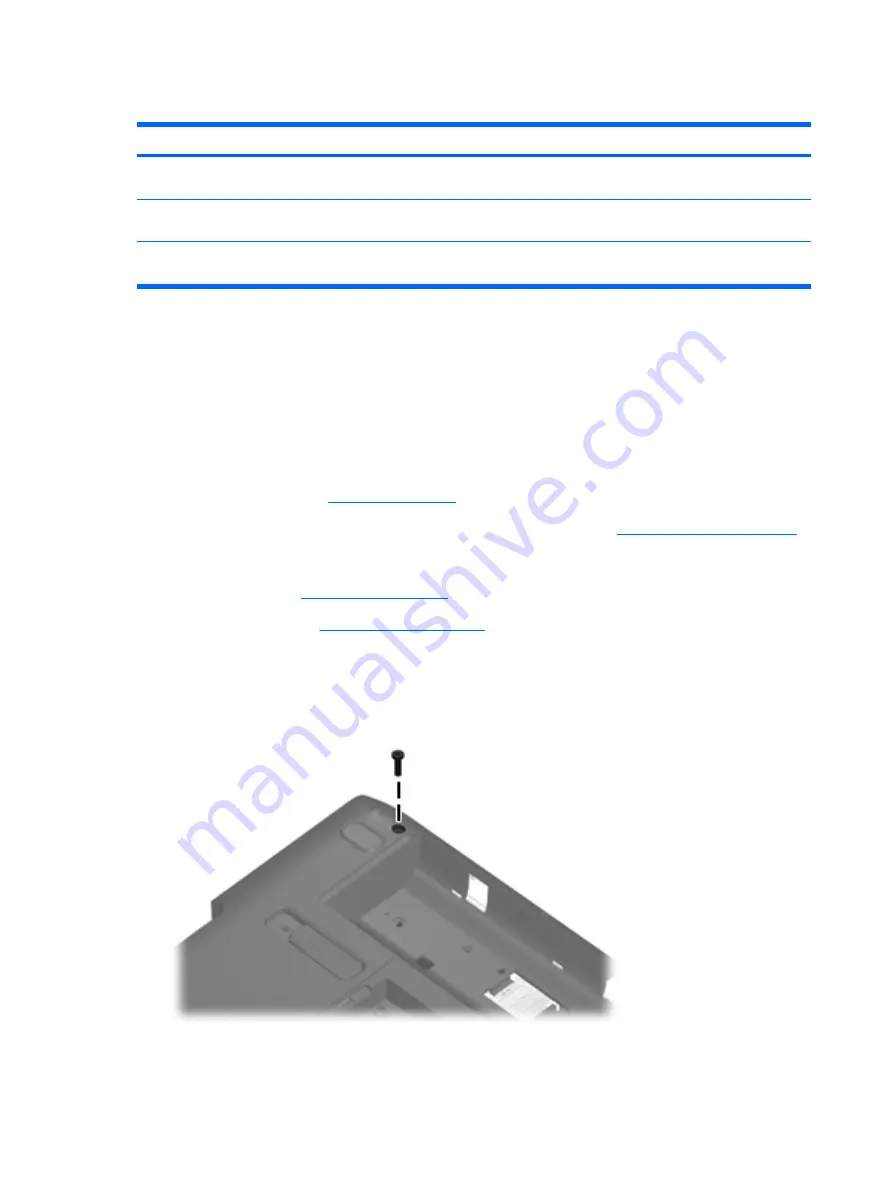
Remove the Phillips PM2.5×9.0 screw that secures the display assembly to the computer.
3
.
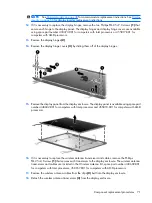
Turn the computer display-side up, with the front toward you.
68 Chapter
4
Removal and replacement procedures
Содержание PAVILION DV2500
Страница 1: ...HP Pavilion dv2500 Notebook PC Maintenance and Service Guide ...
Страница 4: ...iv Safety warning notice ...
Страница 145: ...Where used One screw that secures the connector bracket to the computer Silver Phillips PM2 5 5 0 screw 137 ...
Страница 172: ......


