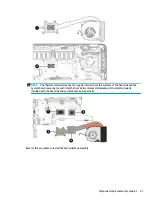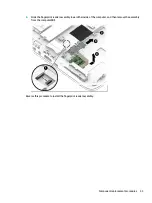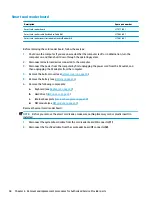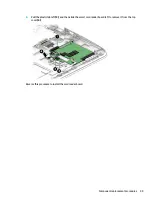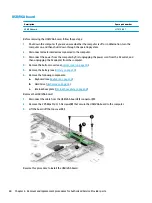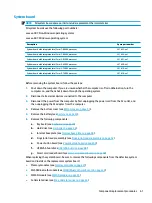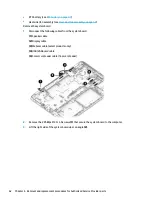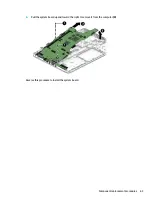
System board
NOTE:
All system board spare part kits include replacement thermal material.
All system boards use the following part numbers:
xxxxxx-001: Non-Windows operating systems
xxxxxx-601: Windows operating system
Description
Spare part number
System board with integrated Intel Core i7-8650U processor
L21623-xx1
System board with integrated Intel Core i7-8550U processor
L21622-xx1
System board with integrated Intel Core i5-8350U processor
L21621-xx1
System board with integrated Intel Core i5-8250U processor
L21620-xx1
System board with integrated Intel Core i5-7300U processor
L21619-xx1
System board with integrated Intel Core i5-7200U processor
L21618-xx1
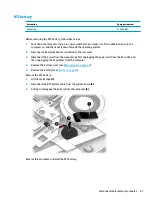
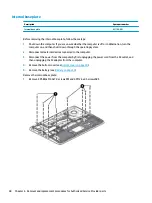
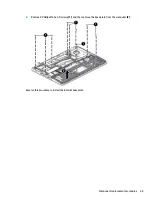
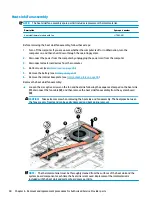
Before removing the system board, follow these steps:
1.
Shut down the computer. If you are unsure whether the computer is off or in Hibernation, turn the
computer on, and then shut it down through the operating system.
2.
Disconnect all external devices connected to the computer.
3.
Disconnect the power from the computer by first unplugging the power cord from the AC outlet, and
then unplugging the AC adapter from the computer.
4.
Remove the bottom cover (see
).
5.
Remove the battery (see
6.
Remove the following components:
a.
Keyboard (see
)
b.
Hard drive (see
)
c.
Internal base plate (see
Internal base plate on page 48
d.
Fingerprint reader assembly (see
Fingerprint reader assembly on page 52
e.
Power button board (see
)
f.
USB/VGA board (see
)
g.
Smart card reader board (see
Smart card reader board on page 58
)
When replacing the system board, be sure to remove the following components from the defective system
board and install on the replacement system board:
●
Memory modules (see
)
●
WLAN/Bluetooth module (see
WLAN/Bluetooth combo card on page 39
●
WWAN module (see
)
●
Solid-state drive (see
M.2 solid-state drive on page 36
Component replacement procedures
61
Содержание EliteBook 840r G4
Страница 1: ...HP EliteBook 840r G4 Notebook PC Maintenance and Service Guide ...
Страница 4: ...iv Important Notice about Customer Self Repair Parts ...
Страница 6: ...vi Safety warning notice ...
Страница 55: ...7 Remove the keyboard 5 Reverse this procedure to install the keyboard Component replacement procedures 45 ...

