5–76
Maintenance and Service Guide
Removal and Replacement Procedures
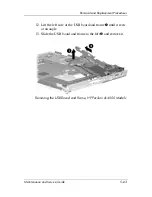
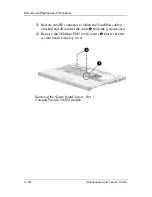
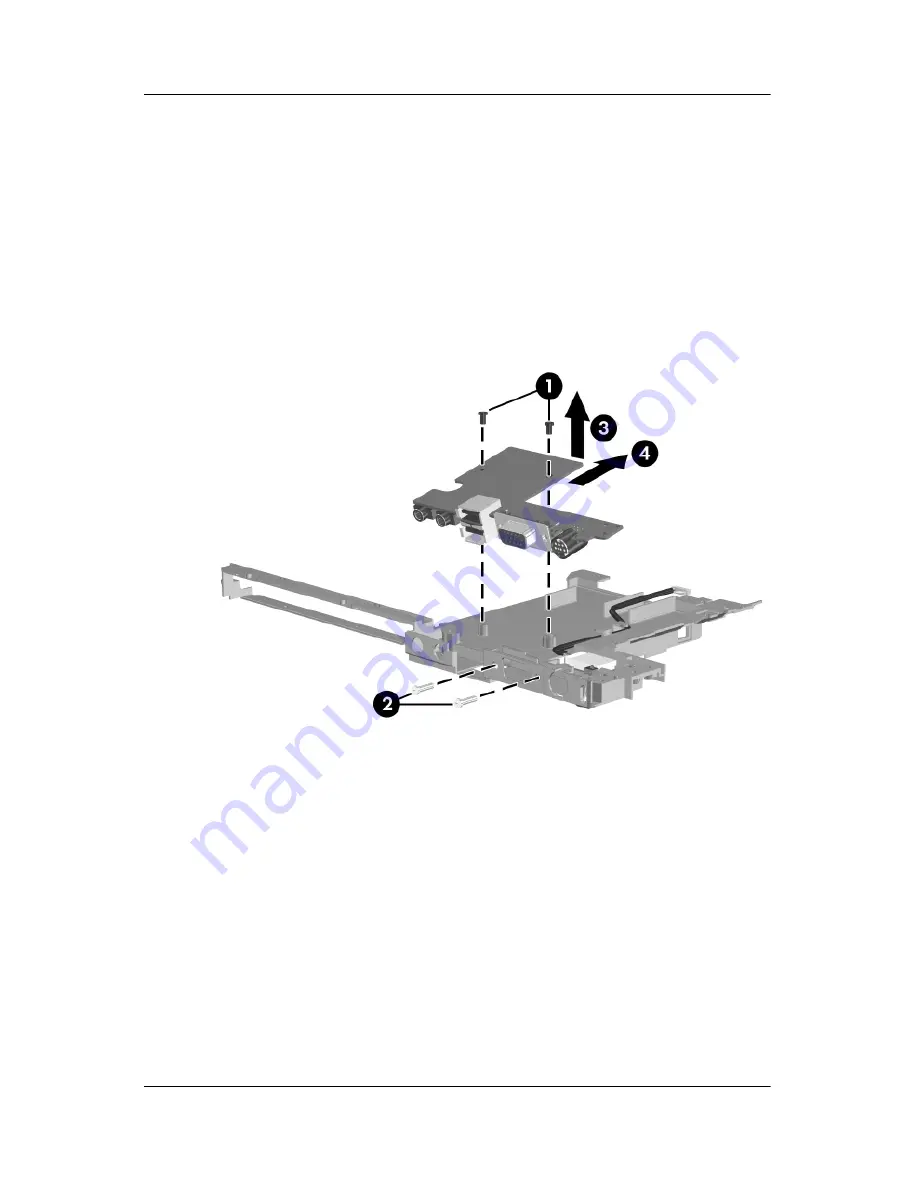
7. Remove the Phillips PM2.0×4.0 screw
1
that secures the
USB board to the frame.
8. Remove the 2 Phillips PM2.5×8.0 screws
2
that secure the
USB board to the frame.
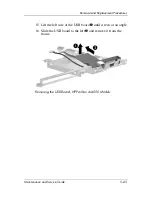
9. Lift the rear edge of the USB board
3
until it disengages
from the frame.
10. Slide the frame away
4
and remove it.
Removing the USB Board
Reverse the above procedure to install the USB board.
Содержание Compaq Presario V400
Страница 62: ...3 4 Maintenance and Service Guide Illustrated Parts Catalog Notebook Major Components Compaq Presario V4000 ...
Страница 64: ...3 6 Maintenance and Service Guide Illustrated Parts Catalog Notebook Major Components HP Pavilion dv4000 ...
Страница 66: ...3 8 Maintenance and Service Guide Illustrated Parts Catalog Notebook Major Components Compaq Presario V4000 ...
Страница 68: ...3 10 Maintenance and Service Guide Illustrated Parts Catalog Notebook Major Components HP Pavilion dv4000 ...
Страница 76: ...3 18 Maintenance and Service Guide Illustrated Parts Catalog 3 7 Mass Storage Devices ...
Страница 107: ...Removal and Replacement Procedures Maintenance and Service Guide 5 11 Replacing the Notebook Feet Compaq Presario V4000 ...
Страница 247: ...D 14 Maintenance and Service Guide Display Component Recycling 23 Remove the LCD panel Removing the LCD Panel ...


