Removal and Replacement Procedures
Maintenance and Service Guide
6–29
6.14 Heat Sink
1. Prepare the computer for disassembly (
Section 6.3
).
2. Release the keyboard (
Section 6.10
).
3. Remove the fan (
Section 6.13
).
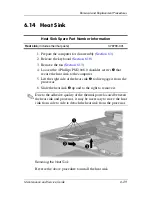
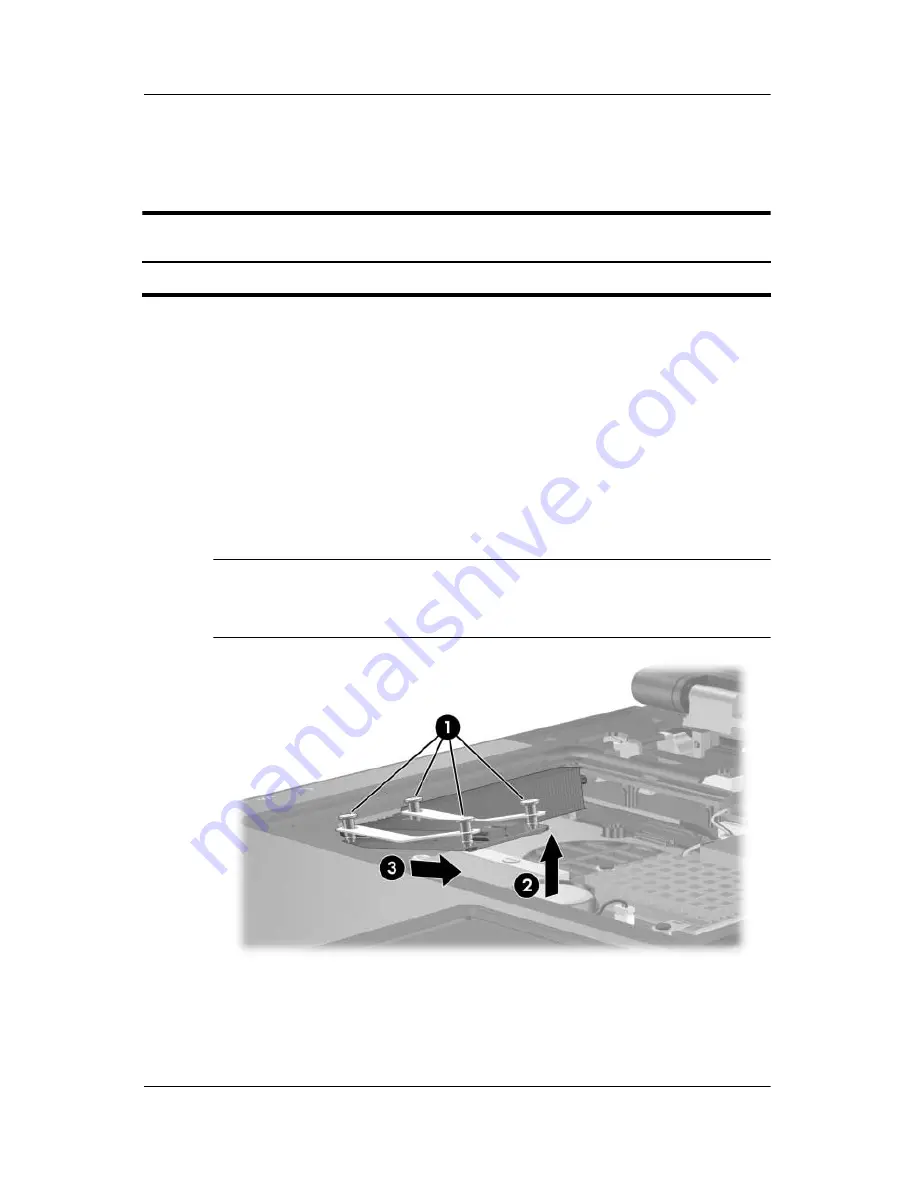
4. Loosen the 4 Phillips PM2.0×8.0 shoulder screws
1
that
secure the heat sink to the computer.
5. Lift the right side of the heat sink
2
to disengage it from the
processor.
6. Slide the heat sink
3
up and to the right to remove it.
✎
Due to the adhesive quality of the thermal paste located between
the heat sink and processor, it may be necessary to move the heat
sink from side to side to detach the heat sink from the processor.
Removing the Heat Sink
Reverse the above procedure to install the heat sink.
Heat Sink Spare Part Number Information
Heat sink
(includes thermal paste)
379799-001
Содержание Compaq NC6110
Страница 74: ...4 4 Maintenance and Service Guide Illustrated Parts Catalog Computer Major Components ...
Страница 76: ...4 6 Maintenance and Service Guide Illustrated Parts Catalog Computer Major Components ...
Страница 78: ...4 8 Maintenance and Service Guide Illustrated Parts Catalog Computer Major Components ...
Страница 80: ...4 10 Maintenance and Service Guide Illustrated Parts Catalog Computer Major Components ...
Страница 82: ...4 12 Maintenance and Service Guide Illustrated Parts Catalog Computer Major Components ...
Страница 86: ...4 16 Maintenance and Service Guide Illustrated Parts Catalog 4 5 Mass Storage Devices ...
Страница 229: ...Display Component Recycling Maintenance and Service Guide D 13 23 Remove the LCD panel Removing the LCD Panel ...

