34
4
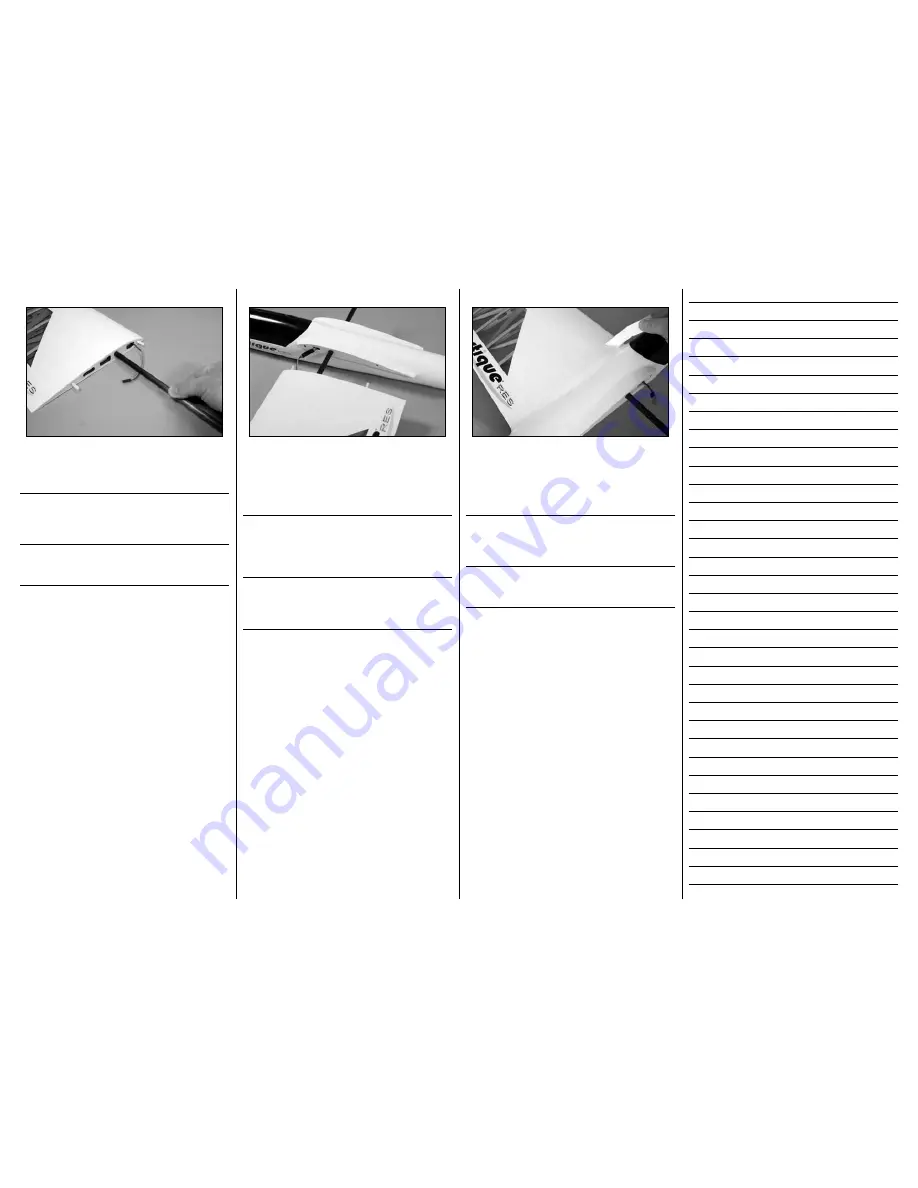
Slide the wing joiner rod into the socket in the wing. Do
not force the tube into the socket, as it will slide easily. If
it does not, determine why the tube does not fit.
Schieben Sie den Tragflächenverbinder in die Öffnung in
der Tragfläche. Drücken Sie den Flächenverbinder nicht
mit Gewalt in die Öffnung rein. Sollte der Verbinder nicht
richtig passen finden Sie bitte erst die Ursache.
Inserire la baionetta nella sua sede dell’ala, senza
forzare, poiché dovrebbe entrare liberamente. Se non
fosse così bisogna cercare di capire il perchè.
5
Slide the wing joiner rod into the fuselage. When the
wing is close to the fuselage, connect the leads for
the spoiler servo. Carefully guide the leads into the
wing while sliding the wing so it fits tightly against the
fuselage.
Schieben Sie den Tragflächenverbinder in den Rumpf.
Sind die Tragflächen nah am Rumpf schließen Sie die
Klappenservos an. Führen Sie dann die Kabel in die
Tragfläche, so dass Sie die Tragflächen an den Rumpf
schieben können.
Inserire la baionetta nella fusoliera e quando le semiali
sono vicine, collegare i cavi per il servo degli spoiler.
Accompagnare i cavetti dentro all’ala mentre le due
semiali si chiudono contro la fusoliera.
6
Once the wing is tight against the fuselage, use white
electrical tape along the joint between the wing and
fuselage. This will hold the wing in position during launch
and landing. Place tape on both the top and bottom of
the wing.
Ist die Tragfläche ganz an den Rumpf herangeschoben
kleben Sie weisses Isolierband über den Spalt von Rumpf
und Fläche auf der Ober- und Unterseite. Das Klebeband
hält die Tragfläche während des Fluges in Position.
Quando le semiali sono perfettamente contro la fusoliera,
usare del nastro bianco per elettricisti per fissarle alla
fusoliera, applicandolo sia sopra che sotto l’ala.
Содержание Mystique RES 2.9m ARF
Страница 51: ...51...


