Configuration
90
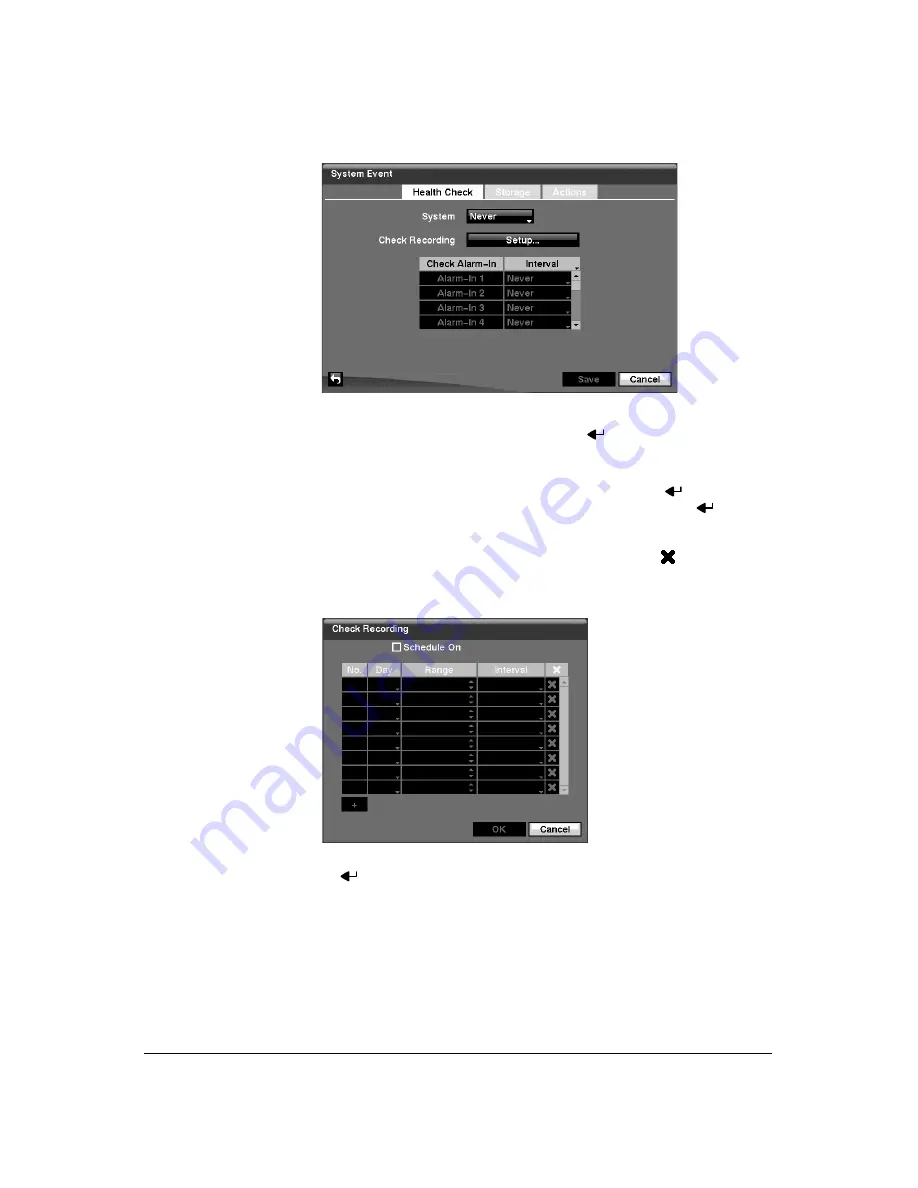
Figure 3-75
Health Check Screen
The DVR can be configured to run self-diagnostics and report the results.
2.
Highlighting the box beside
System
and pressing
allows you to select the
interval that you want the DVR to run self-diagnostics on the system. You can
select from
1 hr
to
30 days
, or
Never
.
3.
Highlight the
Setup...
box beside
Check Recording
and press
. The Check
Recording screen appears. Highlighting
Schedule On
and pressing
toggles
the schedules On and Off. When set to On, you can select the day, time range and
interval that you want the DVR to run self-diagnostics on the recorder. The
Interval
can be selectable from
1 min
to
7 days
, or
Never
. The
box allows you
to delete a check recording schedule.
Figure 3-76
Check Recording Screen
4.
Highlighting the box under the
Interval
heading beside each alarm-in and
pressing
allows you to change the interval that you want the DVR to run
self-diagnostics on Alarm Inputs. You can select from
1 hr
to
30 days
or
Never
.
5.
Highlight the
Storage
) displays.
Содержание HRXD16
Страница 1: ...Document 900 0856 Rev 3 00 11 07 User Guide HRXD9 HRXD16 9 16 Channel Models Digital Video Recorder ...
Страница 8: ...Contents 8 ...
Страница 20: ...Introduction 20 ...
Страница 32: ...Installation 32 ...
Страница 125: ...Text In Search Examples Document 900 0856 Rev 3 00 125 11 07 Figure B 2 Text In Search Option Example 2 ...
Страница 126: ...Text In Search Examples 126 ...
Страница 130: ...Reviewing Video Clips 130 ...
Страница 138: ...WebGuard 138 ...
Страница 140: ...Time Overlap 140 ...
Страница 142: ...Troubleshooting 142 ...
Страница 144: ...Connector Pin Outs 144 RS485 Connector Pin Outs Master Unit Slave Unit To TX To TX To RX To RX ...
Страница 145: ...Map of Screens Document 900 0856 Rev 3 00 145 11 07 H Map of Screens ...
Страница 146: ...Map of Screens 146 ...
Страница 148: ...System Log Notices 148 ...
Страница 154: ...Specifications 154 ...
Страница 155: ......


