Configuration
78
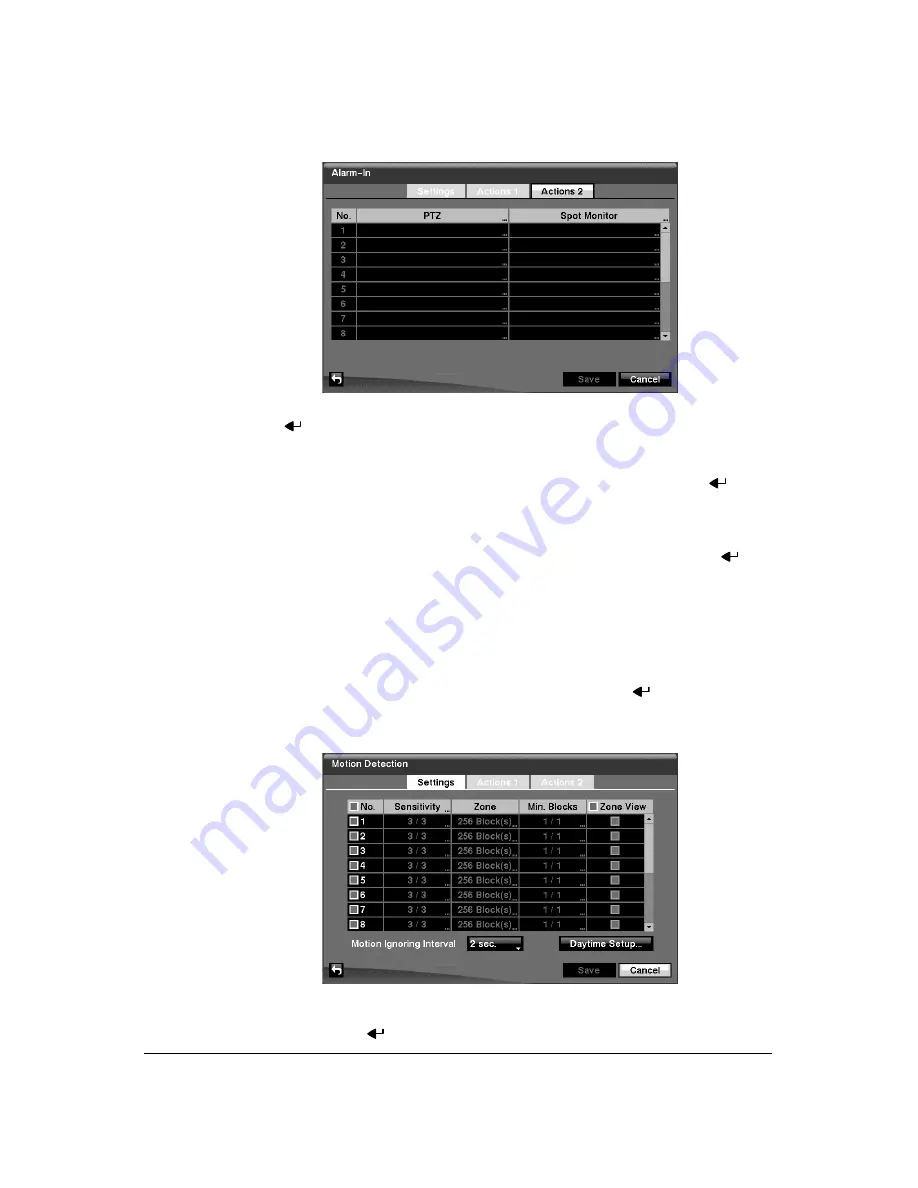
Figure 3-58
Alarm-In Actions 2 Screen
11. In the
Actions 2
tab, highlight the desired box under the
PTZ
heading, and press
. A list of PTZ presets appears. Select the preset position for each PTZ camera,
where you want PTZ cameras to move to whenever the DVR detects an input on
the associated alarm input.
12. Highlight the desired box under the
Spot Monitor
heading, and press
. A list
of SPOT monitors and cameras appears. Each SPOT monitor can be associated
with a camera. The DVR will display the associated camera on the SPOT monitor
whenever it detects an input on the associated alarm input.
13. You can save your Alarm-In changes by highlighting
Save
and pressing
.
Selecting
Cancel
exits the screen without saving the changes.
Motion Detection Screen
1.
Highlight
Motion Detection
in the Event menu and press
. The Motion
Detection setup screen (
) appears.
Figure 3-59
Motion Detection Settings Screen
2.
Your DVR has built-in video motion detection. Video motion detection can be
turned On or Off for each camera by highlighting the motion detection number
and pressing
.
Содержание HRXD16
Страница 1: ...Document 900 0856 Rev 3 00 11 07 User Guide HRXD9 HRXD16 9 16 Channel Models Digital Video Recorder ...
Страница 8: ...Contents 8 ...
Страница 20: ...Introduction 20 ...
Страница 32: ...Installation 32 ...
Страница 125: ...Text In Search Examples Document 900 0856 Rev 3 00 125 11 07 Figure B 2 Text In Search Option Example 2 ...
Страница 126: ...Text In Search Examples 126 ...
Страница 130: ...Reviewing Video Clips 130 ...
Страница 138: ...WebGuard 138 ...
Страница 140: ...Time Overlap 140 ...
Страница 142: ...Troubleshooting 142 ...
Страница 144: ...Connector Pin Outs 144 RS485 Connector Pin Outs Master Unit Slave Unit To TX To TX To RX To RX ...
Страница 145: ...Map of Screens Document 900 0856 Rev 3 00 145 11 07 H Map of Screens ...
Страница 146: ...Map of Screens 146 ...
Страница 148: ...System Log Notices 148 ...
Страница 154: ...Specifications 154 ...
Страница 155: ......


