UM DS-90xxHUHI-F8/N User Manual 041717NA
118
10.
Click the Apply button to apply the settings.
NOTE:
If the quota capacity is set to
0
, then all cameras will use the total
capacity of the HDD to record.
17.5.
Configuring Cloud Storage
Cloud storage allows uploading and downloading of recorded files anytime and anyplace.
1.
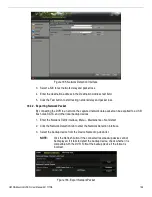
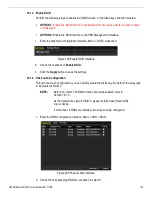
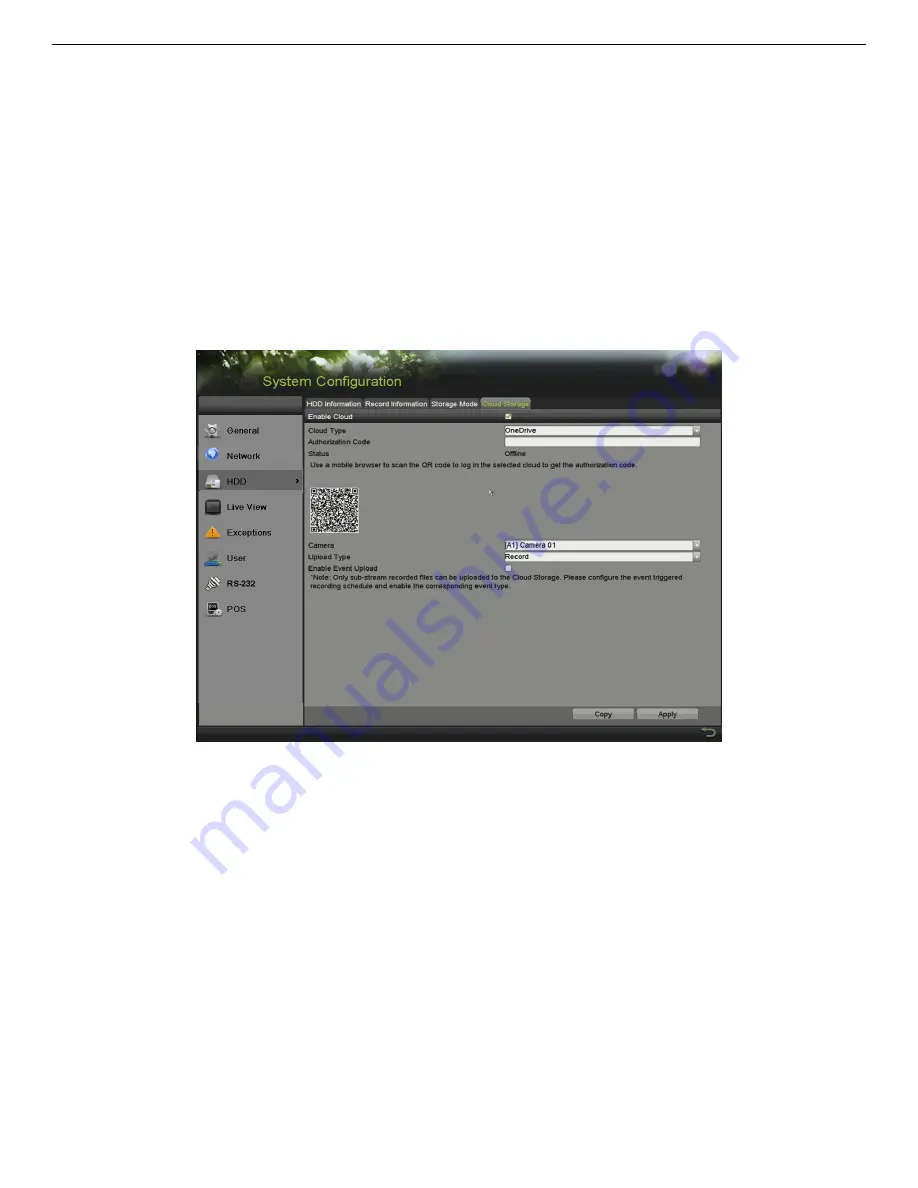
Enter the Cloud Storage interface, Menu > HDD > General > Cloud Storage.
2.
Check the Enable Cloud checkbox to enable the feature.
3.
Select the One Drive, Google Drive, or Dropbox Cloud Type from the drop-down list.
Figure 189, Cloud Storage Interface
4.
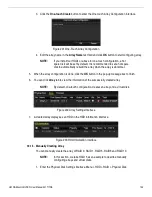
Follow the prompts and use a mobile browser to scan the QR code to log in to the selected cloud to get
the authentication code, and then copy the authentication code to the Authentication Code text field.
5.
Click Apply to save the settings and return to the main menu.
6.
Re-enter the cloud storage interface after 20 seconds. The Status will indicate successful registration.
7.
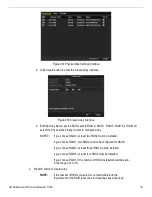
Configure the recording schedule by going to the record interface, choose a camera from the Camera
drop-down list, and check the Enable Schedule checkbox to enable the schedule recording.

