04.24.2015
Mutant Hot Glue DIY assembly manual v1.05
PG12
HEXINVERTER ÉLECTRONIQUE, 2015
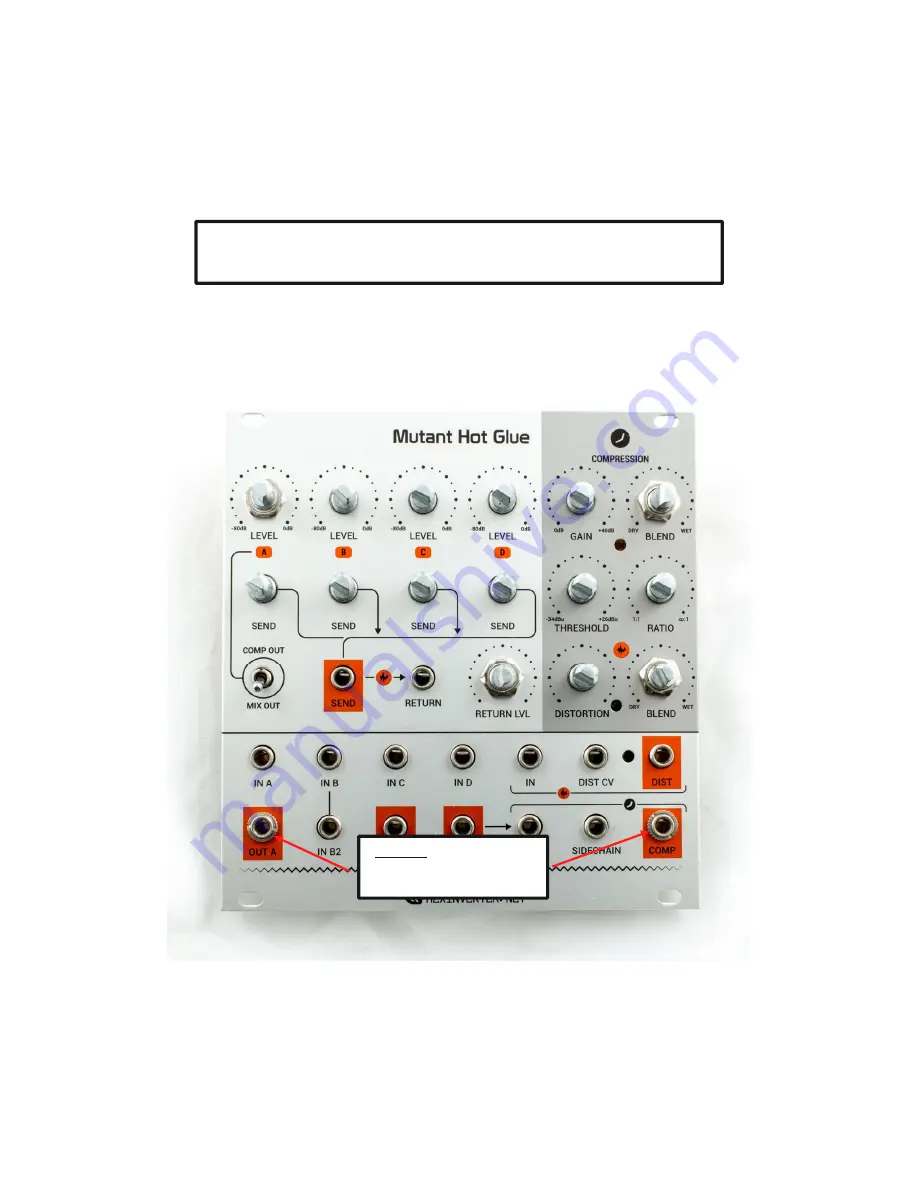
STEP_08: Panel Fitment
Remove the protective covering from the panel
and install it on the loose-fitting control board components. Finger
tighten the nuts for a few of the potentiometers. Do not solder anything yet!
Make sure everything is sitting nice and flat on the PCB
and especially that the pots are seated flat
. Once you are
happy, flip the assembly over and solder one leg of each pot. Then inspect and reheat any pots that aren’t perfectly flat,
pushing them down flat on the PCB with your finger while you reheat the one leg you soldered.
The potentiometers set the height the panel is at. That is, all of the other components follow
the height of the potentiometers. This means you have to align and solder the potentiometers
first, before the other components are soldered!
Leave out these jack nuts for
this step. I shouldn’t have left
these on (oops)!


