


99
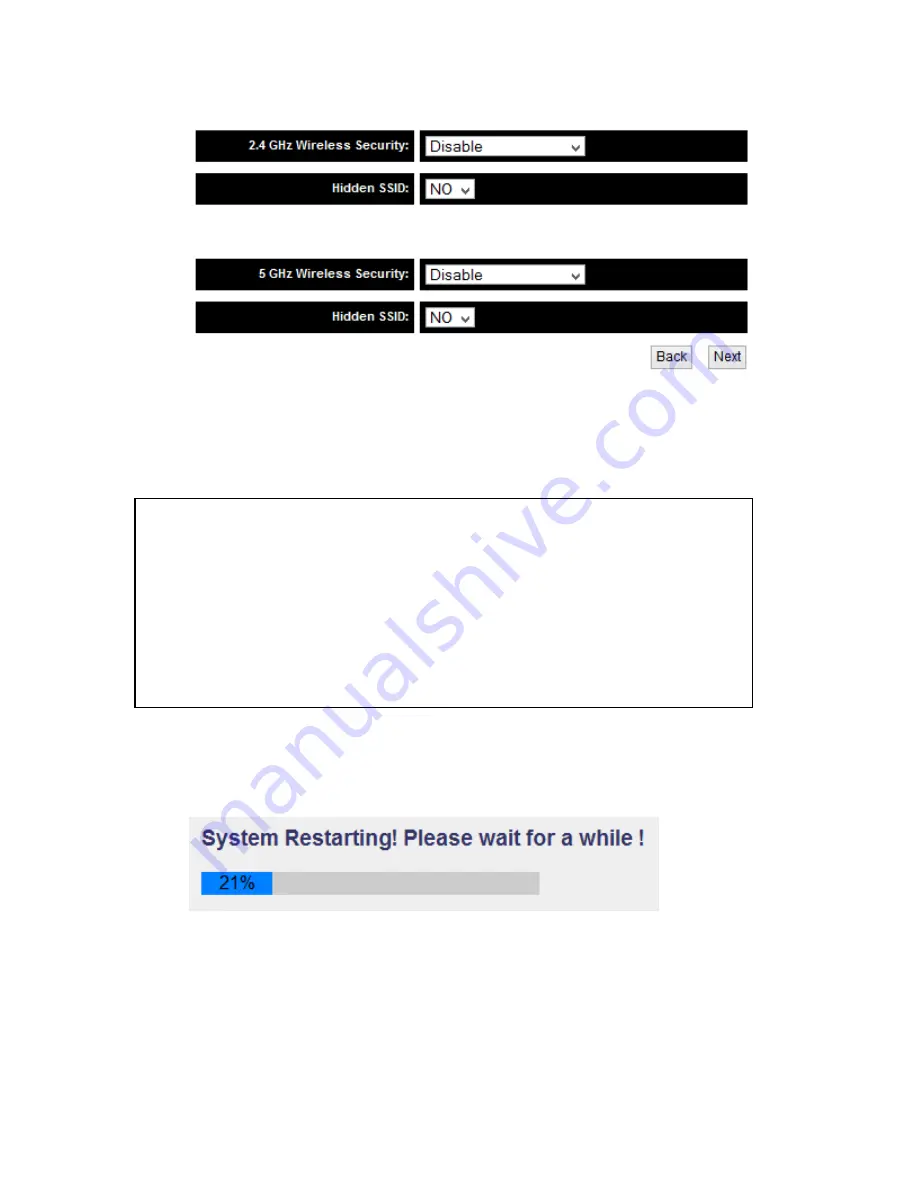
You can also choose whether you want the SSID to be hidden or not.
(6)
A summary page should appear. Check to make sure everything is in
order and then click ‘Apply’ and the HW7ACW will then proceed to
reboot and restart.
(7)
After reboot complete, you can close the web browser to finish this
quick setup. Connect the HW7ACW via Ethernet cable to your
router or network for the device to work correctly in Access Point
mode.
Note: WEP encryption: Select key length (64 or 128bit), key format (Hex or
ASCII characters), Default Tx Key (usually use ‘Key 1’), and input key characters
(refer to ‘Key Format’ you selected for number of characters)
WPA pre-shared key: Select one WPA Unicast Cipher Suite (usually use default
setting ‘WPA(TKIP)’), Pre-shared Key Format: Passphrase (alphanumeric
characters) or Hex (64 Hex Characters), and input key characters in ‘KEY’ field.
Содержание HW7ACW
Страница 9: ...2 WPS Wi Fi Protected Setup hardware button for easy installation and secure wireless security...
Страница 17: ...10...
Страница 25: ...18 3 Once you are logged in the HW7ACW setup page will appear...
Страница 103: ...96 and password is 1234 Click OK button to continue 3 Once you are logged in the HW7ACW setup page will appear...
Страница 107: ...100...
Страница 120: ...113 MAC address...
Страница 128: ...121 2 Select Obtain an IP address automatically and Obtain DNS server address automatically then click OK...
Страница 130: ...123 2 Select Obtain an IP address automatically and Obtain DNS server address automatically then click OK...
Страница 136: ...129 Configuration and PIN code...


