


17
2-1-2 Repeater Web Based Setup
Before you can connect to the HW7ACW and start configuration
procedures, your computer must be able to get an IP address automatically
(use dynamic IP address). If it’s set to use a static IP address, please refer to
‘
Chapter V: Appendix, 5-1 Configuring TCP/IP on PC
’ to set your computer
to use dynamic IP address.
(1)
Use Ethernet cable to connect your computer’s Ethernet port and
wireless HW7ACW’s Ethernet port.
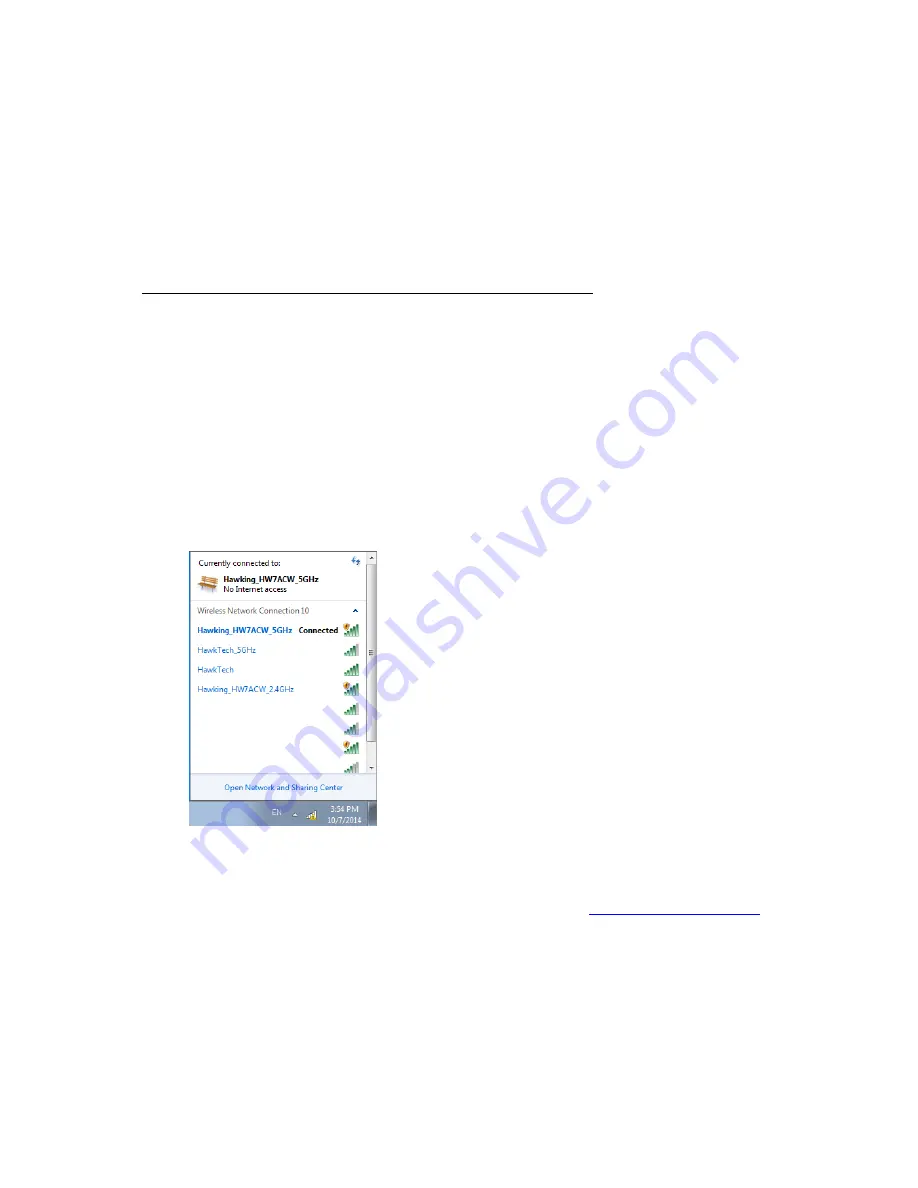
You can also use your computer’s wireless configuration utility to
search for a wireless network called ‘
Hawking_HW7ACW
and get
connected. (The default 2.4GHz wireless name of this HW7ACW
device is: ‘Hawking_HW7ACW_2.4GHz’ and the default 5GHz
wireless name is ‘Hawking_HW7ACW_5GHz’)
(2)
Open a web browser and it should automatically redirect to the setup
page. However, if it does not, you can type in ‘
http://
repeater.setup’
in the address bar. Note: You can also type in
http://192.168.1.241
in
the address bar. A window will prompt you to input username and
password. Default username is ‘
admin
’ and password is ‘
1234
’. Click
‘OK’ button to continue.
Содержание HW7ACW
Страница 9: ...2 WPS Wi Fi Protected Setup hardware button for easy installation and secure wireless security...
Страница 17: ...10...
Страница 25: ...18 3 Once you are logged in the HW7ACW setup page will appear...
Страница 103: ...96 and password is 1234 Click OK button to continue 3 Once you are logged in the HW7ACW setup page will appear...
Страница 107: ...100...
Страница 120: ...113 MAC address...
Страница 128: ...121 2 Select Obtain an IP address automatically and Obtain DNS server address automatically then click OK...
Страница 130: ...123 2 Select Obtain an IP address automatically and Obtain DNS server address automatically then click OK...
Страница 136: ...129 Configuration and PIN code...


