Manage System
35
Vision
2
Instruction Manual
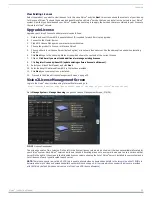
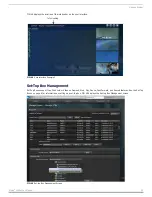
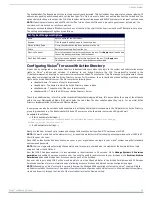
The Available Set-Top Boxes area lists the set-top boxes currently detected. This list includes the name, status, channel playing, IP
address, any pending activities and each set-top box type. This list is view-only. Select any set-top box from the list and use the
options below to change its output. Use Ctrl-Click to select multiple set-top boxes and Shift-Click to select a range of set-top boxes.
NOTE: If pushing commands to an Enzo STB that is offline (status shows as offline and a gray dot appears under last update), the
command will time out and no results are provided.
Users may uncheck the Show offline devices check box at the top of the chart to hide from view any Enzo STBs that are not online.
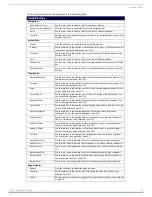
The set-top box management options are as follows:
Configuring Vision
2
for use with Active Directory
Vision
2
can be configured to use Active Directory to authenticate users when they login to the system and to determine access
rights to Vision
2
archives and services. If intending to use Active Directory, the XML file web.config located in the
C:\inetpub\wwwroot\v2 directory on your master server must be edited. The contents of this file are used to impersonate a chosen
user when communicating with the Active Directory server. For this reason, the user defined by these settings must have read
rights on the Active Directory server. The file contains the following keys:
LdapUserName - The name of user to impersonate
LdapDomain - The domain in which the Active Directory server resides
LdapPassword - The password of the user to impersonate
LdapServerURL - This is the URL for your Active Directory Server
There is an additional key in this file called LdapUserAttributeContainingLoginName, this key contains the name of the attribute
within the user Distinguished Name (DN) which holds the value that the user supplies when they log in. For a normal Active
Directory implementation, this value is sAMAccountName.
A user group can also be set to act as Administrators. Set the key AdministratorGroupName to the DN path for the Active Directory
group to give access top. The Administrator Windows NT user account on the master server can still login as well.
An example is as follows:
<!--Start Administrator Settings-->
<add key="AdministratorsGroupName" value="CN=AMX London,OU=Security Groups,
OU=Europe,DC=amx,DC=internal" />
<!--End Administrator Settings-->
Next go to the User Access Control screen and change the Access Control type from NT User Groups to LDAP.
NOTE: IIS must be restarted on the master server / or reboot the master server after changing access permissions from LDAP to NT
User Groups or vice versa.
Once LDAP authentication has been chosen, any user in your organization can login to your Vision
2
system using their standard
username and password.
NOTE: Users can login without entering their domain name, for example, user bob who is a member of the domain AMX can login
using bob rather than AMX\bob.
Now that LDAP has been enabled, it is recommended to restrict access to V2 services. Go to Manage System > V2 services
permission and enable V2 services access control. You will also need to restrict access to your Archives. Go to Archive > Archive
Permissions and enable Archive User Access control on each of the Archives.
Any user who logs in using LDAP will now only be able to view Live Channels. Refer to the Archive Permissions and V2 Services
Permissions sections for more information about allowing access to Archives and Vision2 service configuration pages.
NOTE: When adding a Vision
2
system to a corporate domain, the Windows 2008 operating system on the Vision
2
servers will block
multicasts created on those servers. The windows firewall must be configured on each Vision
2
server to allow multicast listener Query,
report and Report v2 through the firewall at the local subnet level on the Domain setting.
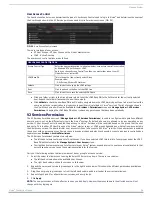
Set-Top Box Management Options
Name
Enter a name for the set-top box.
Rename
Click to apply the edited name to the set-top box.
Move Up/Move Down
Moves the selected set-top box up or down in the list.
Delete
Removes the set-top box from the list.
Play Live Channel
Select a live channel to play through the set-top box. Click Apply when finished and
the set-top box begins playing the live channel.
Play Video On Demand
Select a video on demand to play through the set-top box. Click Apply when
finished and the selected video on demand becomes available.

