Four post parking lift Happ25 4 post hoist
14
Unpacking
:
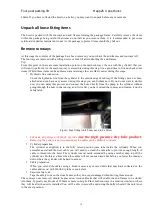
Unpack the lift close to the installation site. Review your packing list and
assembly drawing to verify that you have all the parts. Layout a chalk line on the floor
following the floor plan
(See pic)
Stand the column in place making sure the power unit mounting bracket at the correct
location and the lock blocks facing outward.
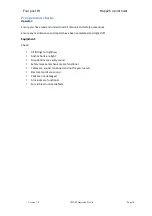
Rotary Hammer Drill or Similar
Medium Crescent Wrench
Masonry Bit
Hydraulic hose style ring spanners
Open ender metric spanner set
4.1 Brief Installation Steps
The following represents the basic steps for installation of the HAPP 25, these steps may vary depending on
your installation environment. We have provided multiple descriptions of installation to ensure you are able to
review the steps and learn what is required before attempting the installation.
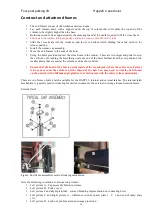
A second more detailed description with pictures is provided in section 11 ( The first few sections are similar so
don’t give up, review all of the sections) . It is recommended you read both sections which will give you two
descriptions of installation which should then reinforce the steps required to install and setup the hoist.
•
Remove hoist from the delivery vehicle
•
Unpack all loose fitting items
•
Remove runways
•
Construct and attach end frames
•
Connect the cables
•
Install the pump assembly
•
Securing with anchor bolts
•
Initial testing of the lift
•
Connect safety release mechanism
•
Final testing of the lift
Remove hoist from the delivery vehicle
If you have arranged for the delivery via a tilt tray it is generally a good idea to have the truck to unload as close
to the install location as possible. If this is not possible you may wish to construct the hoist in another area
and used the dolly wheels to move the hoist into the desired location. The hoist can be moved easily when on
the dolly wheels however you need to allow for the clearance of the posts to ground with is approximately
TOOLS recommended


