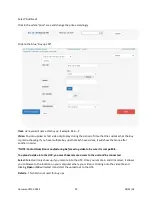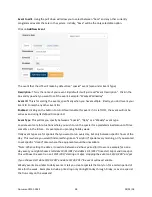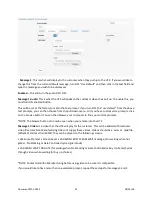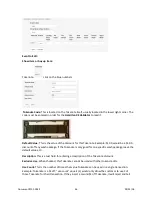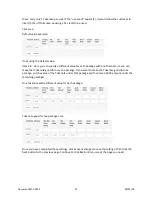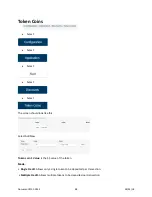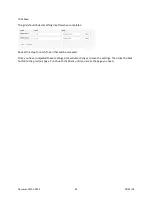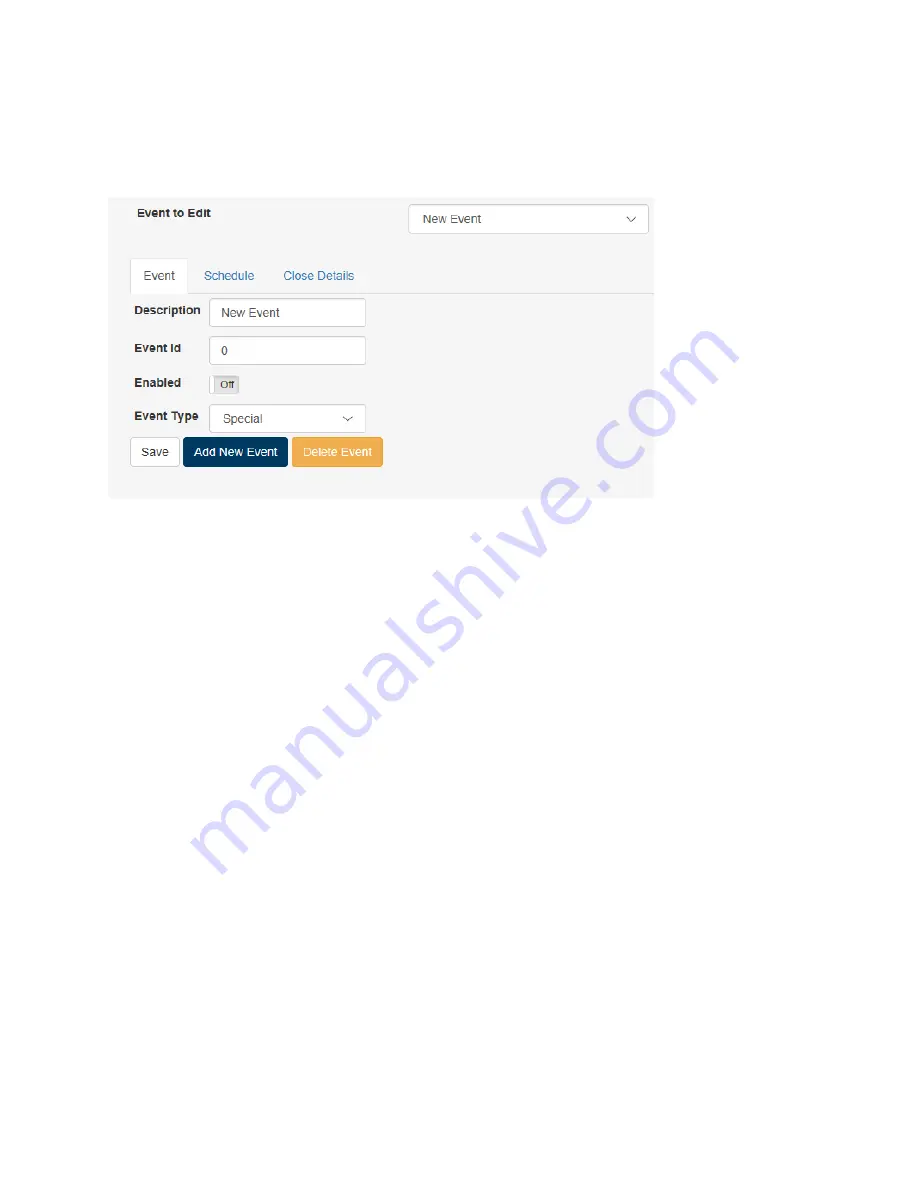
Event to edit
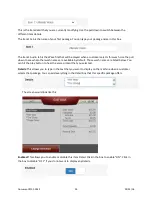
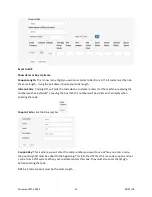
: Using the pull down will allow you to select between “base” and any other currently
programmed events that are in the system. Initially, “base” will be the only selectable option.
Click on
Add New Event
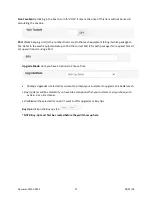
The event that the HTK will make by default is a “special” event (seen under Event Type).
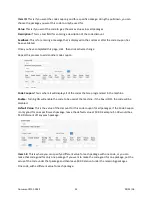
Description
: This is the name of your event. By default it will just read “Event Description”. Click in the
box and type what you want to call the event. Example: “Wacky Wednesday”
Event ID
: This is for sorting the events, specifically when you have multiple. Ideally, you don’t want your
Event ID to match any other Event IDs.
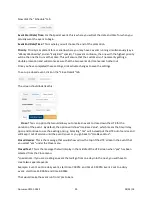
Enabled
: clicking on the button to turn ON will enable this event. If it is left OFF, the event will not be
active even during its defined time period.
Event Type
: This will let you specify between a “Special”, “Daily” or a “Weekly” event type.
Special
events are for situations where you wish to run the special for a predetermined amount of time
sometime in the future. For example an upcoming holiday week.
Daily
event types are for specials that you want to run every day, but only between specific hours of the
day. This is where you would find something like an “Early Bird” special every morning, or if you wanted
to set specific “closed” times where the equipment would be unavailable.
*Note: When setting the dates, it needs to between a 24-hour period for it to work. example for a one-
day event you might choose Start date 10/31/2017 end date 11/1/2017 Time start 12pm end time 2pm.
This will have the event run on 10/31/2017 starting at 12pm, stopping the event on 10/31/2017 at 2pm.
If you choose start date 10/31/2017 end date 10/31/2017 the event will never enable.
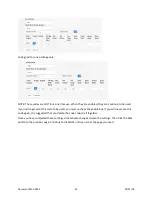
Weekly
events are similar to daily events. It lets you create specials that only run for a certain period of
time for the week. Examples include a price drop only during Monday through Friday, or even a special
that runs only on the weekend.
Document #101-0243
38
02/01/18
Содержание CTK
Страница 1: ...HTK CTK PROGRAMMING MANUAL Document 101 0243 1 02 01 18 ...
Страница 16: ...Click on Ethernet Then click on properties Document 101 0243 16 02 01 18 ...
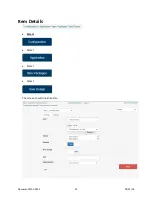
Страница 23: ...Item Prices Select Select Select Select The screen should look like this Document 101 0243 23 02 01 18 ...
Страница 25: ...Item Details Select Select Select Select The screen should look like this Document 101 0243 25 02 01 18 ...
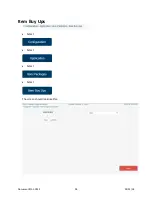
Страница 28: ...Item Buy Ups Select Select Select Select The screen should look like this Document 101 0243 28 02 01 18 ...
Страница 31: ...Buy Up Items Select Select Select Select The screen should look like this Document 101 0243 31 02 01 18 ...
Страница 95: ...Alerts Select Select Select Select The screen should look like this Document 101 0243 95 02 01 18 ...
Страница 99: ...Gate Select Select Select Select Select The screen should look like this Document 101 0243 99 02 01 18 ...
Страница 132: ...Document 101 0243 132 02 01 18 ...


