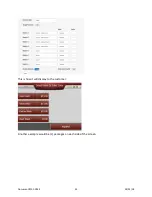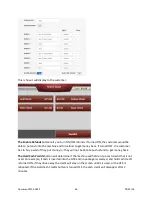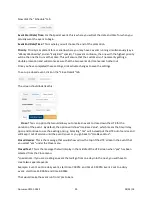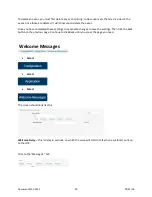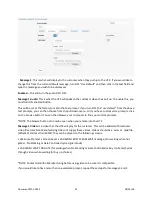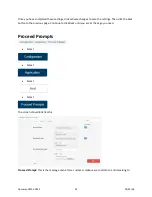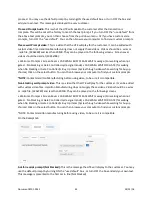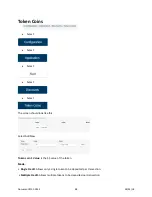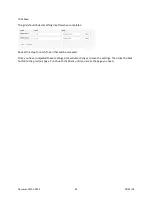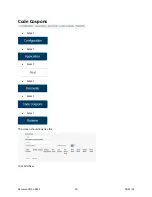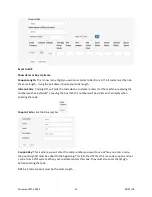
Once you have completed these settings, click activate changes to save the settings. Then click the back
button to the previous page. Continue to click Back until you are at the page you need.
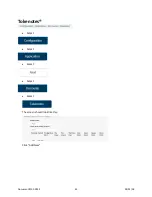
Events
•
Select
•
Select
•
Select
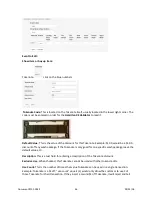
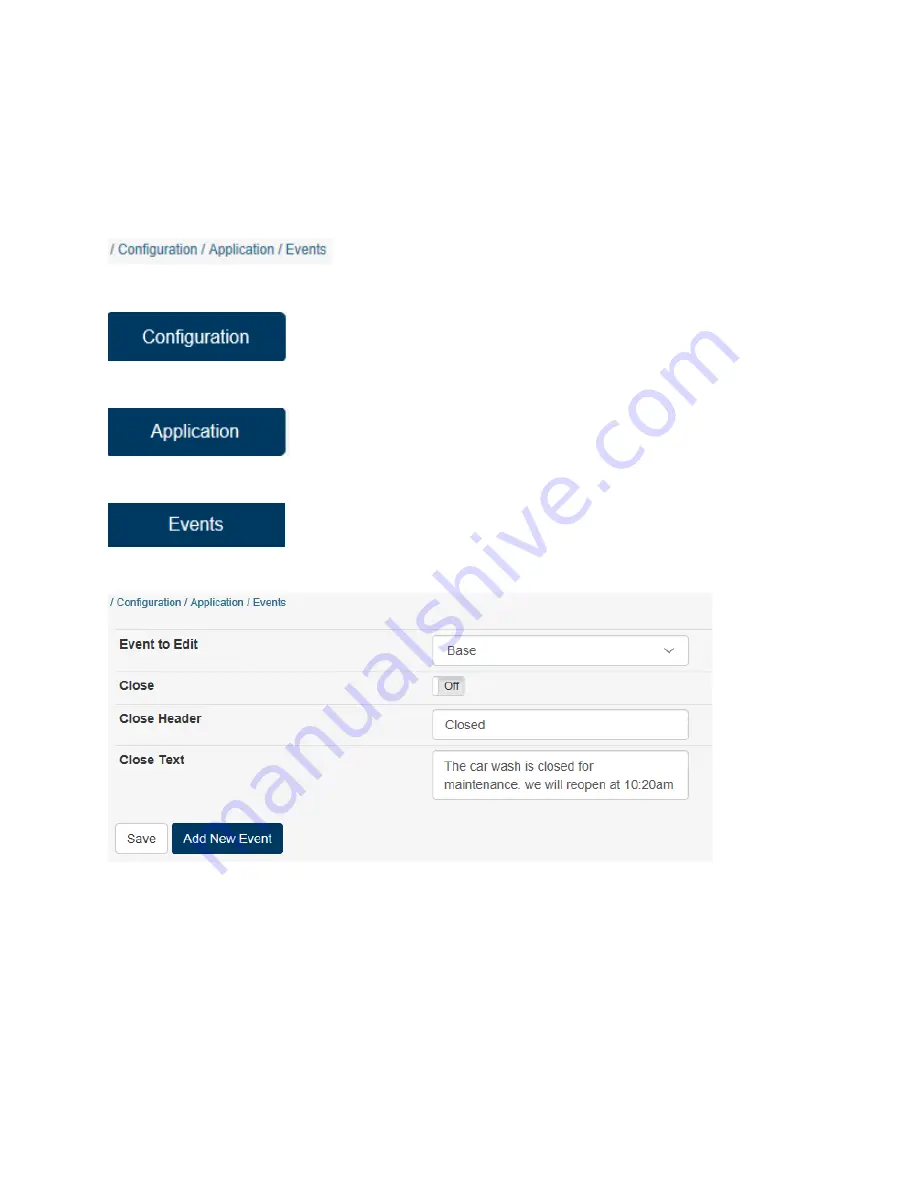
The screen should look like this:
This is the default “base” screen for the Events menu. From this screen you have the ability to instantly
put the HTK out of service with a custom “Closed” message.
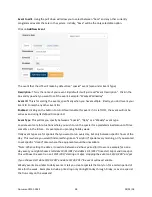
This can be done by filling the boxes similar to the picture above, turning ON the Close button, then Save
and then Activate Changes.
When you wish to bring the machine back into service, click in the box to turn OFF, Save, then Activate
Changes.
Document #101-0243
37
02/01/18
Содержание CTK
Страница 1: ...HTK CTK PROGRAMMING MANUAL Document 101 0243 1 02 01 18 ...
Страница 16: ...Click on Ethernet Then click on properties Document 101 0243 16 02 01 18 ...
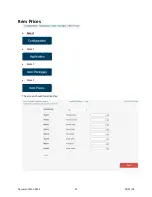
Страница 23: ...Item Prices Select Select Select Select The screen should look like this Document 101 0243 23 02 01 18 ...
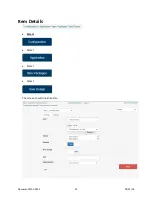
Страница 25: ...Item Details Select Select Select Select The screen should look like this Document 101 0243 25 02 01 18 ...
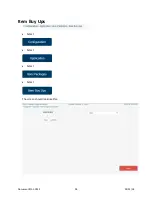
Страница 28: ...Item Buy Ups Select Select Select Select The screen should look like this Document 101 0243 28 02 01 18 ...
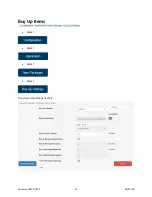
Страница 31: ...Buy Up Items Select Select Select Select The screen should look like this Document 101 0243 31 02 01 18 ...
Страница 95: ...Alerts Select Select Select Select The screen should look like this Document 101 0243 95 02 01 18 ...
Страница 99: ...Gate Select Select Select Select Select The screen should look like this Document 101 0243 99 02 01 18 ...
Страница 132: ...Document 101 0243 132 02 01 18 ...

