0
Installation and Maintenance Manual, Compact CA
3.1.4a Mounting the motor onto the driven shaft - shaft coupling
The motor can be mounted onto the driven shaft with or without a mounting tool, but the use of a
mounting tool is recommended since it makes the work easier.
It is important to arrive at the correct clamping length between the driven shaft and the hollow
shaft of the motor.
Ensure that the full clamping length is used by, for example, measuring and marking the driven
shaft. This is of particular importance if the duty is so severe that a stress relieving groove has
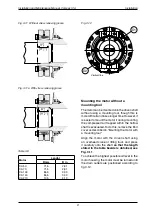
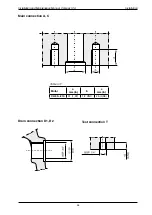
been made on the driven shaft. See Fig. 3.11, 3.11a and the table 3.8.
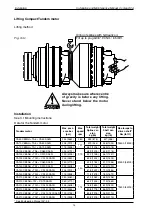
Mounting the motor with a mounting tool
(Fig. 3.10)
- Remove the End cover together with screws and washers.
- Align the motor with the driven shaft.
- Locate the existing plastic washer between the nut on the mounting tool and the bearingretainer.
Pass the mounting tool through the centre of the motor, and screw it into the driven shaft to stated
depth by using the key handle in the end of the tool.
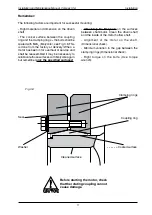
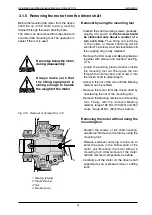
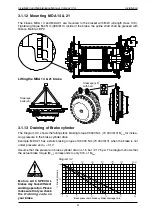
Fig. 3.10 Mounting the CA 50...210
1
1
1:1
Plastic Washer
Mounting tool
Nut
- Pull the motor onto the shaft by turning the nut on the mounting tool until the length stated in the
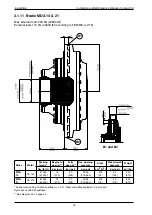
table 3.8, is obtained; see Fig. 3.11.
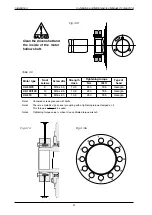
- Tightening the shaft coupling see table 3.9
- Remove the mounting tool.
- Refit the plug.
- Refit the end cover and tighten the screws together with washers. Torque 81 Nm (59 lbf·ft).
Installation

