


169
13.1.2 One-touch Configuration
Through one-touch configuration, you can quickly create the disk array. By default, the
array type to be created is RAID 5.
Before you start
1. The RAID function should be enabled, please refer to the Chapter 13.1.1 for details.
2. As the default array type is RAID 5, please install at least 3 HDDs in you device.
3. If more than 10 HDDs are installed, 2 arrays can be configured.
Step
1
Enter the RAID configuration interface.
Menu > HDD > RAID
Step
2
Check the checkbox of corresponding HDD No. to select it.
Step
3
Click the
One-touch Config
button to enter the One-touch Array Configuration
interface.
Step
4
Edit the array name in the
Array Name
text filed and click
OK
button to start
configuring array.
Note:
If you install 4 HDDs or above for one-touch configuration, a hot spare disk will be set by
default. It is recommended to set hot spare disk for automatically rebuilding the array when
the array is abnormal.
Step
5
When the array configuration is completed, click
OK
button in the pop-up message
box to finish the settings.
Step
6
You can click
Array
tab to view the information of the successfully created array.
Note:
By default, one-touch configuration creates an array and a virtual disk.
Step
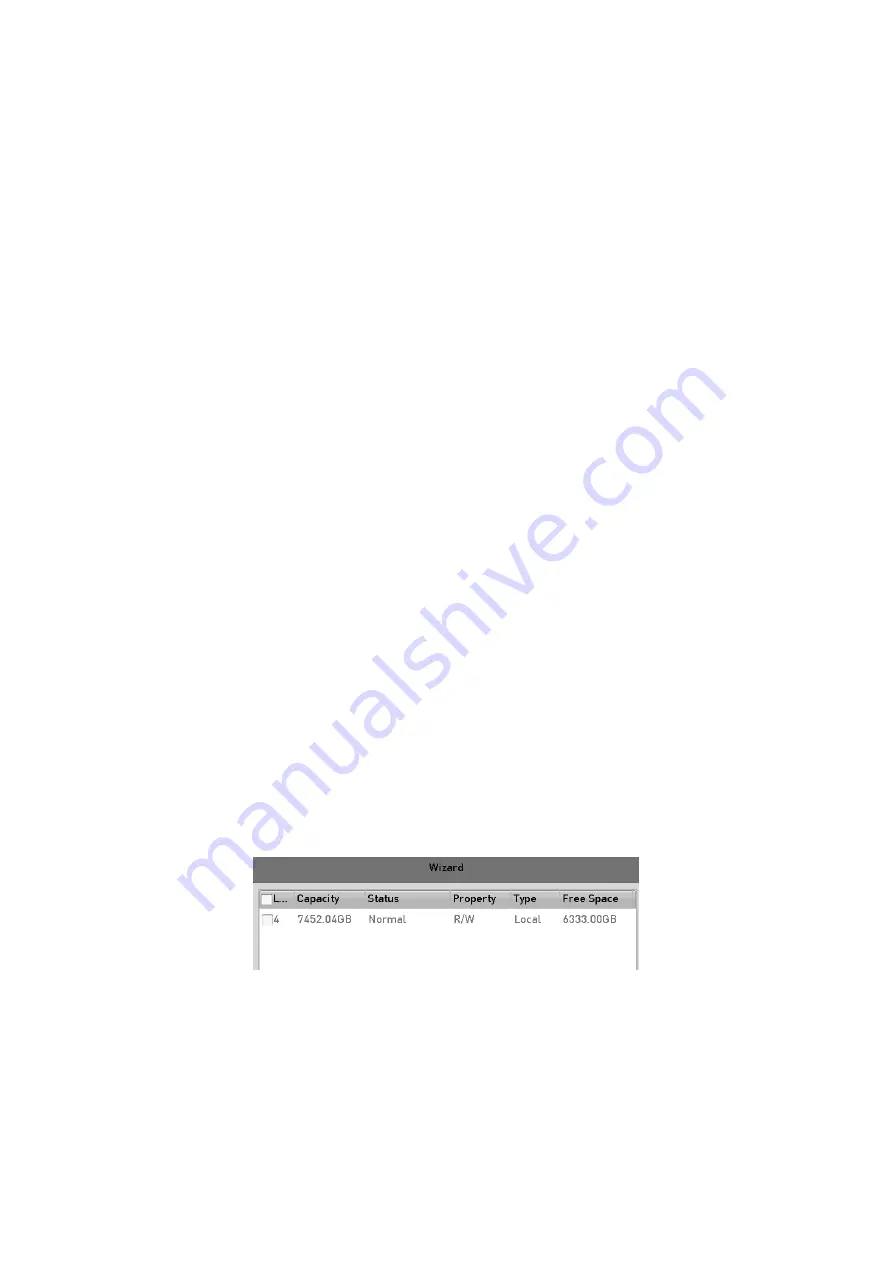
7
A created array displays as an HDD in the HDD information interface.
HDD Information Interface
13.1.3 Manually Creating Array
You can manually create the array of RAID 0, RAID 1, RAID 5, RAID6 and RAID 10.
Содержание GD-RT-5008P
Страница 2: ......
Страница 134: ...134 Set PTZ Linking Step 8 Click OK to save the settings...


