17
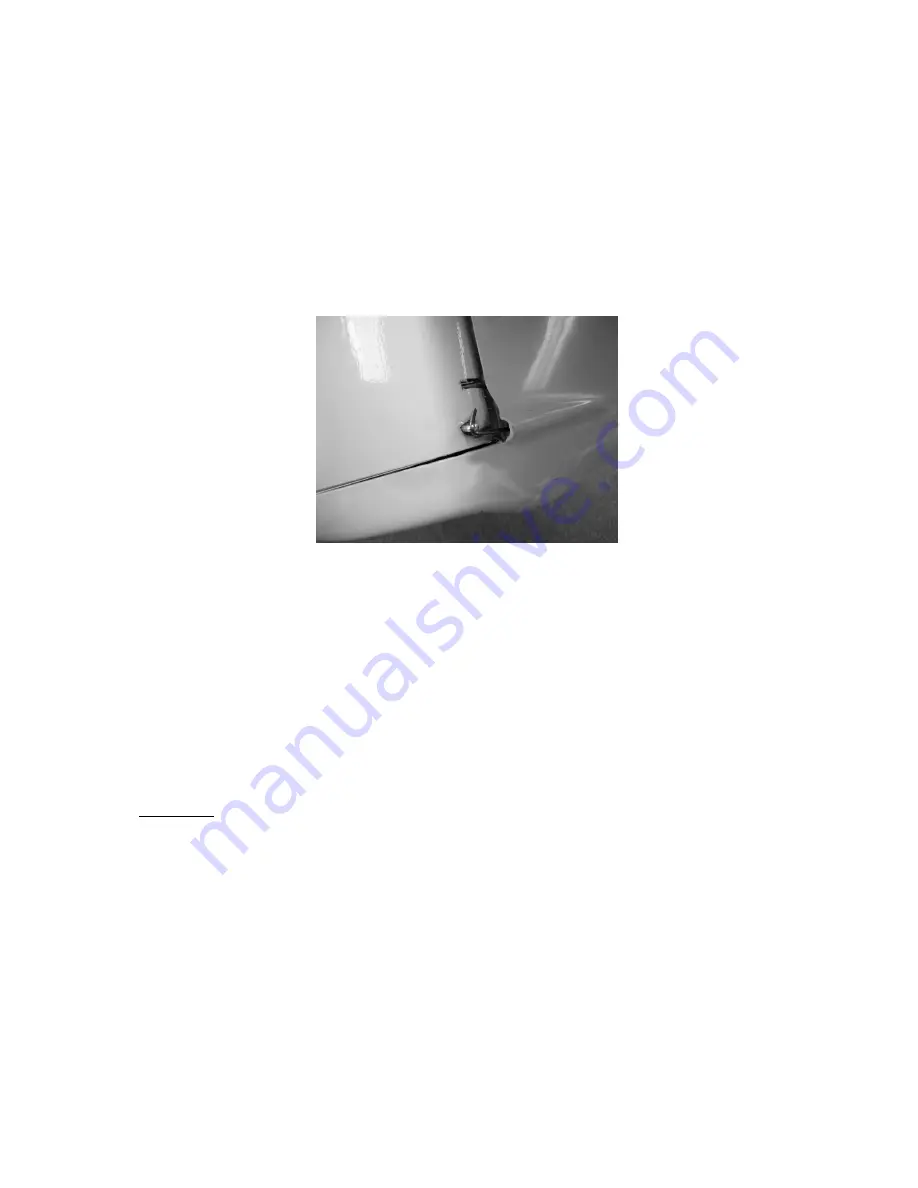
Next, carefully mark out the position of the rudder control horn to align with the
shroud in the rear of the fuselage and the rudder control linkage. Try to locate the
horn as close as possible to the pivot line, and at exactly 90 degrees to the rudder
hinge line. Take care to avoid any restriction caused by the rudder horn touching the
shroud in the fuselage. Now drill a 4 mm hole at the point where the rudder horn is to
be installed. The hole should be as deep as possible but take care not to pierce the
skin on the other side of the rudder. Undermine the hole using a sharp tool so as to
increase area available to the adhesive and bond the rudder horn into place using
suitably thickened epoxy.
Assembly of the ALPINA 3001 CHAMP PRO
Insert the wing joiner through the fuselage opening and press the wings firmly onto
the joiner, ensuring that all four wing incedence pins and the pressure pins have fully
engaged and all wing servo connections have been secured. Insert both tailplane
halves on the steel wires and check that they are secure.
Important: The tailplane and wings must be fastened to the fuselage so they
are immoveable.
Finishing
Caution!!!
The Alpina – just like other models we produce - is manufactured using very
sophisticated Load Specific Covering Thickness Procedure (LTSCP)-technology in
order to achieve the desired optimal relationship between of weight and strength. In
this process, the thickness of wing skins are carefully reduced towards the tips which
means that the thermal diffusivity is considerably enhanced! Particular care must be
taken when using heat-shrink covering films to decorate your model. You should by
all means use covering films which have a low melting point so as not to destroy the
underlying polystyrene core (polystyrene melts at temperatures greater than 70°C).
When using heat-shrink covering films you should make every effort to avoid
prolonged exposure to heat.
We therefore recommend preferably low temperature covering films such as for
example adhesive foils.


