GL820-UM-251-9370
5-8
5. INSPECTION AND CHECK PROCEDURES
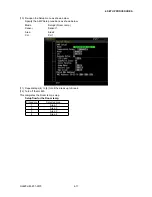
(6) Input the reference voltage for each range according to the table below, and then check that the level of
measurement is within the rating.
Voltage precision ratings
Range
Input voltage
Factory Rating (±0.08%)
Product Rating (±0.1%)
20 mV
+20.000 mV
+19.984 mV to +20.016 mV
+19.98 mV to +20.02 mV
50 mV
+50.000 mV
+49.96 mV to +50.04 mV
+49.95 mV to +50.05 mV
100 mV
+100.00 mV
+99.92 mV to +100.08 mV
+99.9 mV to +100.1 mV
200 mV
+200.00 mV
+199.84 mV to +200.16 mV
+199.8 mV to +200.2 mV
500 mV
+500.00 mV
+499.6 mV to +500.4 mV
+499.5 mV to +500.5 mV
1 V
+1.0000 V
+0.9992 V to +1.0008 V
+0.999 V to +1.001 V
2 V
+2.0000 V
+1.9984 V to +2.0016 V
+1.998 V to +2.002 V
5 V
+5.0000 V
+4.996 V to +5.004 V
+4.995 V to +5.005 V
10 V
+10.0000 V
+9.992 V to +10.008 V
+9.99 V to +10.01 V
20 V
+20.0000V
+19.984 V to +20.016 V
+19.98 V to +20.02 V
50 V
+50.000 V
+49.96 V to +50.04 V
+49.95 V to +50.05 V
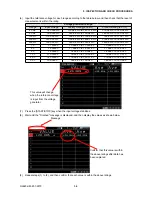
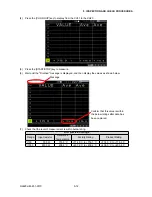
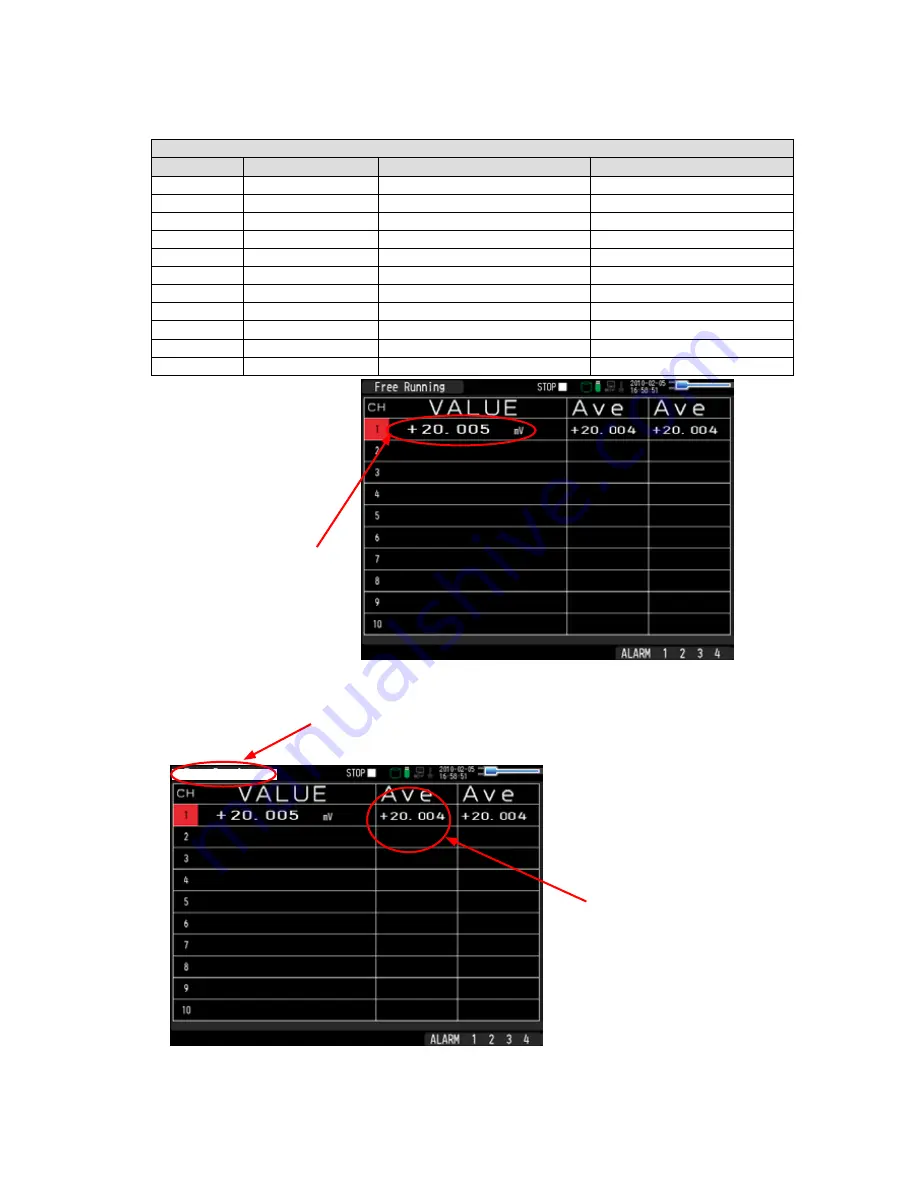
This value will change
when the reference voltage
is input from the voltage
generator.
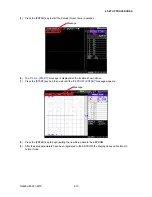
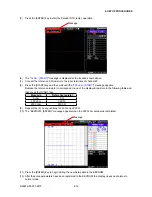
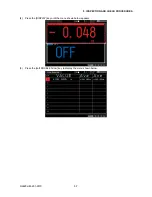
(7) Press the [START/STOP] key when the input voltage stabilizes.
(8) Wait until the "Finished" message is displayed, and then display the values as shown below.
Message
Confirm that this value is within
the above ratings after data has
been captured.
(9) Repeat steps (1) to (8), and then confirm that each value is within the above ratings.
Содержание GL820
Страница 1: ...midi LOGGER SERVICE MANUAL 820 GL820 UM 251 GL820 UM 251 02 9370 ...
Страница 2: ......
Страница 8: ...GL820 UM 251 9370 1 2 1 CONFIGURATION ...
Страница 12: ......
Страница 35: ...GL820 UM 251 9370 4 15 4 SETUP PROCEDURES 13 Turn off the GL820 This completes the RTD temp setup ...
Страница 36: ......
Страница 56: ......

