


Chapter 6
102
Printer Maintenance
P83173A RevA
7/19/10
3
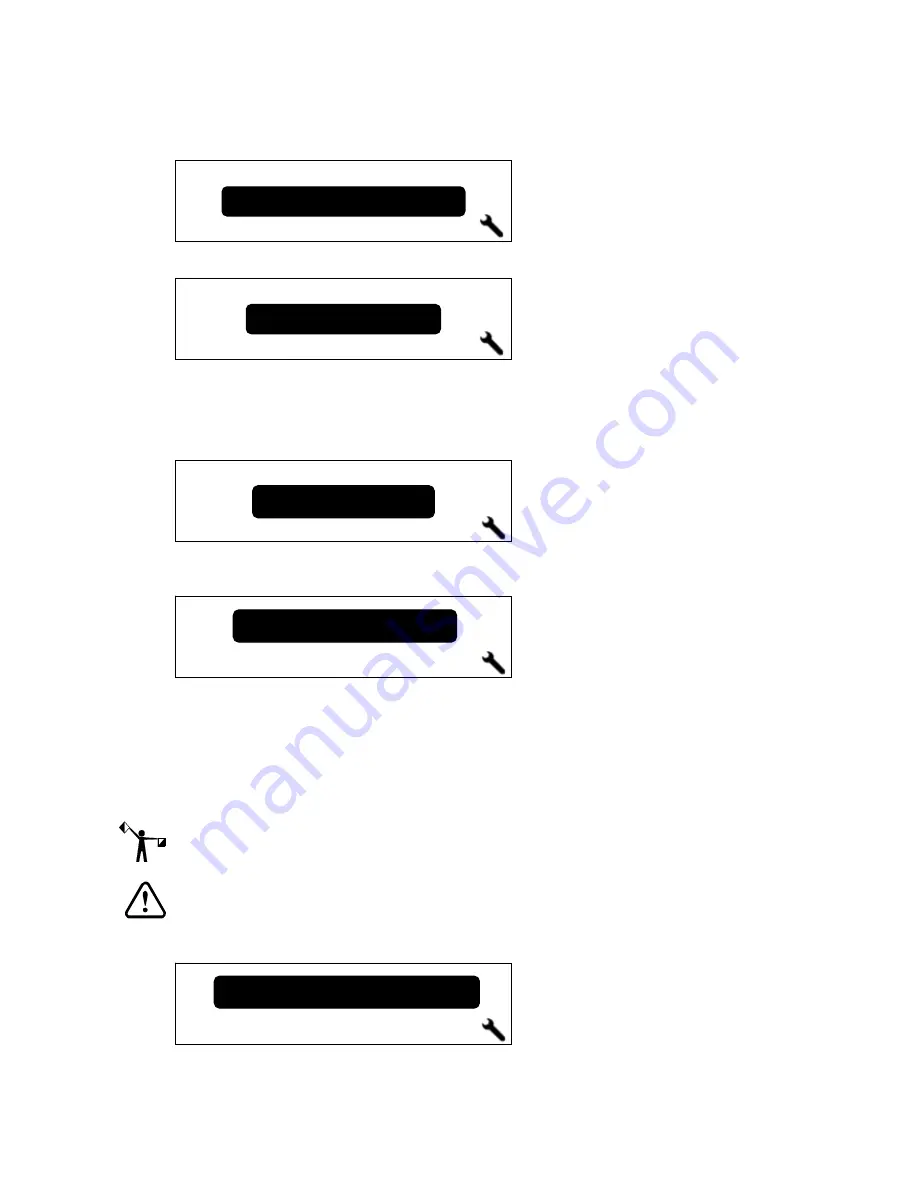
Press ENTER to display the
End of Day Clean
screen.
4
Press the
Y
or
Z
key until the
Clear Ink Line
screen displays.
5
Press ENTER to display the
Choose Color
screen. Use the
Y
Z
keys to display the color
ink line to clear. You may also select
All Colors
to clear all of the ink lines during one
procedure. When clearing all ink lines, the messages differ slightly from those shown
in this procedure.
6
Press ENTER to select the ink color and the
Remove “INK COLOR” Ink Pouch
screen
displays. Remove the pouch, shut the ink drawer, and then press ENTER.
7
The printer prompts you to
Close Any Open Ink Drawers
.
8
After closing any open ink drawers, the printer prompts you to
Remove the Head Access
Door. Press ENTER when done.
Set the door aside on a disposable wipe and press ENTER.
9
The printer prompts you to
Check the Waste ink Tray
. Remove the waste ink tray and
empty ink if necessary (see page 83). Do not remove sponge.
NOTE: Do not remove sponge unless this procedure takes place during 40 hour maintenance
and/or sponge is saturated when waste tray is checked. To replace sponge, see page 83.
CAUTION: Use caution not to spill ink out of tray sides as sponge may randomly
redirect ink flow when into waste container.
10
The screen prompts you to
Open both “INK COLOR” Purge Valves. Press ENTER when done
.
Cyan
Choose Color:
Clear Ink Line
Remove CYAN Ink Pouch
Press ENTER when done.
End of Day Clesn
Open both CYAN Purge Valves
Press ENTER when done


