


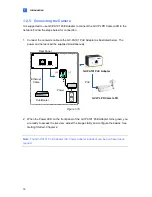


Introduction
21
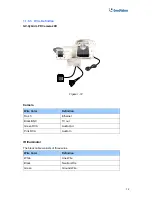
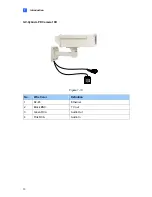
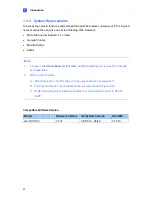
1
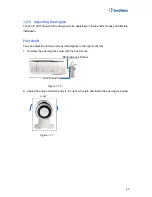
Second Shaft
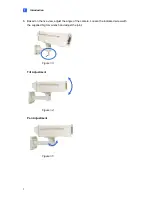
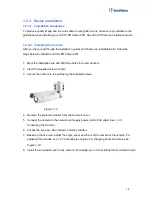
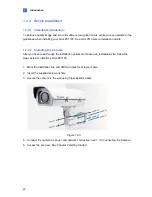
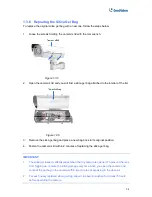
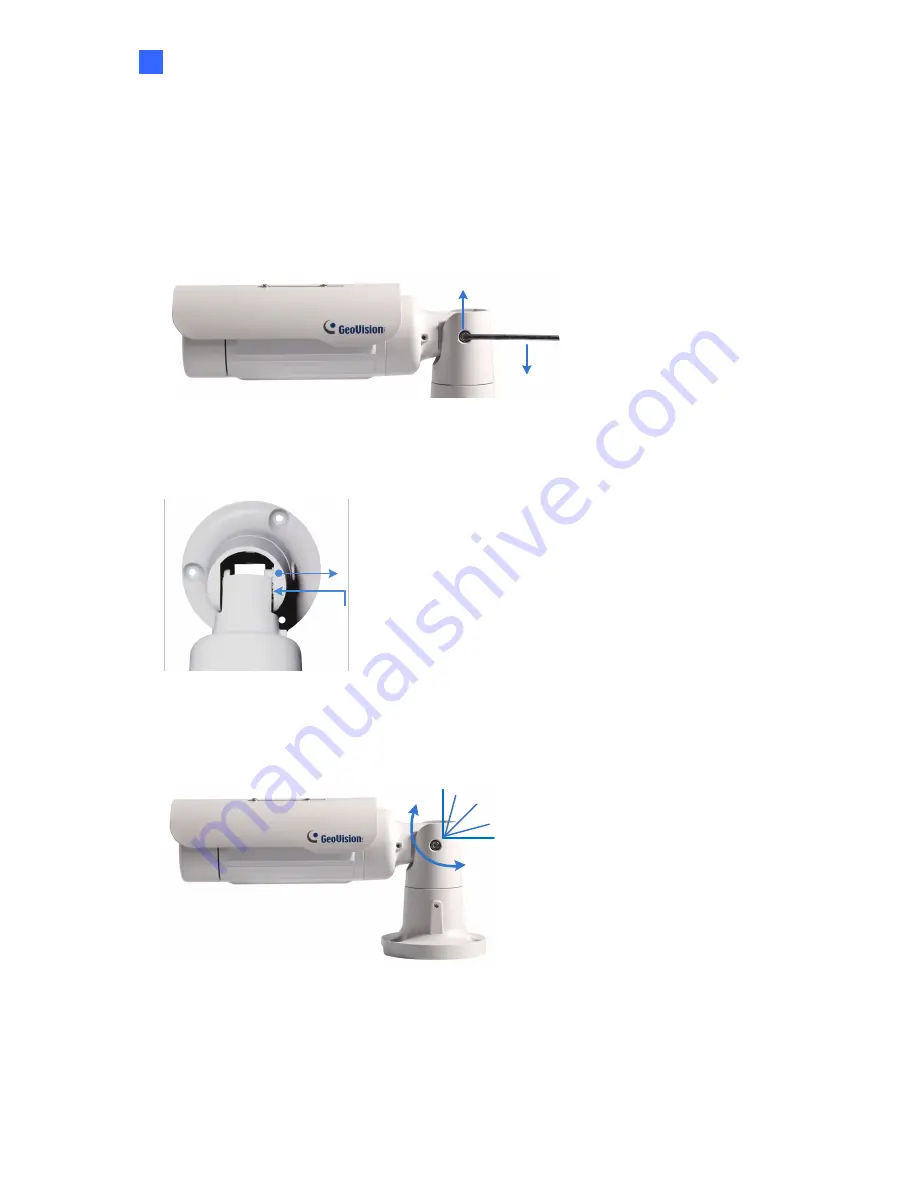
You can adjust the camera body up and down by 90, 112.5, 135, 157.5 or 180 degrees by using the
gears inside the camera body and the camera base.
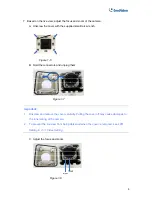
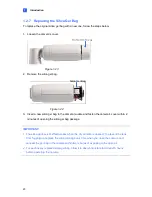
1. Unscrew the tilting lock screw with the torx wrench.
Torx Wrench
Tilting Lock Screw
Figure 1-18
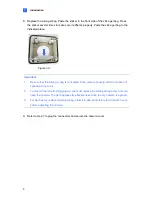
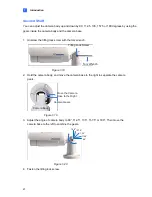
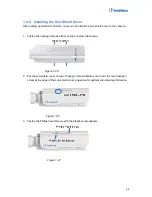
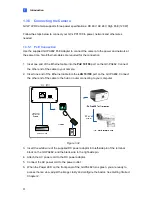
2. Hold the camera body, and move the camera base to the right to separate the camera
gears.
Camera Gears
Move the Camera
Base to the Right
Camera Body
Figure 1-19
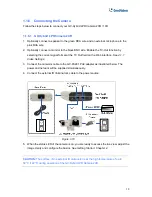
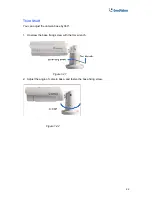
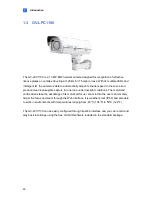
3. Adjust the angle of camera body to 90°, 112.5°, 135°, 157.5° or 180°. Then move the
camera base to the left to combine the gears.
90°
112.5°
180
°
157.5°
135 °
Figure 1-20
4. Fasten the tilting lock screw.
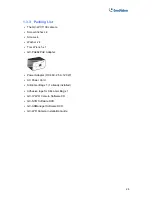
Содержание GV-LPC1100
Страница 45: ...Introduction 35 1 3 GV LPC1100 currently does not support recording to Micro SD card or Mini USB function ...
Страница 61: ...Guest Mode and Live View Panel 3 File Path Assigns a file path to save the snapshots 51 ...
Страница 67: ...Administrator Mode 4 4 1 1 Video Settings Figure 4 2A 57 ...
Страница 102: ...4 5 4 Tools This section allows you to execute certain system operations and view the firmware version Figure 4 33 92 ...
Страница 134: ...124 For further information on how to mange the received video from the camera see GV CMS Series User s manual ...


