Puma III User Manual
Installation 2-21
2.6.2 RS-232 Interface
Connecting to the RS-232 (Serial) Port
1. For IBM PC, PS/2 users or compatibles, connect the RS-232C cable to the
serial connector of the assigned serial port (COM1 or COM2) of your host
computer.
2. Set up the communication parameters (Baud Rate and Data Bits/Parity) to
match the setting of software package, refer to chapter 3 – “Misc” key
description.
2.6.3 Data Transmitting
There are two options to transmit the data from the computer to the cutting
plotter:
Option 1:
With proper interface settings, the data can be transmitted from your
application software package to the cutting plotters directly.
Option 2:
Most cutting software packages are able to emulate
HP-GL
or
HP-GL/2
commands. As long as the file is
HP-GL
or
HP-GL/2
format,
the cutting plotter can output the data precisely.
Caution!! Please turn off the plotter before plugging the RS-232C
Содержание P3-60
Страница 1: ...V 22 2016 Dec Puma III Series User Manual http www GCCworld com...
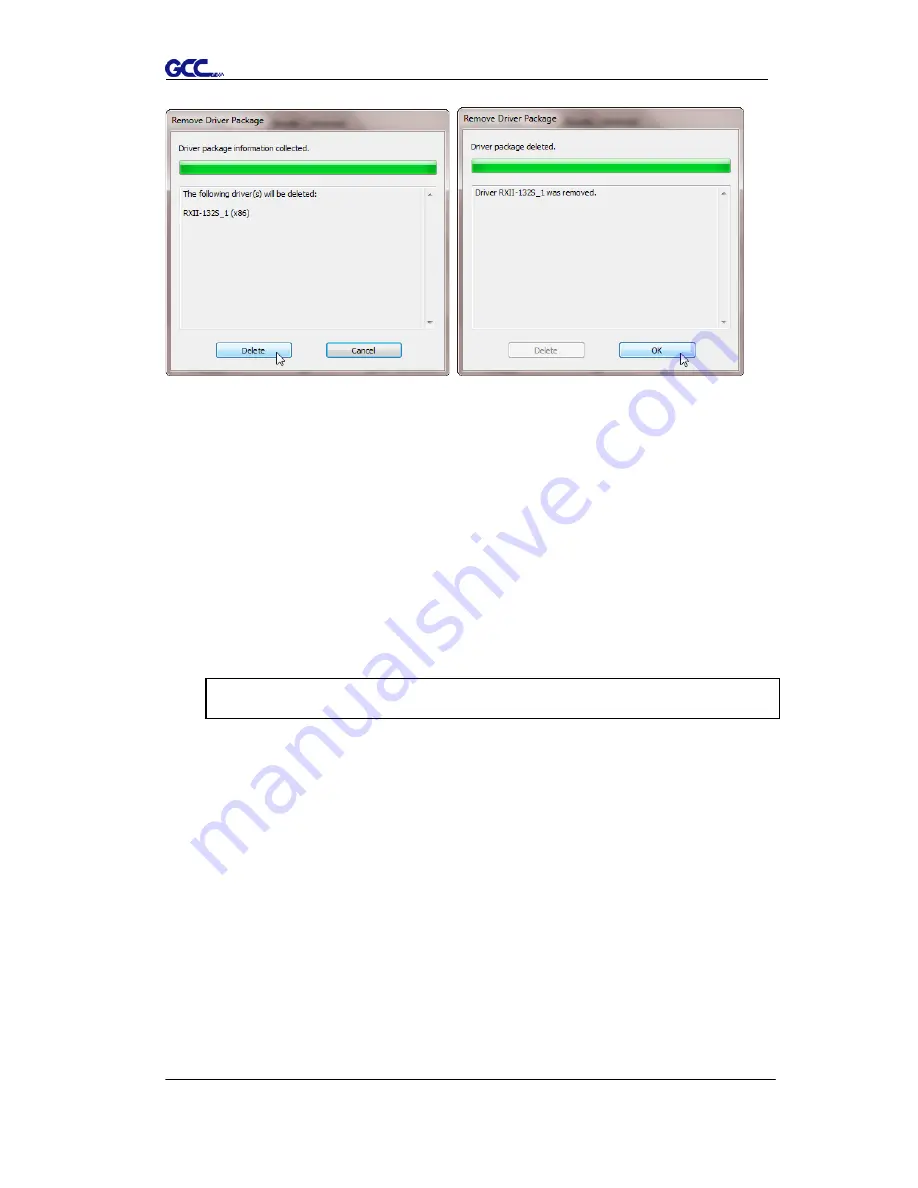
Страница 30: ...Puma III User Manual Installation 2 19 Step 3 Select Driver page Step 4 Select the model and click on Remove...
Страница 48: ...Puma III User Manual Installation 2 37...
Страница 123: ...Puma III User Manual GreatCut Plug In A 5 Step 5 Click output and the object will be sent to GCC Cutting Plotter...
Страница 138: ...Puma III User Manual GreatCut Plug In A 5 Step 5 Click output and the object will be sent to GCC Cutting Plotter...
Страница 143: ...Puma III User Manual GreatCut Plug In A 5 Step 4 Click Multi Copy on GreatCut under File...
Страница 158: ...Puma III User Manual SignPal 12 Instruction A 6...
Страница 159: ...Puma III User Manual SignPal 12 Instruction A 6 3 Select File Print Setup in SignPal Software and select the printer...
Страница 160: ...Puma III User Manual SignPal 12 Instruction A 6 4 Select File Document Setup in SignPal and select paper size...
Страница 165: ...Puma III User Manual SignPal 12 Instruction A 6...


