JF-2418UV User Manual
76
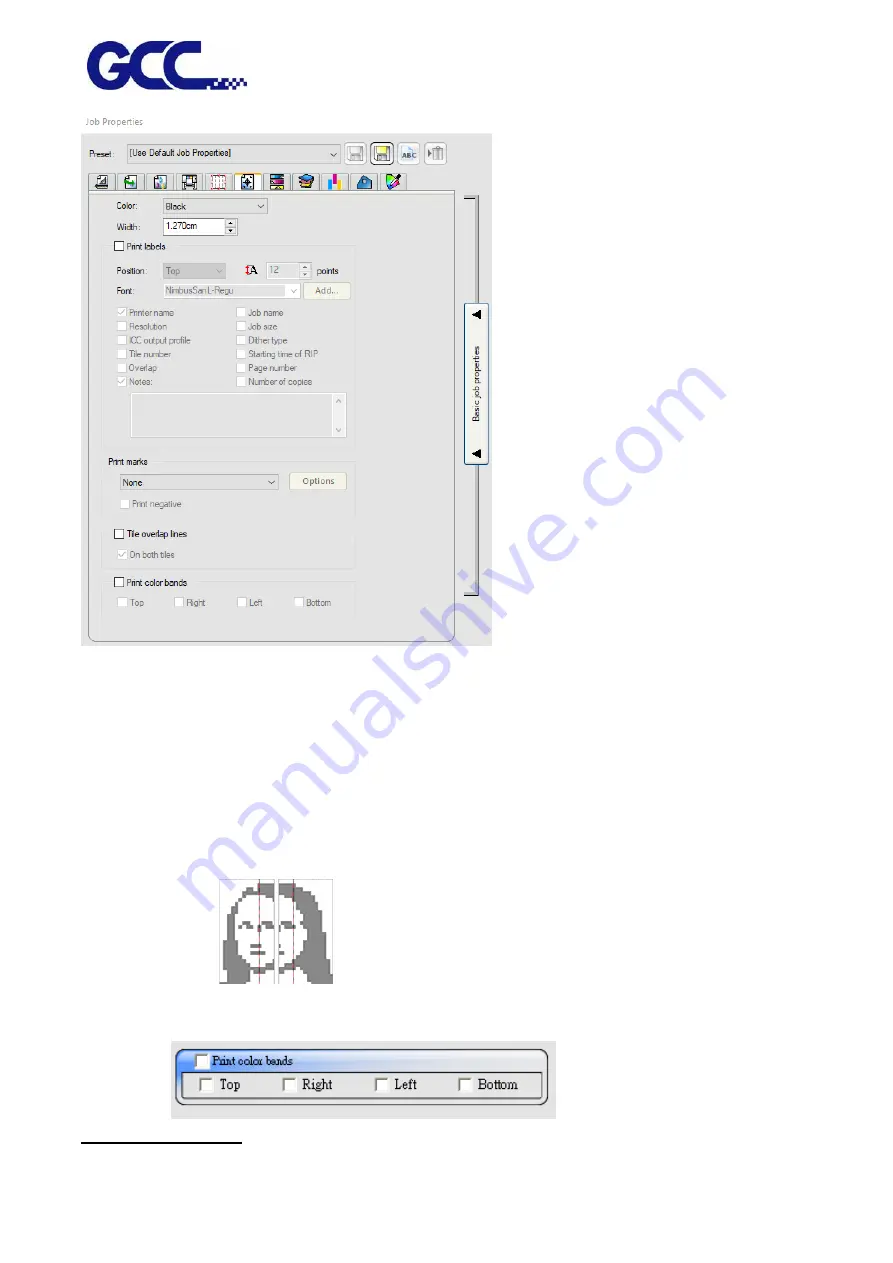
Color
Select the ink that is used to print labels and marks.
Width
Sets the width of the labels.
Print Marks
Adds crop marks or color block on the corner of print job to define where the
page should be trimmed or the job property.
Tile overlap lines
Lines on tiles print to indicate where the edge of the overlap is. Use these to
align the tiles.
If you check On both tiles, the overlap lines appear on both tiles. If not, the
overlap line only appears on the second tile.
Print color bands: check this item allows you to print the color bar on the selected image.
Color Adjustment Tab
Содержание JF-2418UV
Страница 1: ...JF 2418UV User Manual http www GCCworld com V 1 2022 Mar GCC GCC Club...
Страница 3: ...JF 2418UV User Manual 2 Release Note Version Change V 1 2021 Nov Add JF 2418UV User Manual...
Страница 24: ...JF 2418UV User Manual 23 Control panel flow...
Страница 25: ...JF 2418UV User Manual 24 Operating work flow...
Страница 27: ...JF 2418UV User Manual 26 Operating work flow...
Страница 28: ...JF 2418UV User Manual 27 Control panel flow O N FRONT REAR O N O N OFF OFF...
Страница 38: ...JF 2418UV User Manual 37 MANUAL CLEANING WHITE CIRCULATION Circulation of white ink print head ON...
Страница 42: ...JF 2418UV User Manual 41 B Set the PH Gap Auto Adjustment to be OFF on the control panel...
Страница 57: ...JF 2418UV User Manual 56 Step 4 The settings is completed and open FlexiPRINT GCC Edition...
Страница 87: ...JF 2418UV User Manual 86 7 Select GCC JF 2418UV from the Printer drop down menu and click Setup...
Страница 88: ...JF 2418UV User Manual 87 8 Select Advanced...
Страница 96: ...JF 2418UV User Manual 95 Step13 Click Finish Step14 Auto Serialization is completed 10 Click Preferences...
Страница 102: ...JF 2418UV User Manual 101 Create a New color Set the name to be Spot_White and the mode to be Spot...
Страница 103: ...JF 2418UV User Manual 102 3 Fill Objects with Spot White Swatch and overprint 4 Select Rip and print...
Страница 129: ...JF 2418UV User Manual 128 Step 8 File Export Step 9 Save the file as eps format Step 10 The process is completed...
Страница 169: ...JF 2418UV User Manual 168 Step 2 Enter the password caldera Step 3 Click Next...
Страница 170: ...JF 2418UV User Manual 169...
Страница 175: ...JF 2418UV User Manual 174 Step 8 Click Add job Step 9 Click Send job and the process is complete...


