JF-2418UV User Manual
73
The size of the margin. The margin is the part of the panel that extends
outside of the boundaries of the job.
Selected tile Selects which tile's width and height display in the fields below.
Selects a tile to edit. The selected tile highlights in the preview pane.
Shows the width and height of the selected tile. To adjust, enter a number
or use the arrows.
Check to output the selected tile with the rest of the job.
Clear to prevent output by marking the tile with a mesh overlay in the preview pane
All tiles These settings apply to all tiles and help you quickly set up automatic tiles of equal size.
Selecting this option divides the job vertically into the number of columns
specified. Each column is of equal width.
Selecting this option divides the job into the number of rows specified. Each
row is of equal height.
Enter the values for the width and height of the tiles here. All tiles change to
the specified size.
Set the amount of overlap between tiles. Enter a negative number to create an
offset between tiles.
Reset Restores the default settings.
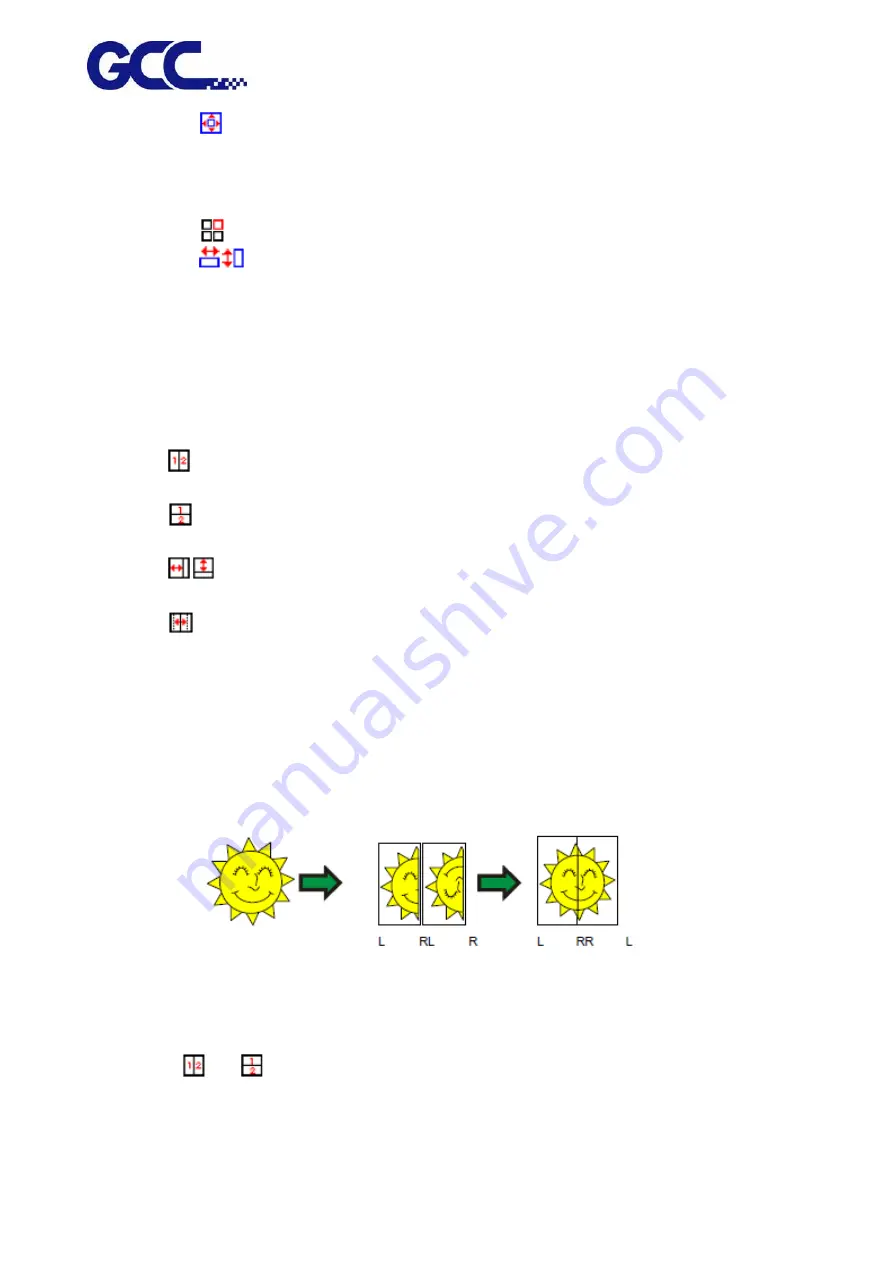
Automatic tile flip
Check to rotate every other printed tile 180° so that adjacent vertical edges
always print with the same side of the print head. This helps them match up
cleanly.
Dividing a Job into Uniform Rows and Columns of Tiles
1. Check the
or
fields to tile the job vertically or horizontally into evenly divided columns
or rows
Содержание JF-2418UV
Страница 1: ...JF 2418UV User Manual http www GCCworld com V 1 2022 Mar GCC GCC Club...
Страница 3: ...JF 2418UV User Manual 2 Release Note Version Change V 1 2021 Nov Add JF 2418UV User Manual...
Страница 24: ...JF 2418UV User Manual 23 Control panel flow...
Страница 25: ...JF 2418UV User Manual 24 Operating work flow...
Страница 27: ...JF 2418UV User Manual 26 Operating work flow...
Страница 28: ...JF 2418UV User Manual 27 Control panel flow O N FRONT REAR O N O N OFF OFF...
Страница 38: ...JF 2418UV User Manual 37 MANUAL CLEANING WHITE CIRCULATION Circulation of white ink print head ON...
Страница 42: ...JF 2418UV User Manual 41 B Set the PH Gap Auto Adjustment to be OFF on the control panel...
Страница 57: ...JF 2418UV User Manual 56 Step 4 The settings is completed and open FlexiPRINT GCC Edition...
Страница 87: ...JF 2418UV User Manual 86 7 Select GCC JF 2418UV from the Printer drop down menu and click Setup...
Страница 88: ...JF 2418UV User Manual 87 8 Select Advanced...
Страница 96: ...JF 2418UV User Manual 95 Step13 Click Finish Step14 Auto Serialization is completed 10 Click Preferences...
Страница 102: ...JF 2418UV User Manual 101 Create a New color Set the name to be Spot_White and the mode to be Spot...
Страница 103: ...JF 2418UV User Manual 102 3 Fill Objects with Spot White Swatch and overprint 4 Select Rip and print...
Страница 129: ...JF 2418UV User Manual 128 Step 8 File Export Step 9 Save the file as eps format Step 10 The process is completed...
Страница 169: ...JF 2418UV User Manual 168 Step 2 Enter the password caldera Step 3 Click Next...
Страница 170: ...JF 2418UV User Manual 169...
Страница 175: ...JF 2418UV User Manual 174 Step 8 Click Add job Step 9 Click Send job and the process is complete...


