2-9
7.
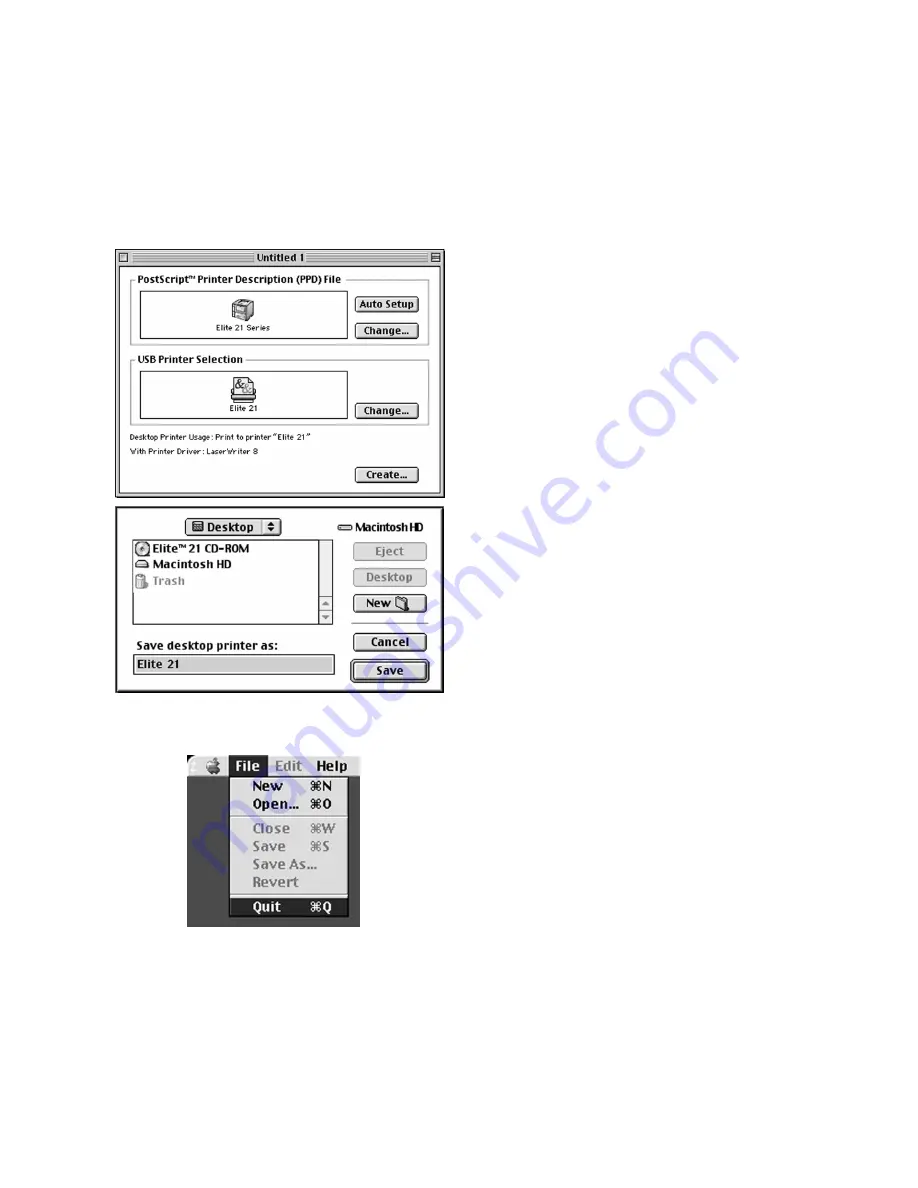
The “Untitled 1” dialog box returns again.
The icon in the “PostScript Printer
Description (PPD) File” box now shows
your printer.
Click Create to create the new desktop
printer.
8.
A Save dialog box opens, asking you to
save the desktop printer. Type in a name
for the desktop printer, or leave the default
name. Click Save.
A new Desktop Printer icon will appear on
the desktop with the name that you
assigned.
9.
Go to File and Quit to exit the Desktop
Printer Utility. The printer is selected and
ready to print.
The GCC Product Registration utility will
run after the printer is setup. Please follow
the registration instructions to register your
printer.
Содержание 21 Series
Страница 1: ......
Страница 14: ...1 6 Step 4 Remove Tape 1 Remove packaging tape from the front and rear covers of the printer...
Страница 17: ...1 9 6 Close the front cover Press on the center part of the front cover until the cover locks securely...
Страница 125: ...4 20 Clicking on Device Settings brings up the following window...
Страница 140: ...5 13...
Страница 144: ...5 17...


