4-9
9.
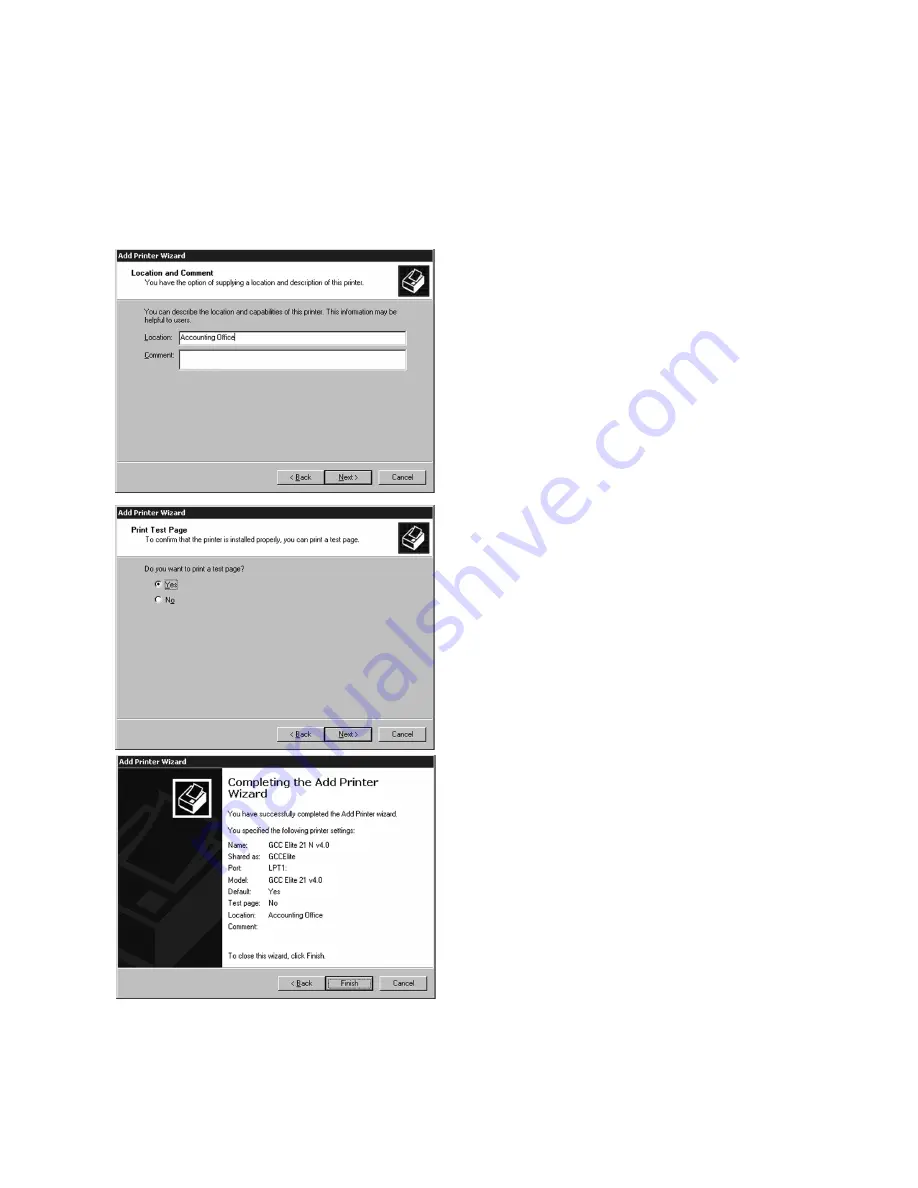
The next window allows you to specify the
location of the printer. This will allow users
to more easily identify the printer on a large
network. You can also enter comments to
specify the printer’s capabilities, etc. to
users (i.e. “Duplex” to identify a printer that
can handle double-sided printing).
Enter information into these fields if
desired, then click Next.
10. A window will appear asking if you wish to
print a test page. Click Yes if you are
installing a local printer. Click No if you are
installing the driver and will be setting up
the printer as a network device later. Click
Next.
11. A final window will appear showing a
summary of the installation. Check over all
the information listed. If anything is
incorrect, click Back to go back and change
it. Otherwise, click Finish.
A window may appear informing you that a
Digital Signature cannot be found for the
printer and asking if you wish to continue.
Click Yes to continue and complete the
installation.
Содержание 21 Series
Страница 1: ......
Страница 14: ...1 6 Step 4 Remove Tape 1 Remove packaging tape from the front and rear covers of the printer...
Страница 17: ...1 9 6 Close the front cover Press on the center part of the front cover until the cover locks securely...
Страница 125: ...4 20 Clicking on Device Settings brings up the following window...
Страница 140: ...5 13...
Страница 144: ...5 17...


