


DX4040 INSTRUCTION AND OPERATING MANUAL (E2.04)
•
If the background taken by Calcmet Lite (and saved in the DX4040) fulfils the
previous criteria’s, then Calcmet Lite saves the background.
•
If not, the background is saved and a window will be displayed after background
measurement in order to notify the user that the background is low.
- Timer:
The Timer parameter defines the time (in ms) taken by the DX4040 to analyze a
spectrum. Depending of the application size, the analysis can take hundreds of
milliseconds to a couple of seconds before sending the results to Calcmet Lite. This
parameter needs to be fine-tuned depending on the application loaded to the DX4040.
If the Timer is set too low and the analysis takes more time than what is defined by the
timer parameter, the results will not be displayed on the PDA. Instead, if the Timer is
set too high, you might have some communication issues especially when the PDA is
far (more than 5 meters) of the DX4040.
6.4.4
Calcmet Lite Install/Uninstall
Please, read Appendix B for further details on how to uninstall and reinstall Calcmet
Lite software.
6.4.5
Operating DX4040 via Bluetooth
Before starting to use the DX4040 in standalone mode, ensure that the PDA and
analyser batteries are fully charged. DX4040 batteries are fully loaded
when the five LEDs displaying the status of charge of the battery are ON.
This can be also checked on the front panel of the DX4040 when the
analyser is ON.
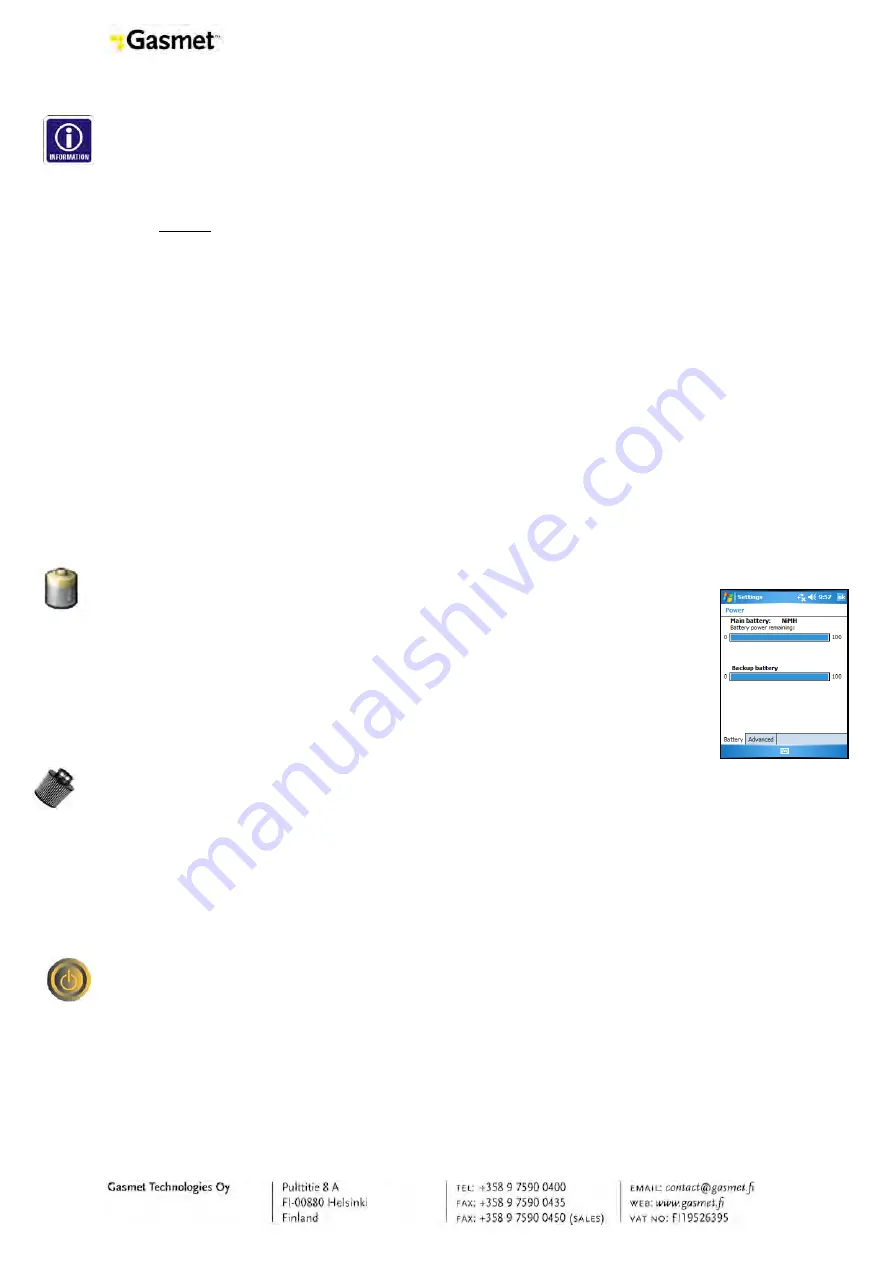
PDA battery power can be check by going to: Settings → System tab →
Power.
–
Connect the battery (field-use) or the AC/DC PSU (laboratory-use).
–
Check the condition of sample probe filter (change the filter, if necessary).
The following settings in the PDA should be activated:
–
COM Port settings in CALCMETLITE.INI should be 8 (factory settings).
–
PDA should be paired with the DX4040 (factory settings).
The following settings in the DX4040 should be verified:
–
Manual Power switch should be set to Bluetooth mode.
–
Bluetooth LED should be blue.
–
Use the furnished stylus pen attached in the back of the PDA and click on the
Calcmet Lite icon or go to: Start → Calcmet Lite (Figure 15).
–
If the Bluetooth connection is established, DX4040 is powered up. Bluetooth LED
should be blue and battery status of charge LEDs on the front panel should
display state of charge of the battery.
–
An info notification appears on the screen with the ID and the Bluetooth address
of the analyser.
–
The measure menu appears in a couple of seconds. Calcmet Lite and the
DX4040 are ready to measure.
51


