


Web Viewer
100
|
Web Viewer
\
\
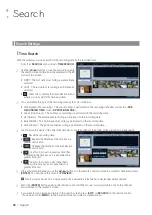
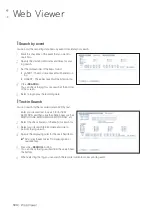
To save the video
1.
Click <
> to start saving.
2.
The video from the selected channel will be saved to the PC in the AVI format. (Default path: C:\SaveFolder)
Click <
> again to stop saving. Click <
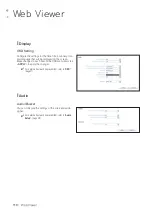
ActiveX Setting
> to display the context menu where you can change the
saving path.
\
\
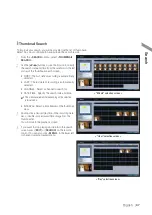
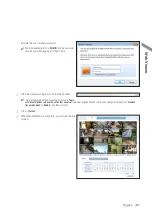
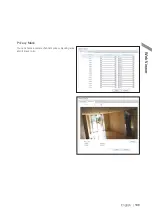
1.
Click <
>.
2.
The current screen will be printed with the printer connected to the PC.
\
\
Screen capture
1.
Click <
>.
2.
The current screen of the selected channel will be saved to the path specified in the PC. (Default path: C:\SaveFolder)
Click <
ActiveX Setting
> to display the context menu where you can change the saving path.
\
\
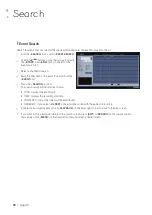
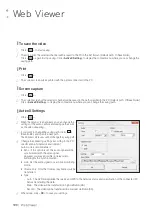
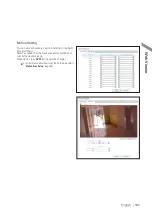
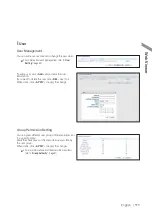
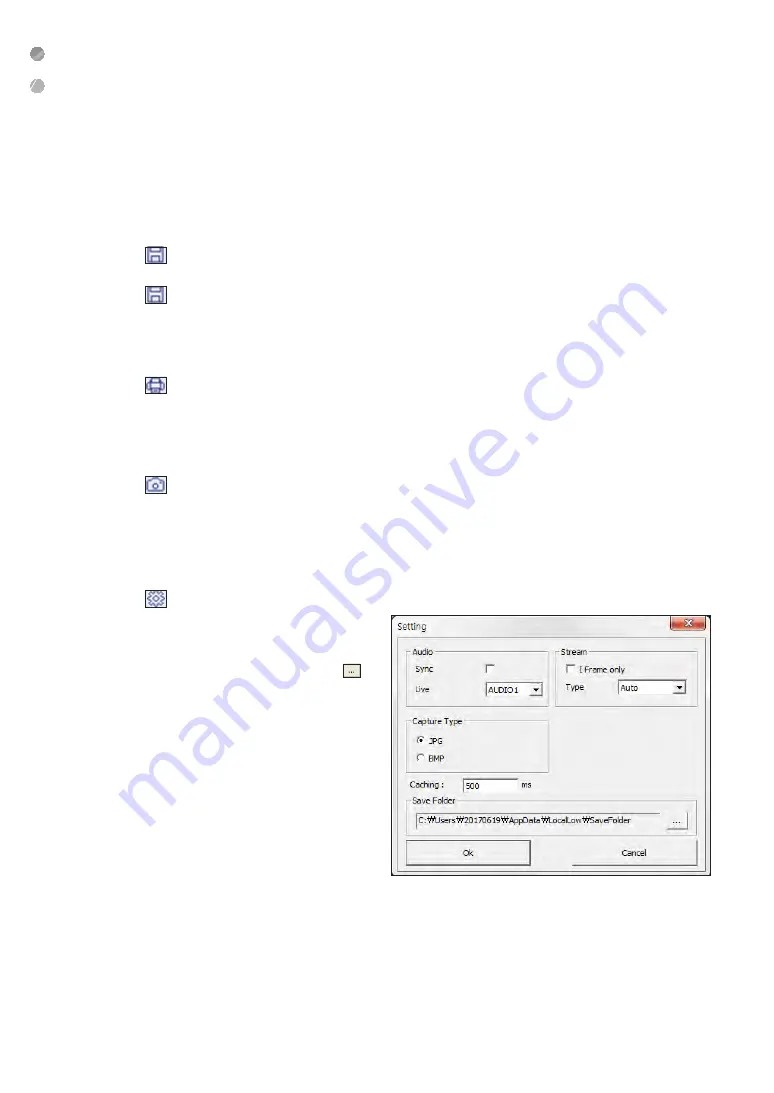
ActiveX Settings
1.
Click <
>.
2.
When the setup screen appears, you can change the
settings of the audio, capture and saving path as well
as the video streaming.
3.
If you want to change the saving path, click < >
(Save Folder) and specify a new path.
The Windows Vista user cannot change the saving path.
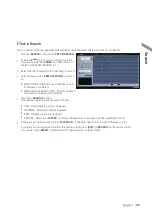
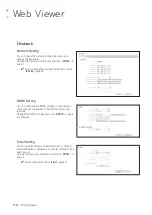
4.
Change the streaming settings according to the PC
specification and network environment.
Auto mode is recommended.
i
Sync : If this option is set, the audio signal will be
synchronized with the video signal.
However, you may encounter a delay due to
buffering for the synchronization.
i
Live : Set the audio signal to use in live monitoring
mode.
i
I Frame only : Only the I frames (key frames) will be
transferred.
i
Type
-
Auto : The DVR will optimize the quality and FPS to the network status and specification of the connected PC
before transferring the data.
-
Main : The video will be transferred in high definition (HD).
-
Second : The video will be transferred in a medium definition (SD).
5.
When done, click <
OK
> to save your settings.


