2
Introduction, Before You Begin, and Important Safety Note__________________________________________________________________ 1
Important Safety Instructions _____________________________________________________________________________________ 2
Wiring Instructions ___________________________________________________________________________________________ 3, 4
Rear Rack Mounting Ears _________________________________________________________________________________________ 4
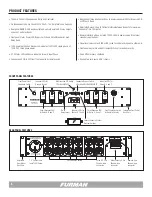
Product Features _____________________________________________________________________________________________ 5
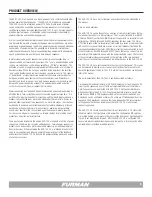
Product Overview ___________________________________________________________________________________________ 6, 7
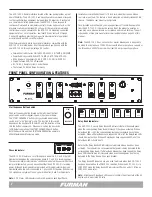
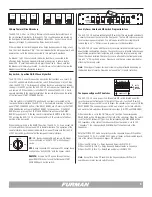
Front Panel Configurations and Features_______________________________________________________________________ 7, 8, 9, 10
ASD-120 2.0 Programming Summary_______________________________________________________________________11, Back Cover
Rear Panel Control Terminal Interface ________________________________________________________________________________12
Advanced Installation Topics___________________________________________________________________________________13, 14
Local Operating Modes____________________________________________________________________________________15, 16, 17
Product Installation Examples_______________________________________________________________________________ 18, 19, 20
Specifications _______________________________________________________________________________________________ 21
Warranty Information __________________________________________________________________________________________ 22
TABLE OF CONTENTS
CAUTION
• The ASD-120 2.0 remote interface differs from the original ASD-120. While
the original ASD-120 REM terminal input was compatible with AC voltages, the
ASD-120 2.0 is not. For example, if an original ASD-120 is to be controlled by
the ASD-120 2.0, please use the Direct Current 12V and REM terminals of the
ASD-120 2.0 to provide the DC control signal to the REM input of the older ASD-
120 product.
• Ground loops at the control terminals and remote interface should be avoided.
The ASD-120 2.0 remote interface is designed to provide the flexibility of being
connected to multiple pieces of equipment within the same power distribution
system. To avoid ground loops, do not connect the remote interface to more than
one non-isolated ground referenced interface.
• A building’s AC Power Distribution System is grounded at the Utility Service
Entrance or Service Point. The ASD-120 2.0 Remote interface control is not in-
tended for applications between multiple buildings or where connected equipment
has multiple AC grounds or earth paths. If the ASD-120 2.0 Remote interfaces are
connected to equipment grounded elsewhere, catastrophic voltage irregularities
can damage the remote interface. All control equipment interfacing the ASD-
120 2.0 power distribution network must be properly grounded through a single
protective earth ground connection. Please consult a qualified electrician if there
are questions concerning equipment grounding.
IMPORTANT SAFETY INSTRUCTIONS
WARNING
• With the exception of input wire connections, there are no user serviceable
parts inside the ASD-120 2.0. The top panel should never be removed while
power is applied to the unit.
• Input power must be connected by a qualified electrician. The unit must be
properly grounded through a protective earth ground connection.
• Refer all servicing to qualified personnel. Servicing is required when the unit
has been damaged in any way or fails to operate as designed.
• The ASD-120 2.0 is intended for use in a dry environment. Do not use this
product in or near water. To reduce the risk of fire or electric shock, do not
expose this device to rain or moisture.
• The device is intended for AC power sequencing. All output circuits should be
sequenced OFF prior to removing power to the unit.
• Do not install this product near heat sources or other equipment that generates
excessive heat.


