a
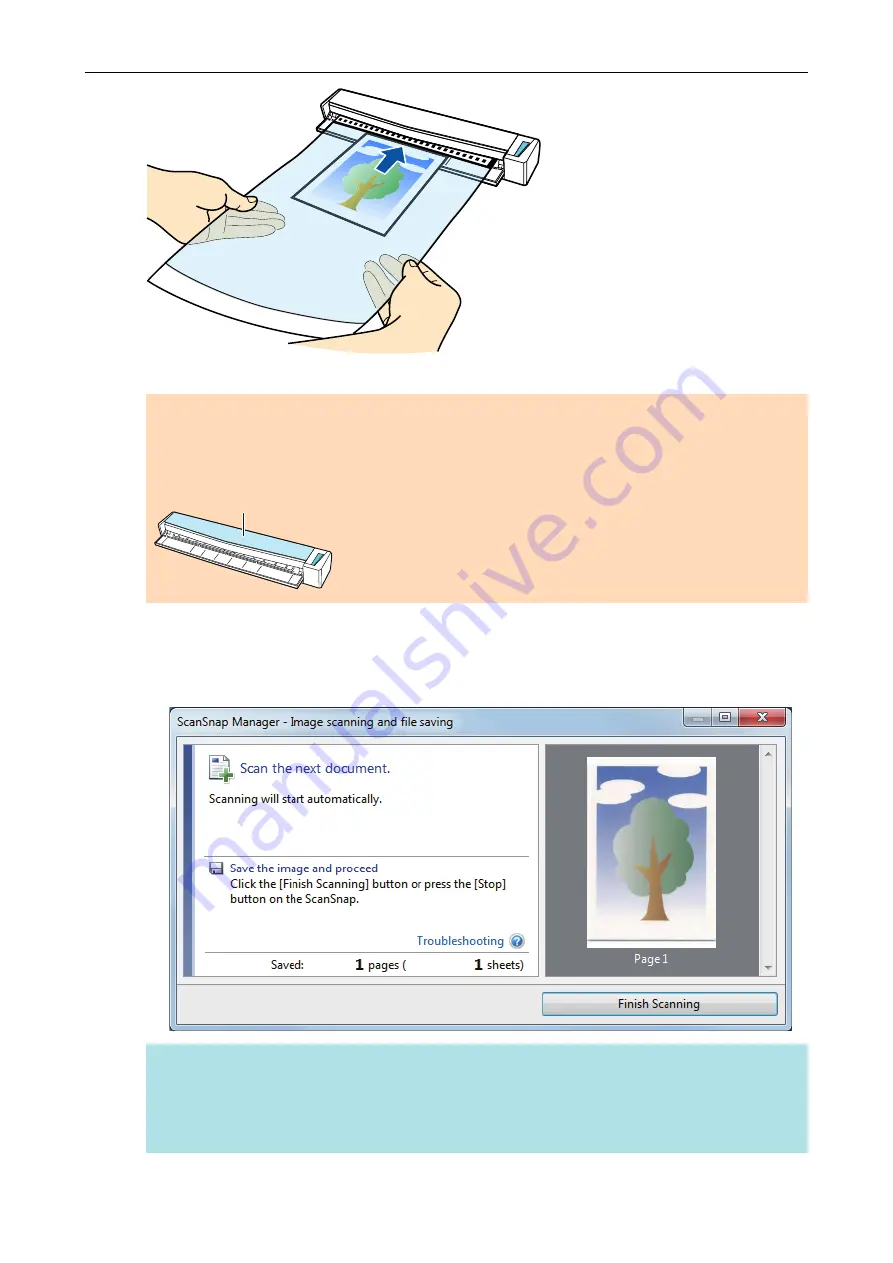
The Carrier Sheet is pulled in until it is set inside the ScanSnap.
ATTENTION
If you perform a scan using the Carrier Sheet with the output guide open, a paper jam may occur
and damage the documents. Make sure to close the output guide when you perform a scan using
the Carrier Sheet.
Output Guide
7.
Press the [Scan/Stop] button on the ScanSnap to start scanning.
a
When scanning is complete, the scanned image of the document that is inside the Carrier
Sheet is displayed in the preview area.
HINT
Repeat steps 5 to 7 to scan more documents such as photographs and clippings.
You can continue to scan documents that can be inserted directly in the ScanSnap.
For details about scanning a document, refer to
"Scanning a Document" (page 19)
.
Scanning Documents Such as Photographs and Clippings
84
Содержание ScanSnap S1100i
Страница 1: ...Basic Operation Guide Windows P3PC 5092 06ENZ2 ...
Страница 18: ...What You Can Do with the ScanSnap 18 ...


