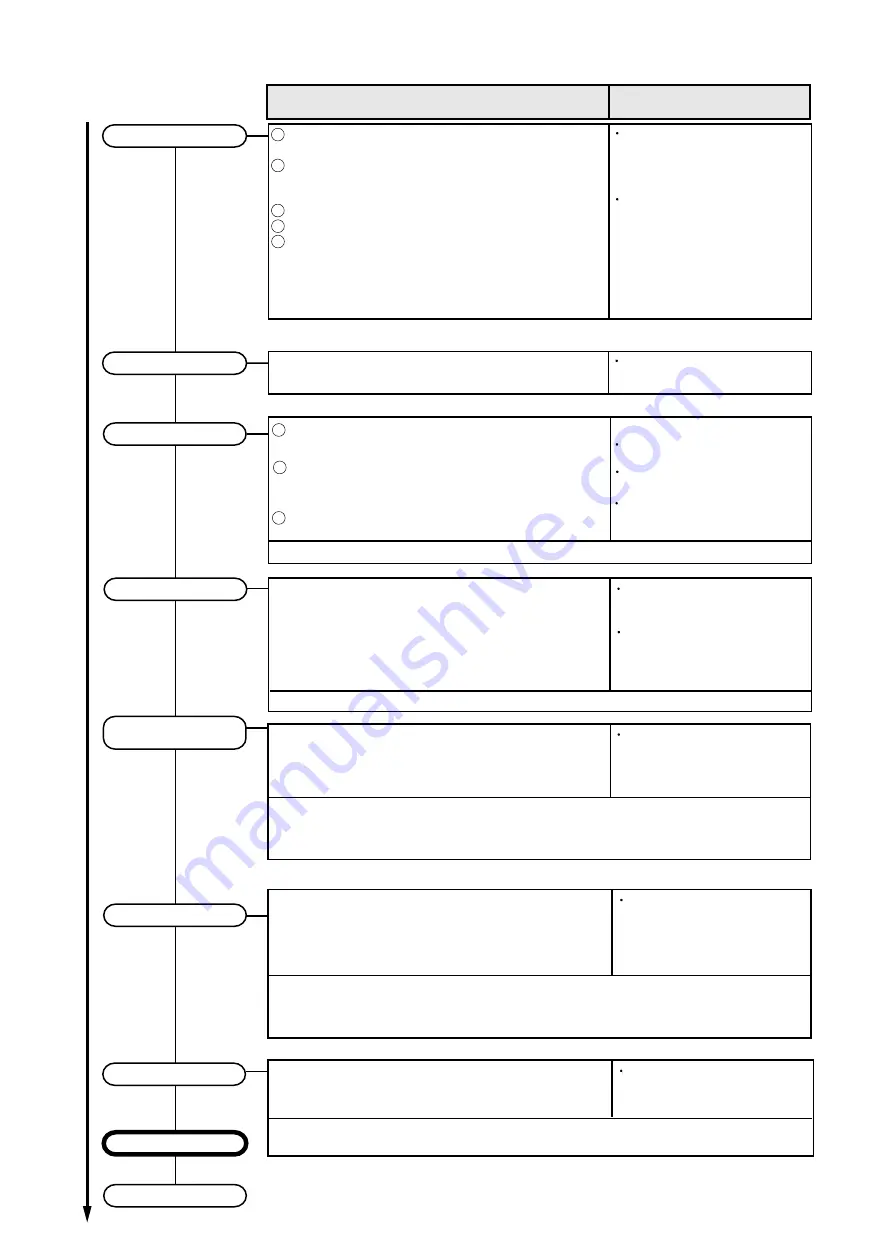
01-02
[Note] Perform in the power OFF state.
Execution 2/2
Set according to the length of the connection piping.
Set to "Standard (40 to 65m)" at the factory.
Set using the push button SW on the outdoor unit main PCB.
< Refer to the Page 01-16 Setting mode F2-00 >
Set the pipe length to be the nearest indoor unit from the outdoor unit
Set the refrigerant circuit address and indoor unit address.
Can be set by rotary SW on the indoor unit PCB ( Main PCB or Switch
PCB) or from a remote controller or from a push button SW on the
outdoor unit Main PCB < Automatic address setting,
Refer to the Page 01-07 Setting mode F3-11>
Initial setting
Gas leak test
Use an R410A dedicated leak tester to check for gas leaks.
1
2
3
Confirm the additional refrigerant amount with the installation
manual, etc.
Always take the R410A refrigerant from the cylinder liquid phase
and charge it using the gas phase.
(Do not lay a cylinder with siphon pipe on its side.)
Use an R410A dedicated gauge manifold and charging hose.
Charge refrigerant using the liquid pipe.
When the defined amount of refrigerant cannot charge using the
liquid pipe, charge refrigerant using the gas pipe while opearing
the cooling test run.
Charge refrigerant bit by bit with cautious operation of valve
for the liquid refrigerant back prevention.
If taken from the air phase, since the
composition of the refrigerant which is
charged will change, low performance
and abnormal stop will occur easily.
Prevent erroneous sealing in of
refrigerant.
A leak tester for other than R410A
cannot detect leaks.
Set the refrigerant circuit address.
ROTARY SW: REF ADX10, X1
4
Turnover & explanation of operation
Address setting for Indoor unit
Test run & adjustment
Piping length setting
Addition refrigerant charging
5
Indoor unit connection check
[Note] Perform setting by push button SW on the outdoor unit Main PCB in the power ON state
after all indoor units have stopped operation.
When setting the address of Signal amplifier, please refer to the
installation manual of the signal amplifier.
The address setting can be set by automatically from 1 outdoor unit
on the network. < Refer to the Page 01-06 Setting mode F3-10 >
Address setting for Signal Amp
- When using signal Amps -
[Note] Manual setting: Set the rotary SW on the PCB in the power OFF state.
Automatic address setting:
Perform setting by push button SW on the outdoor unit Main PCB in the
power ON state after all indoor units have stopped operation.
[Note] Perform in the power ON state after all indoor units have stopped operation
[Note] Manual setting: Set the rotary SW on the PCB in the power OFF state.
Automatic address setting:
Perform setting by push button SW on the outdoor unit Main PCB in the
power ON state after all indoor units have stopped operation.
Dual address setting No. is not
allowed in one network.
When the setting is not same as the
real piping length, the system may
not work correctly.
Dual address setting No. is not
allowed in one network.
Dual address setting No. is not
allowed in one network.
Normal operation will not be possible
without performing the indoor unit
connection check.
Before starting the system, check on the number of indoor units and
the total capacity.
< Refer to the Page 01-08 Setting mode F3-12 >
Execution procedure and precautions
Reason
1
2 Confirm the DIP SW setting
SET 1: Factory setting, SET 2 : All OFF, SET 3 : All OFF,
SET 4: Factory setting
If the DIP SW setting is wrong, the sys-
tem may not work correctly
3 Confirm the Terminal resister setting
SET 5-4 OFF: Disable, ON: Enable
If the Terminal resister setting is wrong,
the system may detect transmission
error
If the pipe length is set as the farthest
indoor unit, the nearest operating
indoor unit may be stopped the
operation by the icing up protection
as by over cooling.
Содержание Airstage J-II
Страница 1: ...Small VRF system for light commercial and home use SERVICE MANUAL ...
Страница 2: ......
Страница 6: ......
Страница 7: ...1 TEST RUN ...
Страница 8: ......
Страница 27: ...2 OUTDOOR UNIT OPERATION CONTROL ...
Страница 28: ......
Страница 42: ......
Страница 43: ...3 INDOOR UNIT OPERATION ...
Страница 44: ......
Страница 63: ...4 TROUBLE SHOOTING ...
Страница 73: ......
Страница 170: ......
Страница 171: ...5 APPENDING DATA UNIT ...
Страница 172: ......
Страница 174: ...MODELS AUXB07 AUXB09 AUXB12 AUXB14 AUXB18 AUXB24 05 02 5 2 WIRING DIAGRAM 5 2 1 Indoor Unit ...
Страница 175: ...MODELS AUXD18 AUXD24 AUXA30 AUXA36 AUXA45 AUXA54 05 03 ...
Страница 176: ...MODELS ARXB07 ARXB09 ARXB12 ARXB14 ARXB18 05 04 ...
Страница 177: ...MODEL ARXB24 MODELS ARXB30 ARXB36 05 05 ...
Страница 178: ...MODEL ARXB45 05 06 ...
Страница 179: ...MODEL ARXA24 MODELS ARXA30 ARXA36 ARXA45 05 07 ...
Страница 180: ...MODELS ARXC36 ARXC45 ARXC60 MODELS ARXC72 ARXC90 05 08 ...
Страница 181: ...MODELS ARXD07 ARXD09 ARXD12 ARXD14 ARXD18 ARXD24 05 09 ...
Страница 182: ...MODELS AB A12 AB A14 AB A18 AB A24 05 10 ...
Страница 183: ...MODELS AB A12LBTH AB A14LBTH 05 11 AB A18LBTH AB A24LBTH ...
Страница 184: ...05 12 MODELS AB A30 AB A36 AB A45 AB A54 ...
Страница 185: ...05 13 MODELS AB A30LBTH AB A36LBTH AB A45LBTH AB A54LBTH ...
Страница 186: ...MODELS AS A07 AS A09 AS A12 AS A14 05 14 ...
Страница 187: ...MODELS AS E07 AS E09 AS E12 AS E14 05 15 ...
Страница 188: ...MODELS AS A18 AS A24 AS A30 05 16 ...
Страница 189: ...05 17 MODELS AS A18LACH AS A24LACH AS A30LACH ...
Страница 190: ...05 18 MODELS AJ A36 45 54LALH 5 2 2 Outdoor Unit ...
Страница 195: ...6 DISASSEMBLY PROCESS ...
Страница 196: ......


